Hackster's F100 #2 CV Swap 6 speed manual and Coyote
Moderator: FORDification
-
lennyp
- Blue Oval Guru

- Posts: 1471
- Joined: Tue Apr 05, 2011 3:30 pm
- Location: Southeastern Massachusetts
Re: Hackster's F100 #2 CV Swap 6 speed manual and Coyote
I vote for brushed on the radiator mount. AWESOME job.
-
hackster
- Preferred User

- Posts: 317
- Joined: Fri Oct 18, 2013 11:21 am
Re: Hackster's F100 #2 CV Swap 6 speed manual and Coyote
Thank you and I agree as a unit they look great, the problem i am running into is everything else on the truck is black or tan. Trying to wrap my head around how this one silver thing will look in the theme.michael9218 wrote:Looking very nice!
I'm liking the color matched coil cover.
I vote for doing the radiator support in a brushed finish. I like how it ties into the radiator. Plus it just looks so custom. Painting it may mute this effect.
Thank you Lenny!!lennyp wrote:I vote for brushed on the radiator mount. AWESOME job.
No, I only painted the one to see what it looked like and shot it with some rattle can from Fred Meyer that was close, you can see its quite a bit more yellow than the actual truck color.my79f wrote:Are the valve covers the same color as the inner fenders? I also vote for brushed on the mount, or inner fender color.
Thanks for the feedback guys!!!
I need to order up the engine cover and some new coil pack covers so I can see how everything is going to tuck in there pretty soon.....might do that this morning.
Sean
-
hackster
- Preferred User

- Posts: 317
- Joined: Fri Oct 18, 2013 11:21 am
Re: Hackster's F100 #2 CV Swap 6 speed manual and Coyote
Ordered up the engine cover stuff this morning, would be cool if it got here soon so I can see what its going to look like for reals.
Got the power steering reservoir mounted up and built all of the lines to get from the pump to the reservoir and from the rack back to the tank. Ran the nicer Aeroquip fittings for these lines.
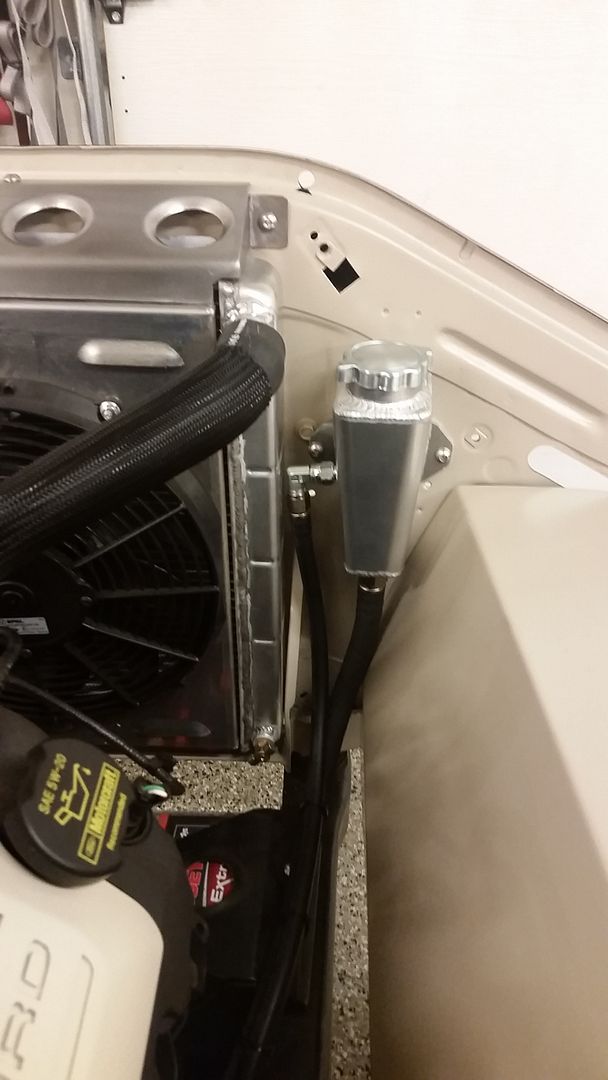
Line routing is fairly clean, gotta keep a nice flow back to the pump from the tank.
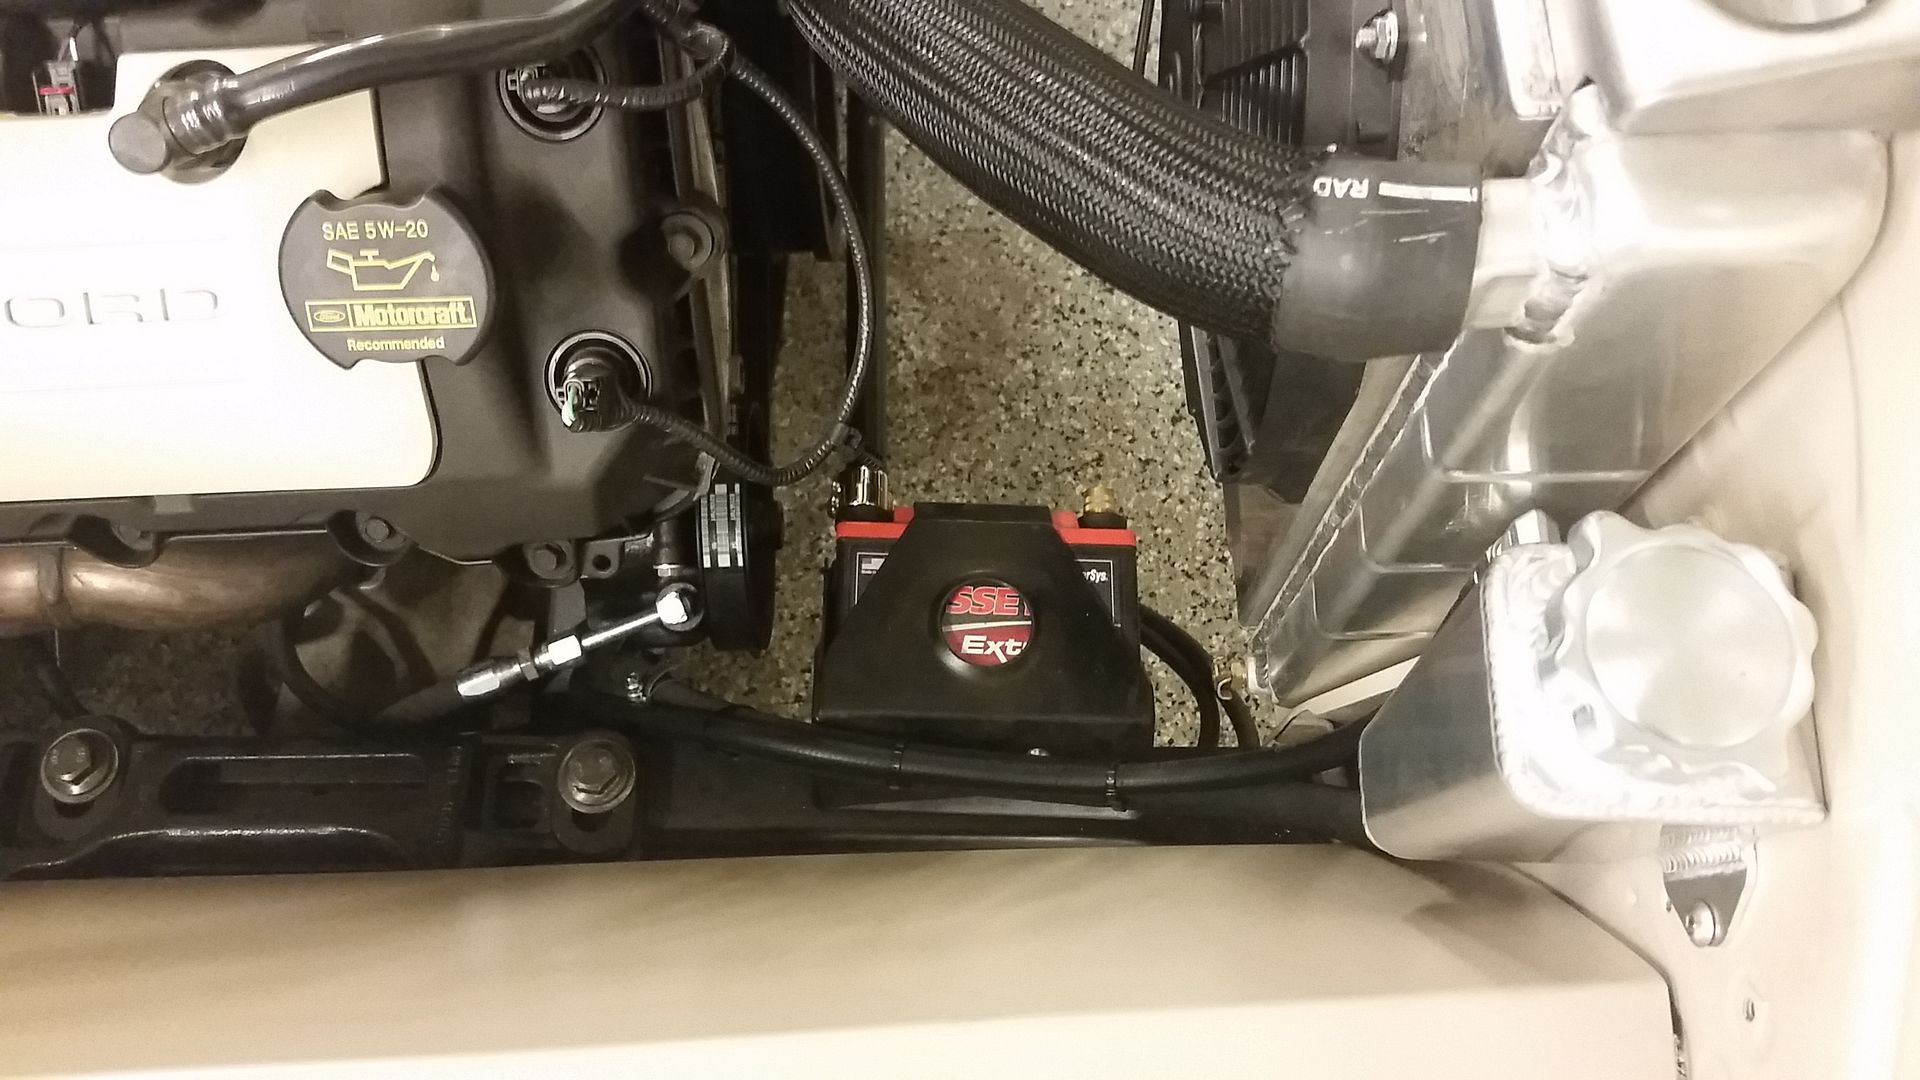
Got the upper and lower radiator hoses figured out and was looking at the expansion tank and stuff. I think since the radiator is higher than the engine I do not need to run the expansion tank or the lines running to it. I have an email into Ford Racing to inquire.
What do you guys think?
Sean
Got the power steering reservoir mounted up and built all of the lines to get from the pump to the reservoir and from the rack back to the tank. Ran the nicer Aeroquip fittings for these lines.

Line routing is fairly clean, gotta keep a nice flow back to the pump from the tank.

Got the upper and lower radiator hoses figured out and was looking at the expansion tank and stuff. I think since the radiator is higher than the engine I do not need to run the expansion tank or the lines running to it. I have an email into Ford Racing to inquire.
What do you guys think?
Sean
-
hackster
- Preferred User

- Posts: 317
- Joined: Fri Oct 18, 2013 11:21 am
Re: Hackster's F100 #2 CV Swap 6 speed manual and Coyote
Emailed Ray at Ford Racing this morning and he had great news. Indeed I am able to eliminate the surge tank all together as long as the radiator has a traditional fill/ cap and the radiator is higher than the highest point of the engine. He did say that the two important hoses are the heater core, those two are a must. He has been a great resource the past couple weeks. I feel like i owe him a cold one.
These are the two.
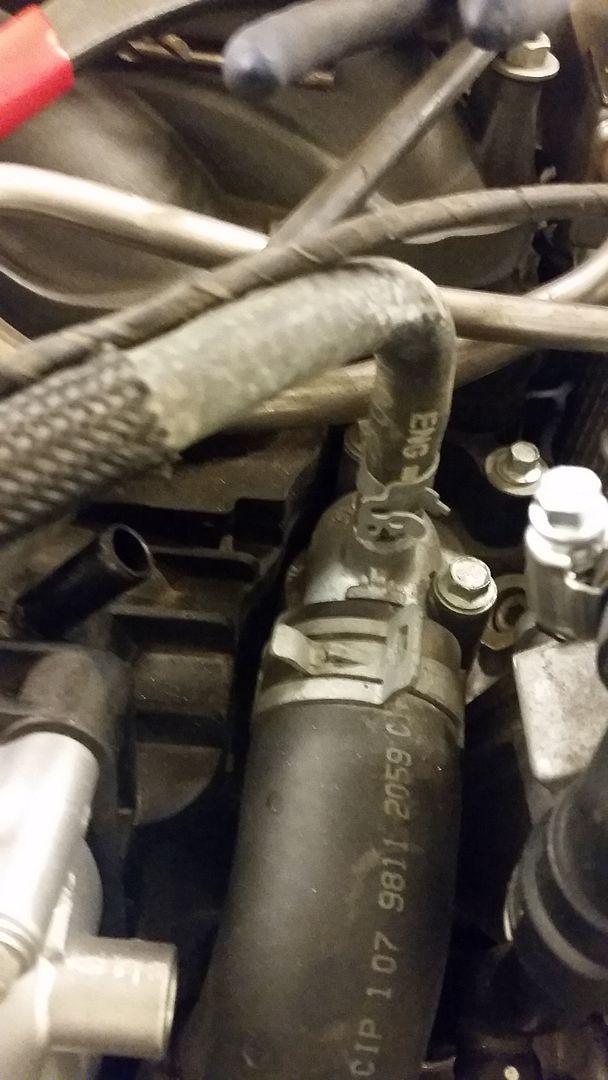
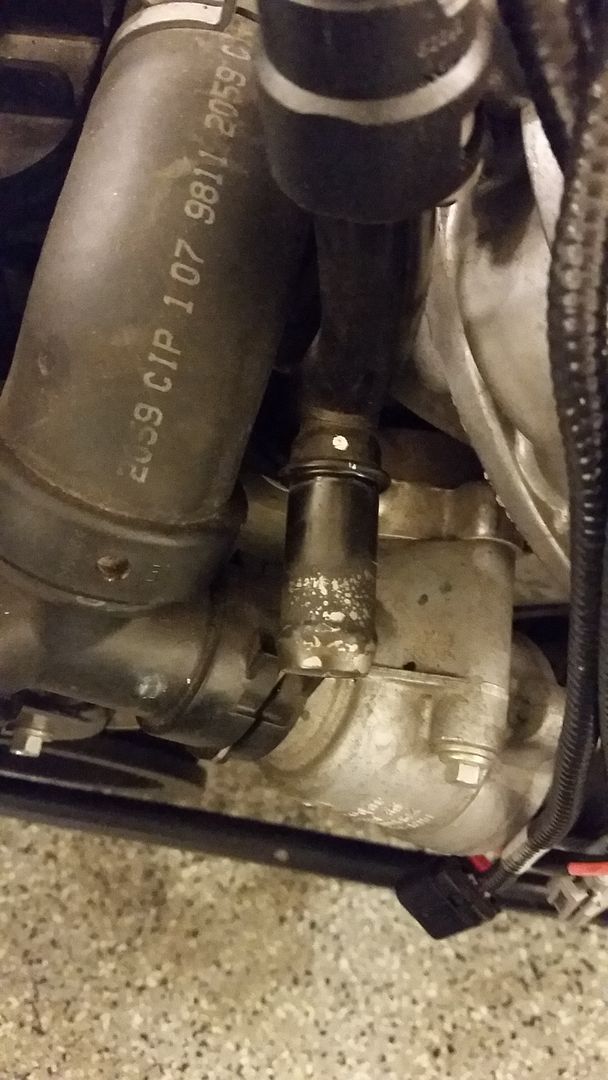
Anyways, engine cover showed up, I got the caps on the hoses and clamped down and tossed on the new coil pack covers and the new upper engine cover and I could not help but to snap a quick photo.
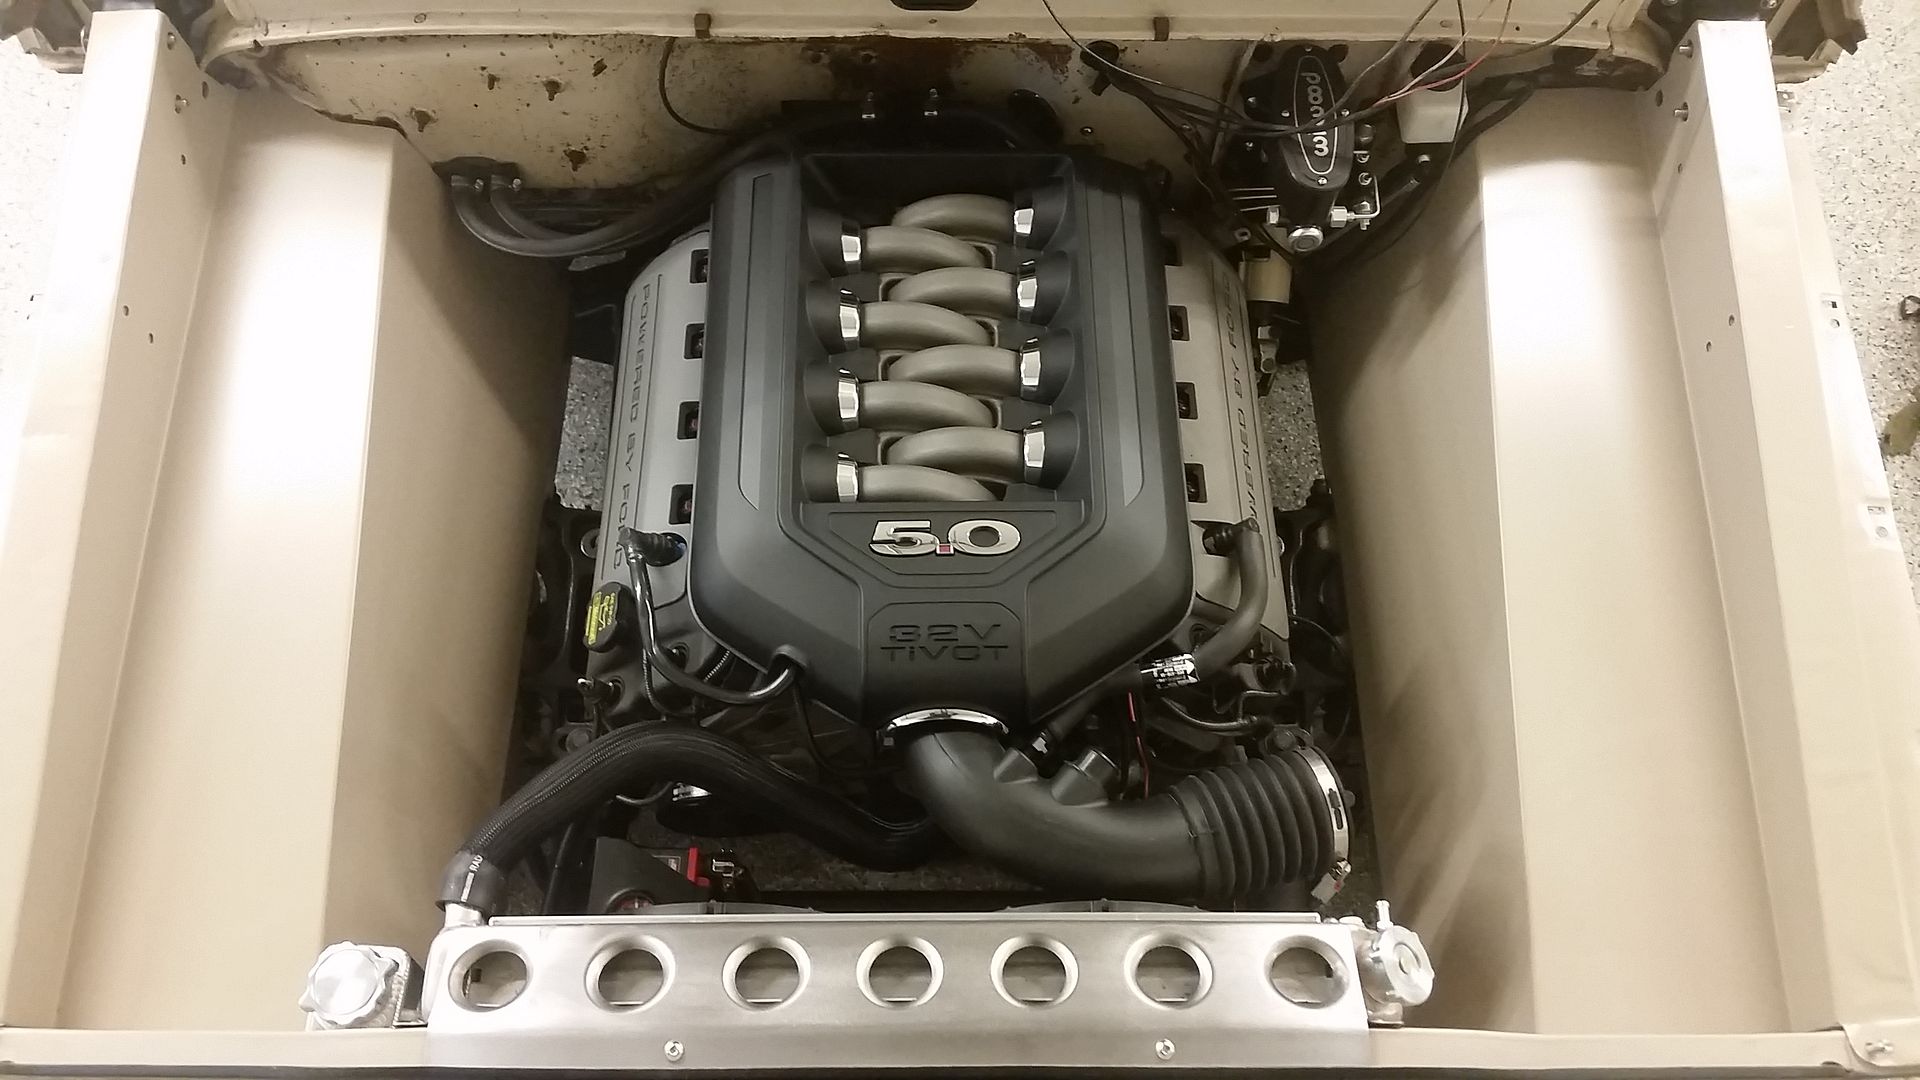
These are the two.


Anyways, engine cover showed up, I got the caps on the hoses and clamped down and tossed on the new coil pack covers and the new upper engine cover and I could not help but to snap a quick photo.

-
devindastrup
- New Member

- Posts: 39
- Joined: Sat Sep 12, 2015 10:39 pm
Re: Hackster's F100 #2 CV Swap 6 speed manual and Coyote
Very impressed! Well done!
-
hackster
- Preferred User

- Posts: 317
- Joined: Fri Oct 18, 2013 11:21 am
Re: Hackster's F100 #2 CV Swap 6 speed manual and Coyote
Thanks man.devindastrup wrote:Very impressed! Well done!
Had a great day around the house today, but not much work on the truck. Got rid of the mustang shell finally and it was a job, it did not have a rear axle in it and the purchaser was putting it in an enclosed car trailer. He made a rear axle setup out of an old trailer axle and we got that under it, then off of my trailer and onto the ground then loaded up and tied down in his.
Then got rid of the parts truck I bought a few weeks back. I took the transmission hump as it has the high hump also snagged the license plates since they are kid of col and rare, they are original to the truck, also a 1968 =) I think I can run the plates on my truck.
After all that and a trip to the dump to get rid of a bunch of trash I had kicking around. Its really, really nice to have the place cleaned up not looking like a trash can.
Just a little bit of time in the shop, did a little body work on the drivers side fender, it turns out it had more damage than anticipated. It had a good crease in it and was folded up at the front part near the lower apron. I got most of that fairly straight.....I dont think it makes any sense to make it perfect on this thing. Welded up all the trim holes and gave it a once over with a little bit of body filler......I AM NO BODYMAN.
Hit it with some etch primer, then a few coats of high build primer in grey and a final rose colored primer. Its scuffed and ready to paint, probably get some paint on it tomorrow.
Wanting to actually move forward with something. I started on the good passenger fender. I sanded it down with some 600, then 800 and hit it with high cut, then mid cut.
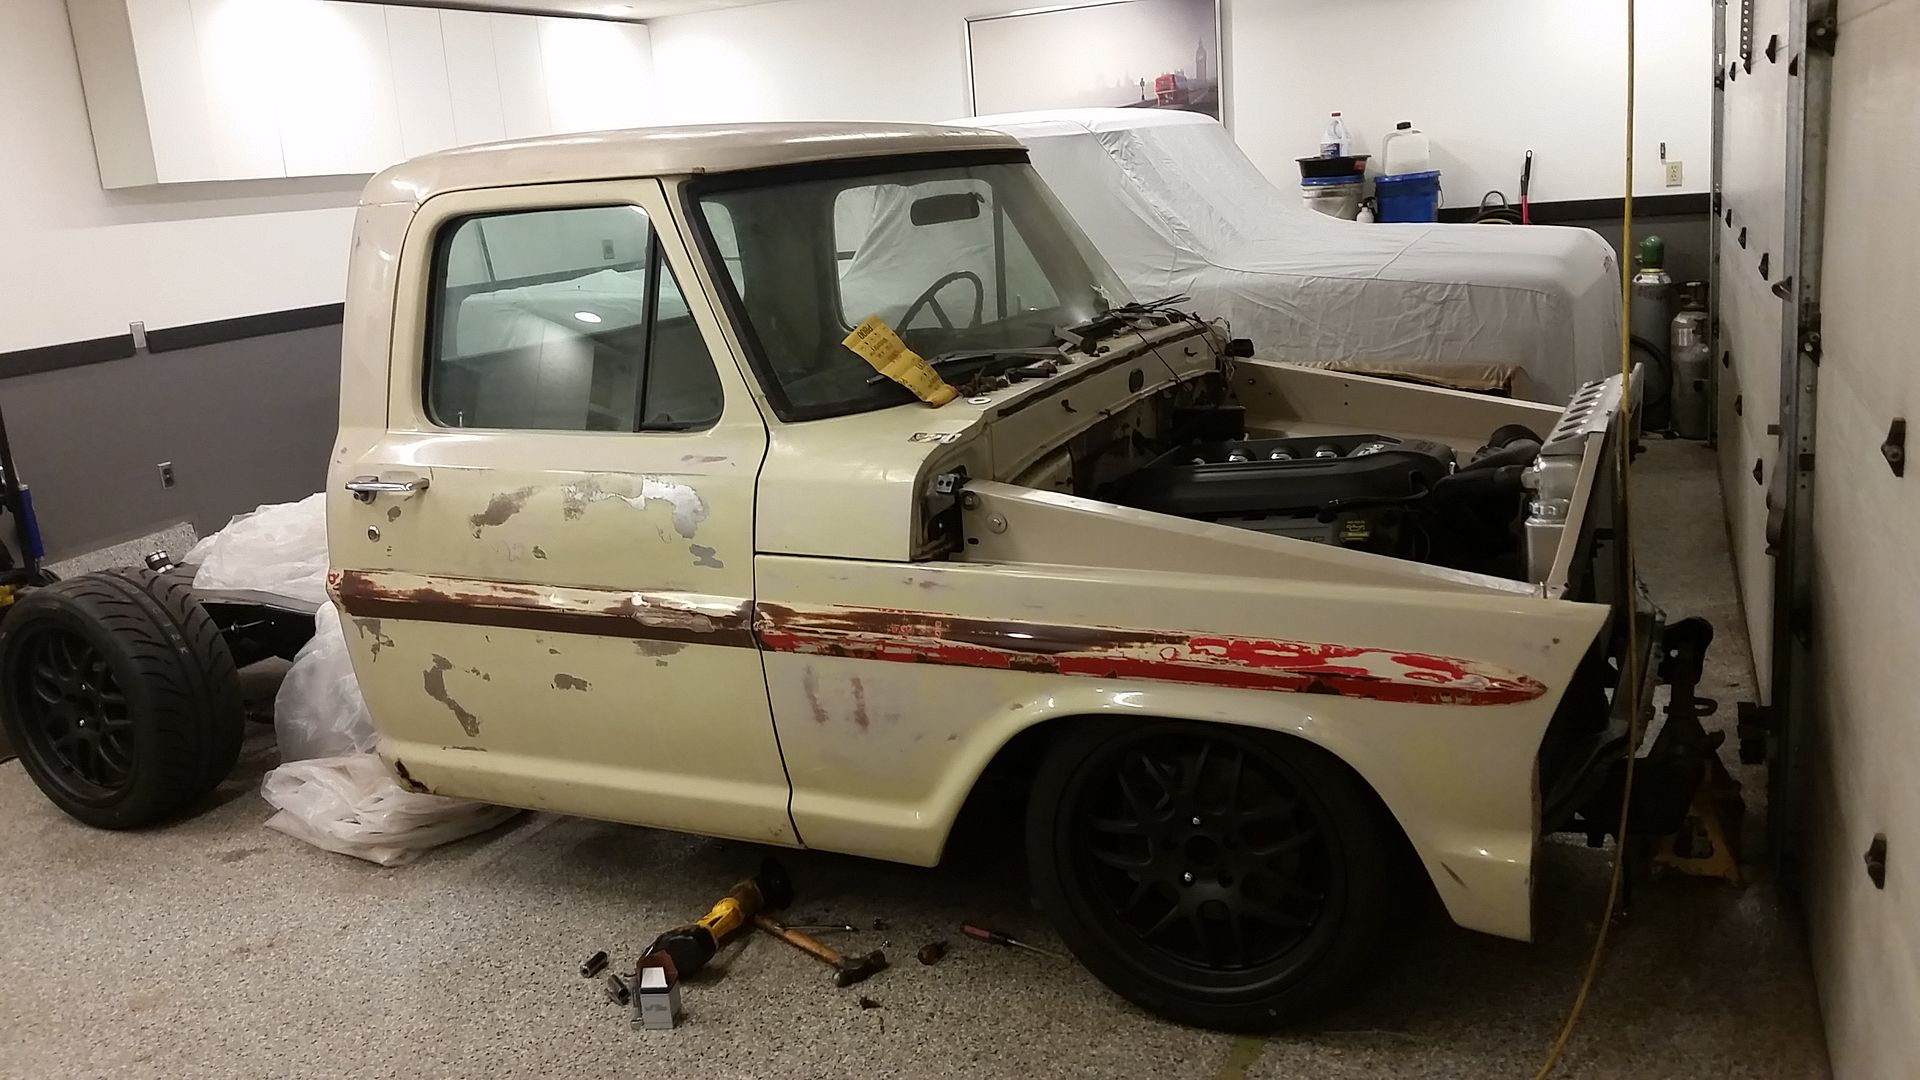
I hung the fender on and got to aligning it. I needed an extra washer on the core support to get it where it needed to go, but not bad considering all the mix and match parts. I also made a little bit of progress on a few other spots on the car
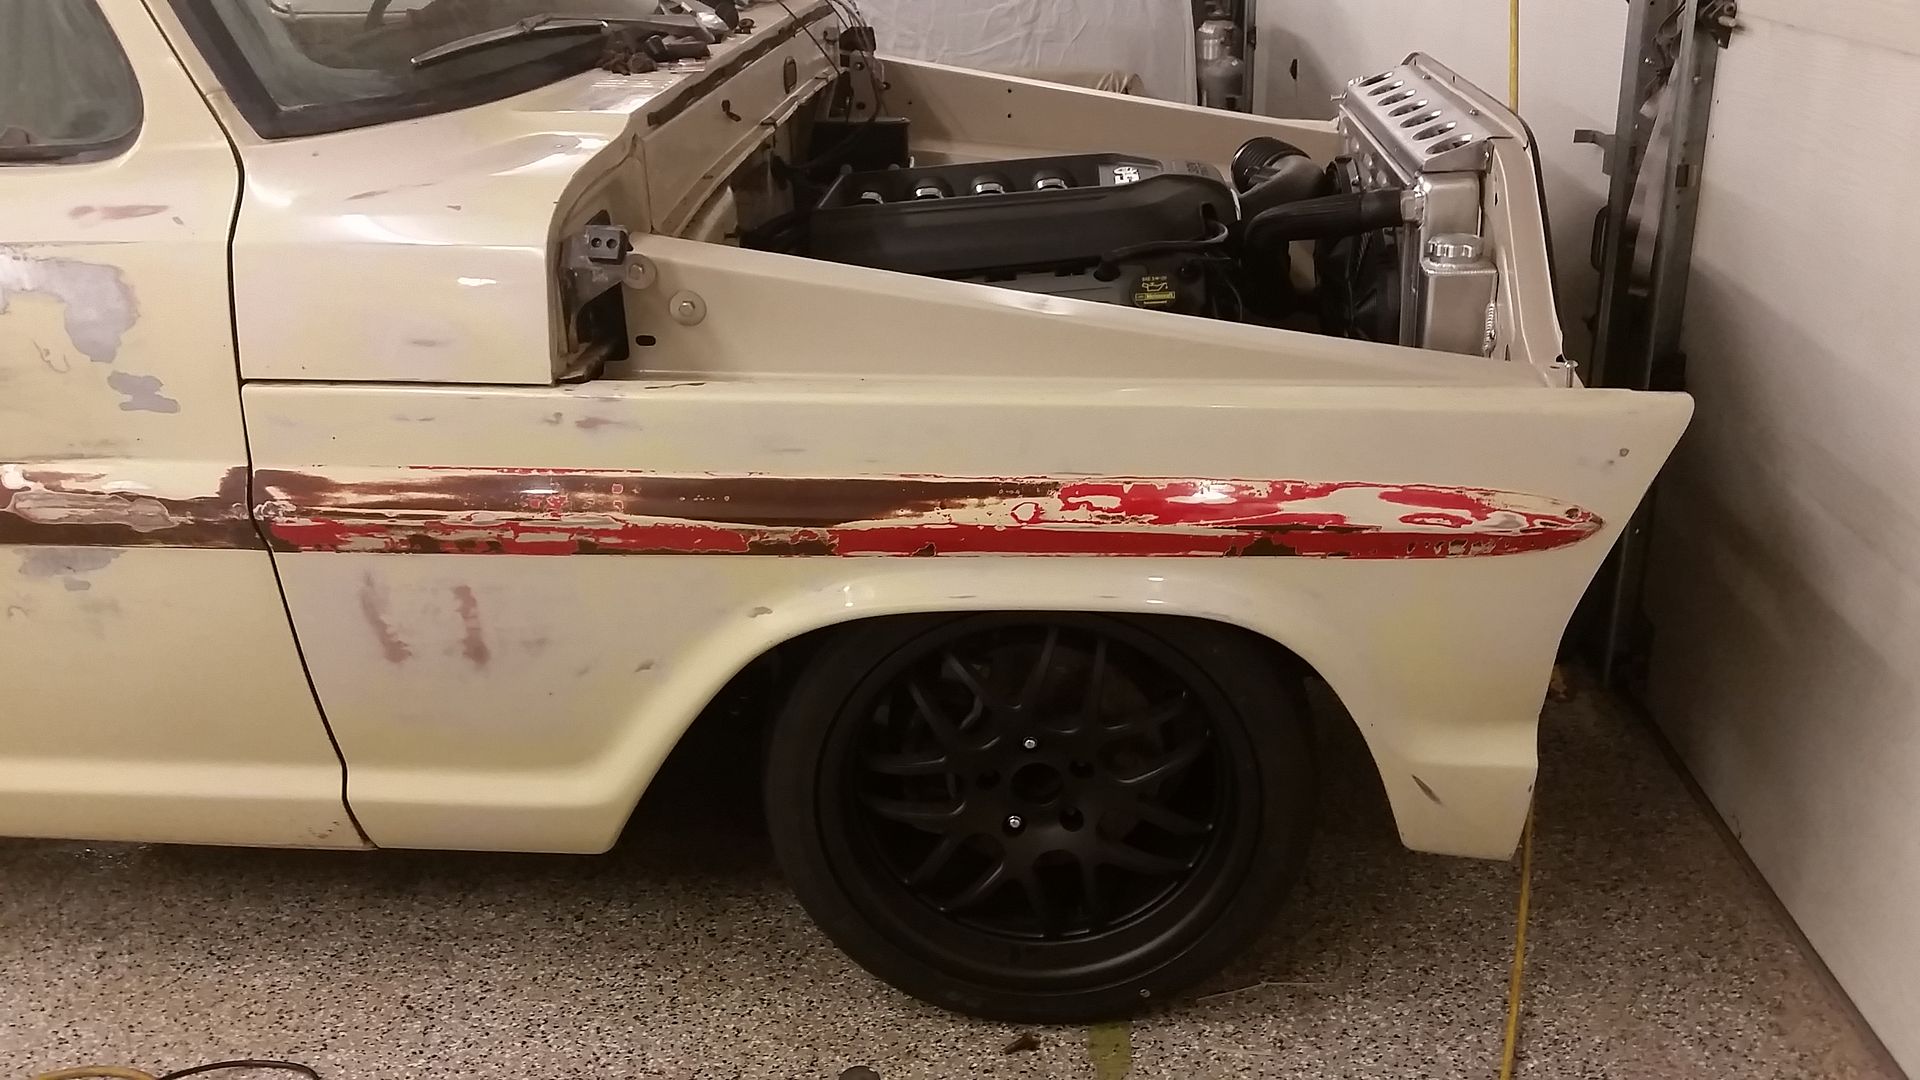
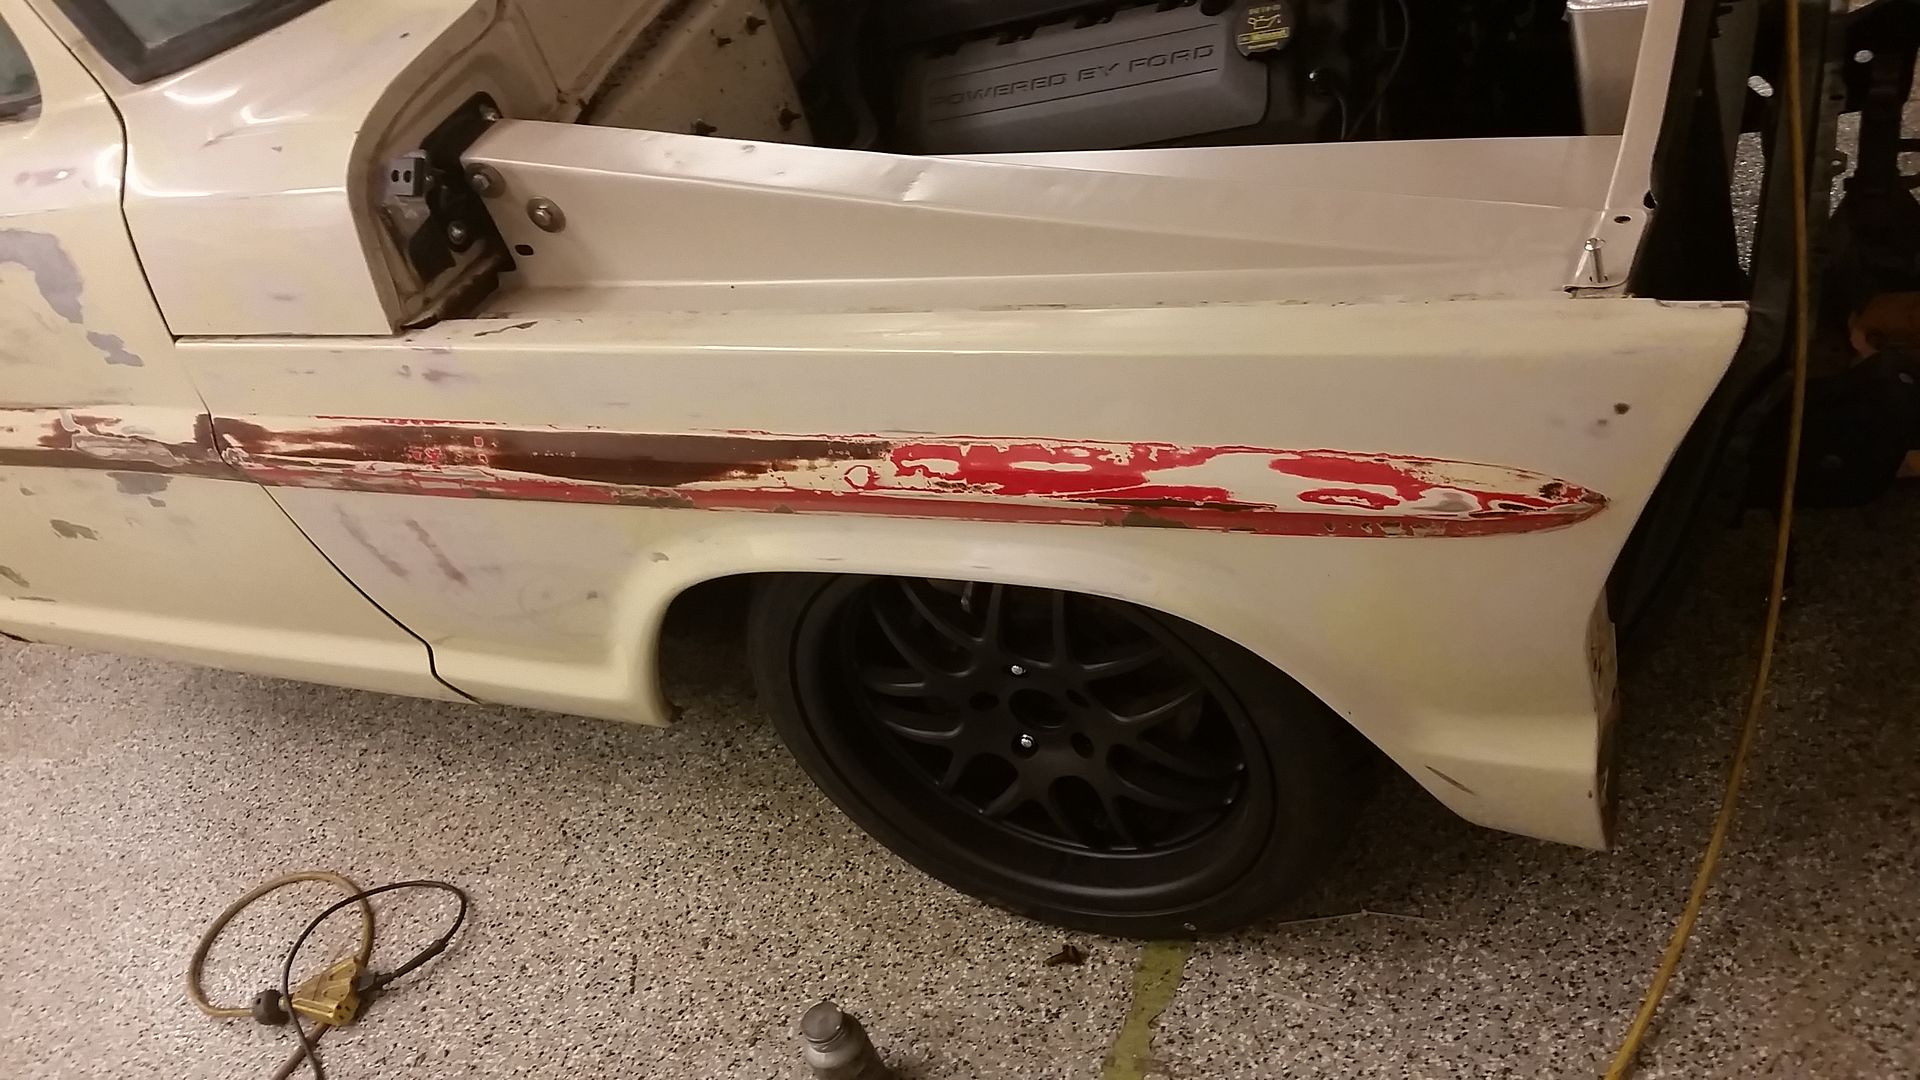
I will be pretty happy if the rest of the truck looks like this. Looks pretty cool but not barn findish.
Door/Fender Alignment.
Sean
-
IN2FORD
- Preferred User

- Posts: 345
- Joined: Sun Apr 27, 2014 3:54 pm
- Location: Cookeville TN
Re: Hackster's F100 #2 CV Swap 6 speed manual and Coyote
You are the master fabricator!! Awesome ride Sean!
barry
barry
-
hackster
- Preferred User

- Posts: 317
- Joined: Fri Oct 18, 2013 11:21 am
Re: Hackster's F100 #2 CV Swap 6 speed manual and Coyote
Thanks Barry!! I am far from that, but appreciate the kind words.IN2FORD wrote:You are the master fabricator!! Awesome ride Sean!
barry
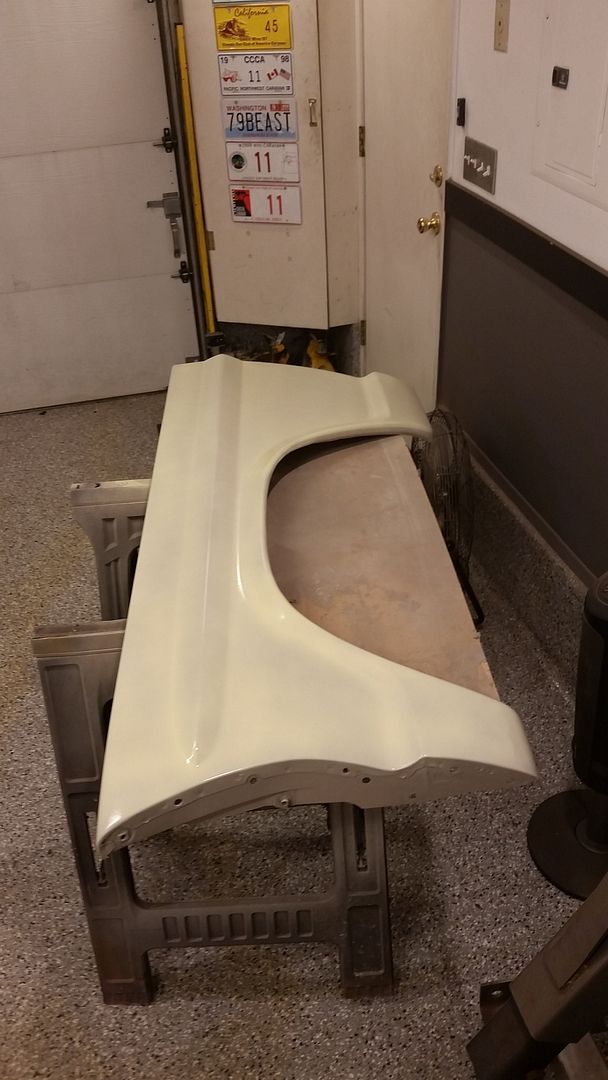
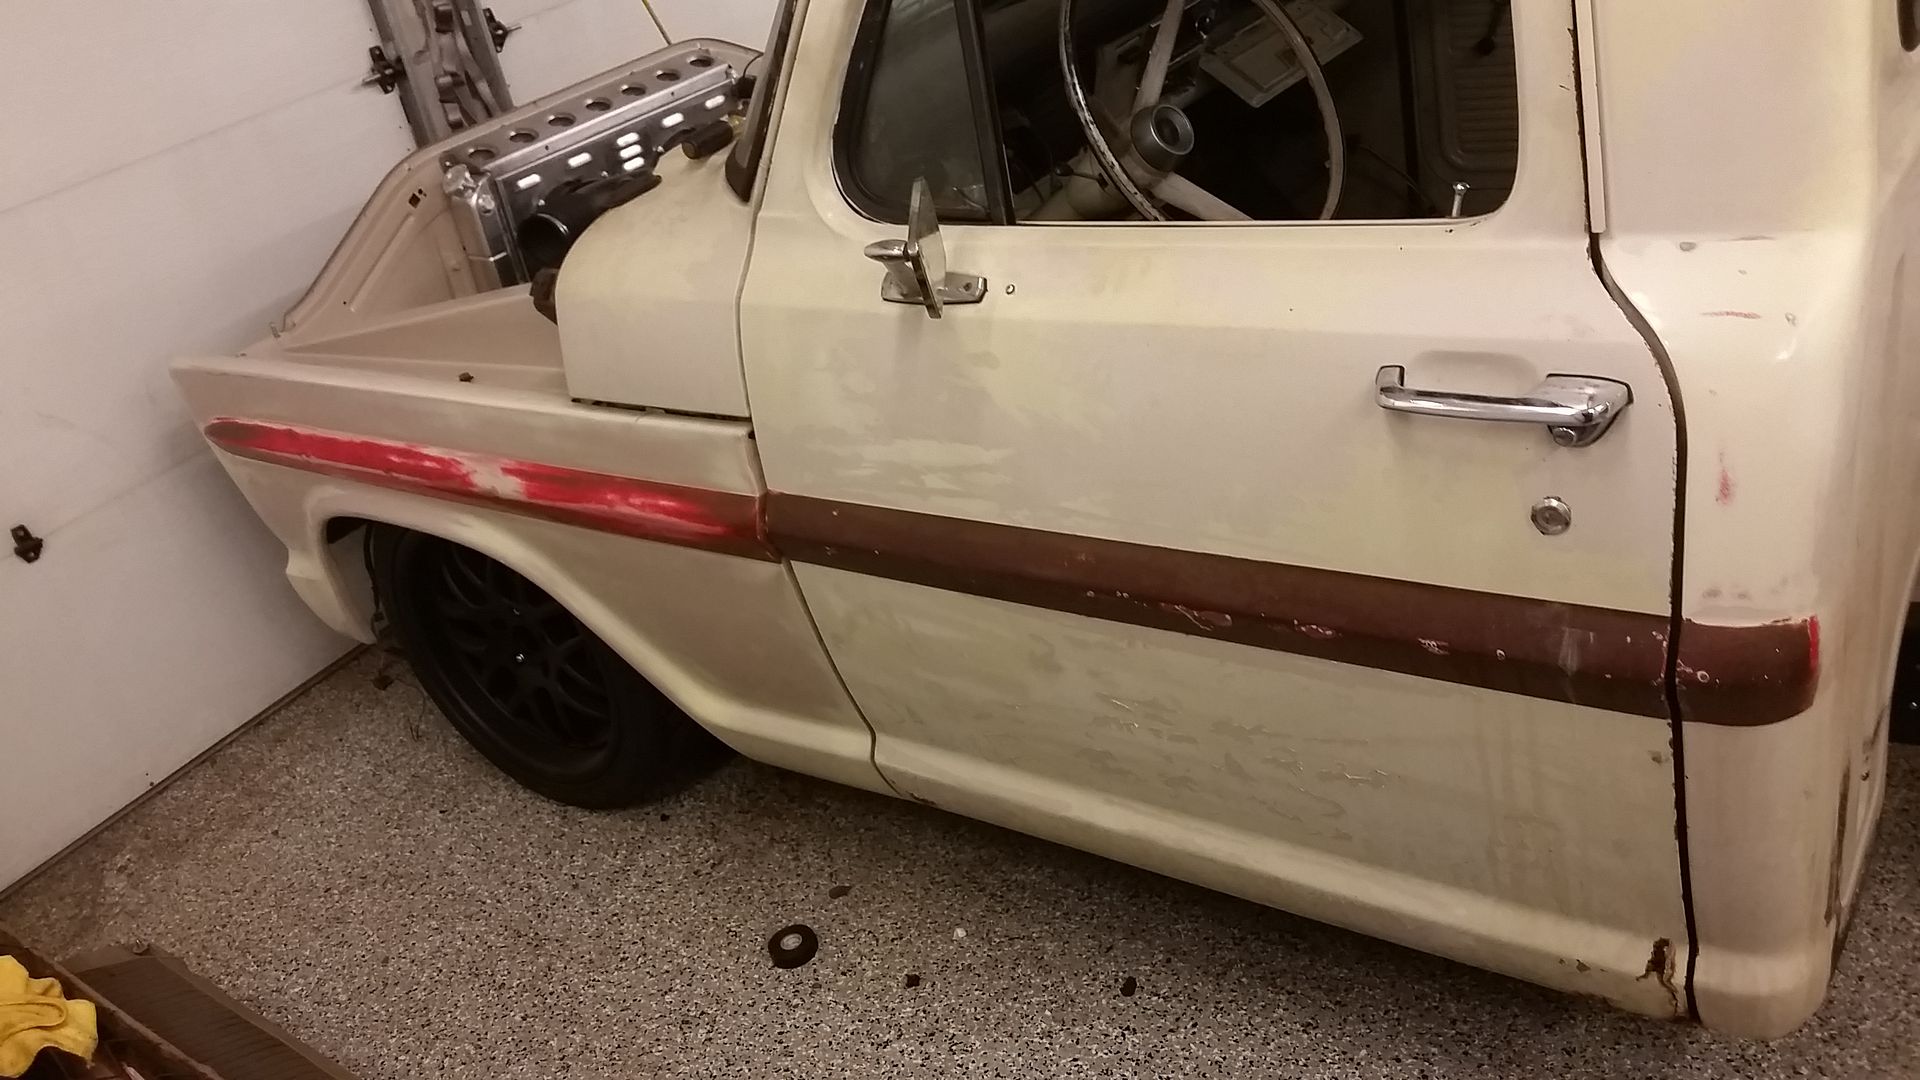
I cannot believe how much effort I have spent to make this fender match the rest of the ****ty truck.
I first shot it with the same pebble beige paint that I shot the inner fenders with. Not worried about the matte finish, I know I can polish it up to shine and its a good base color. Got that dried with some help from the heat.
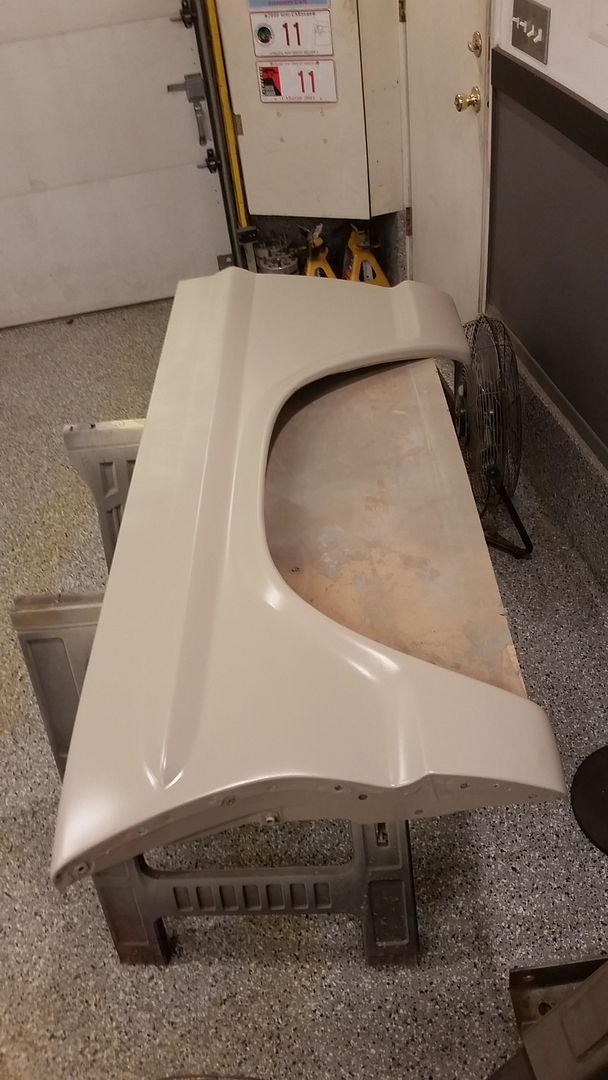
Then found some rattle can that matches the yellow that at one point was sprayed over the pebble beige. It looks like there is some damage repair on the passenger door, that must have prompted the repaint.
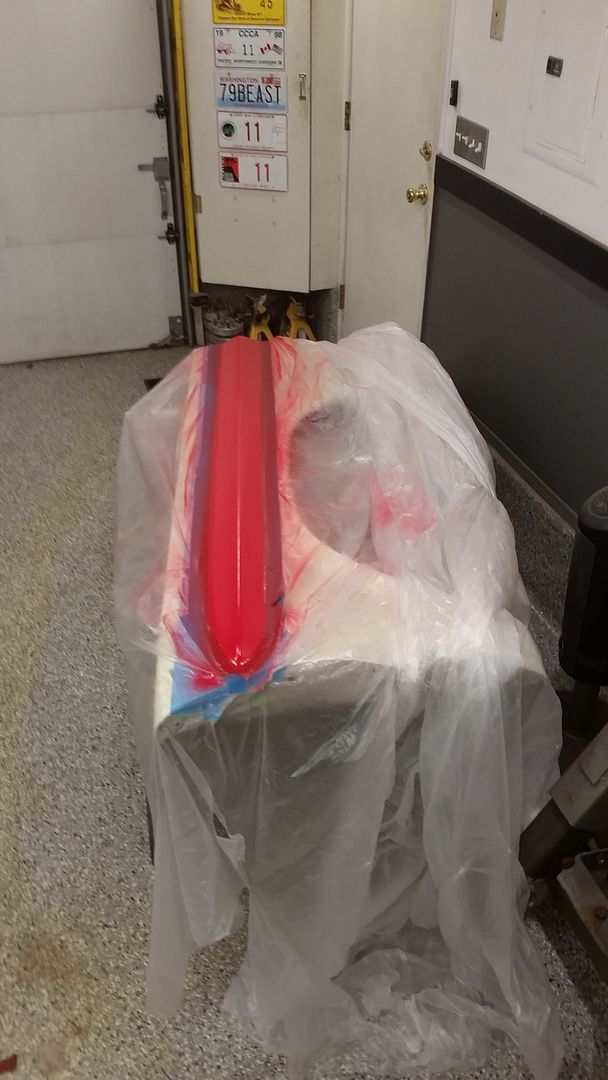
Then mask off and paint the stripe.
Red goes down in a couple light coats.
Then the brown, trying to match the factory finish remember.

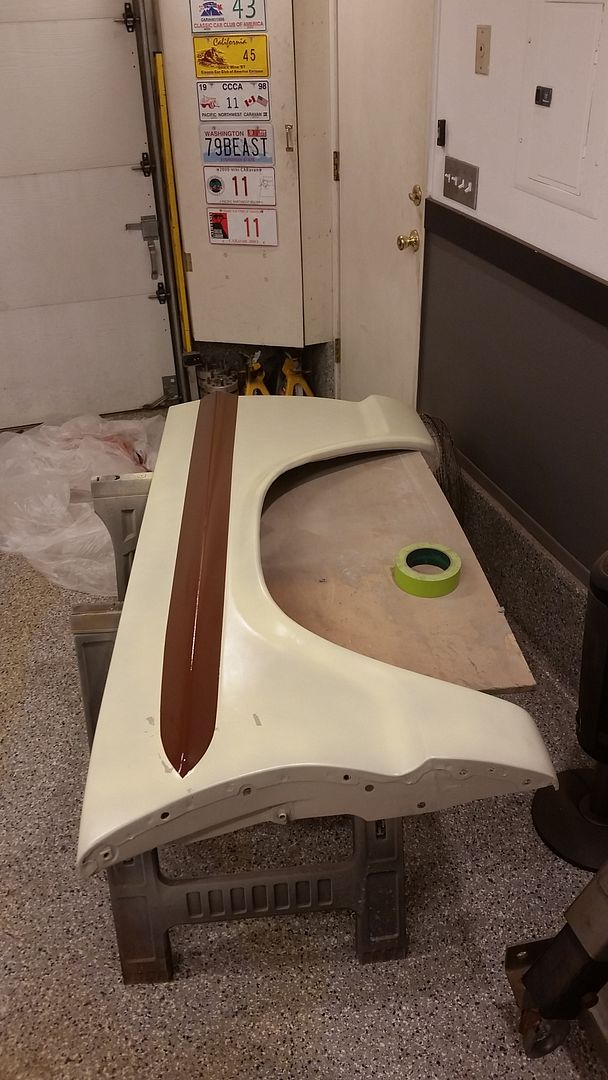
Now hitting it up with a little color sanding (LOTS) and hitting it with the polisher to shine the **** up :-jammin
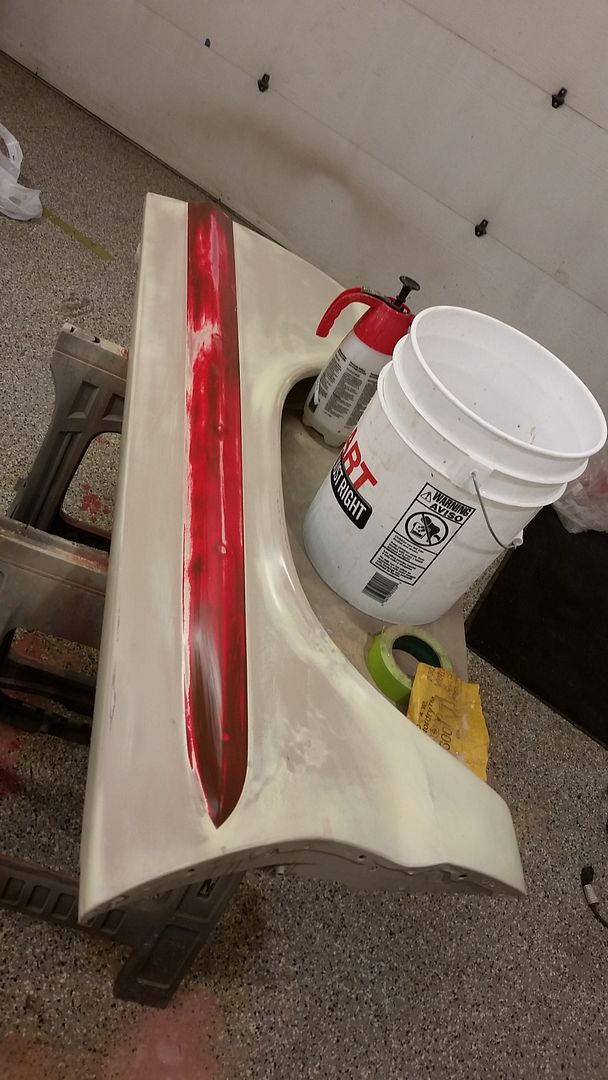
Still need to sand and polish the door and get more of the beige out of it but it looks really damn close for something that I fixed in the shop, welded up all the holes and straightenend myself, oh yeah and it was two tone before.
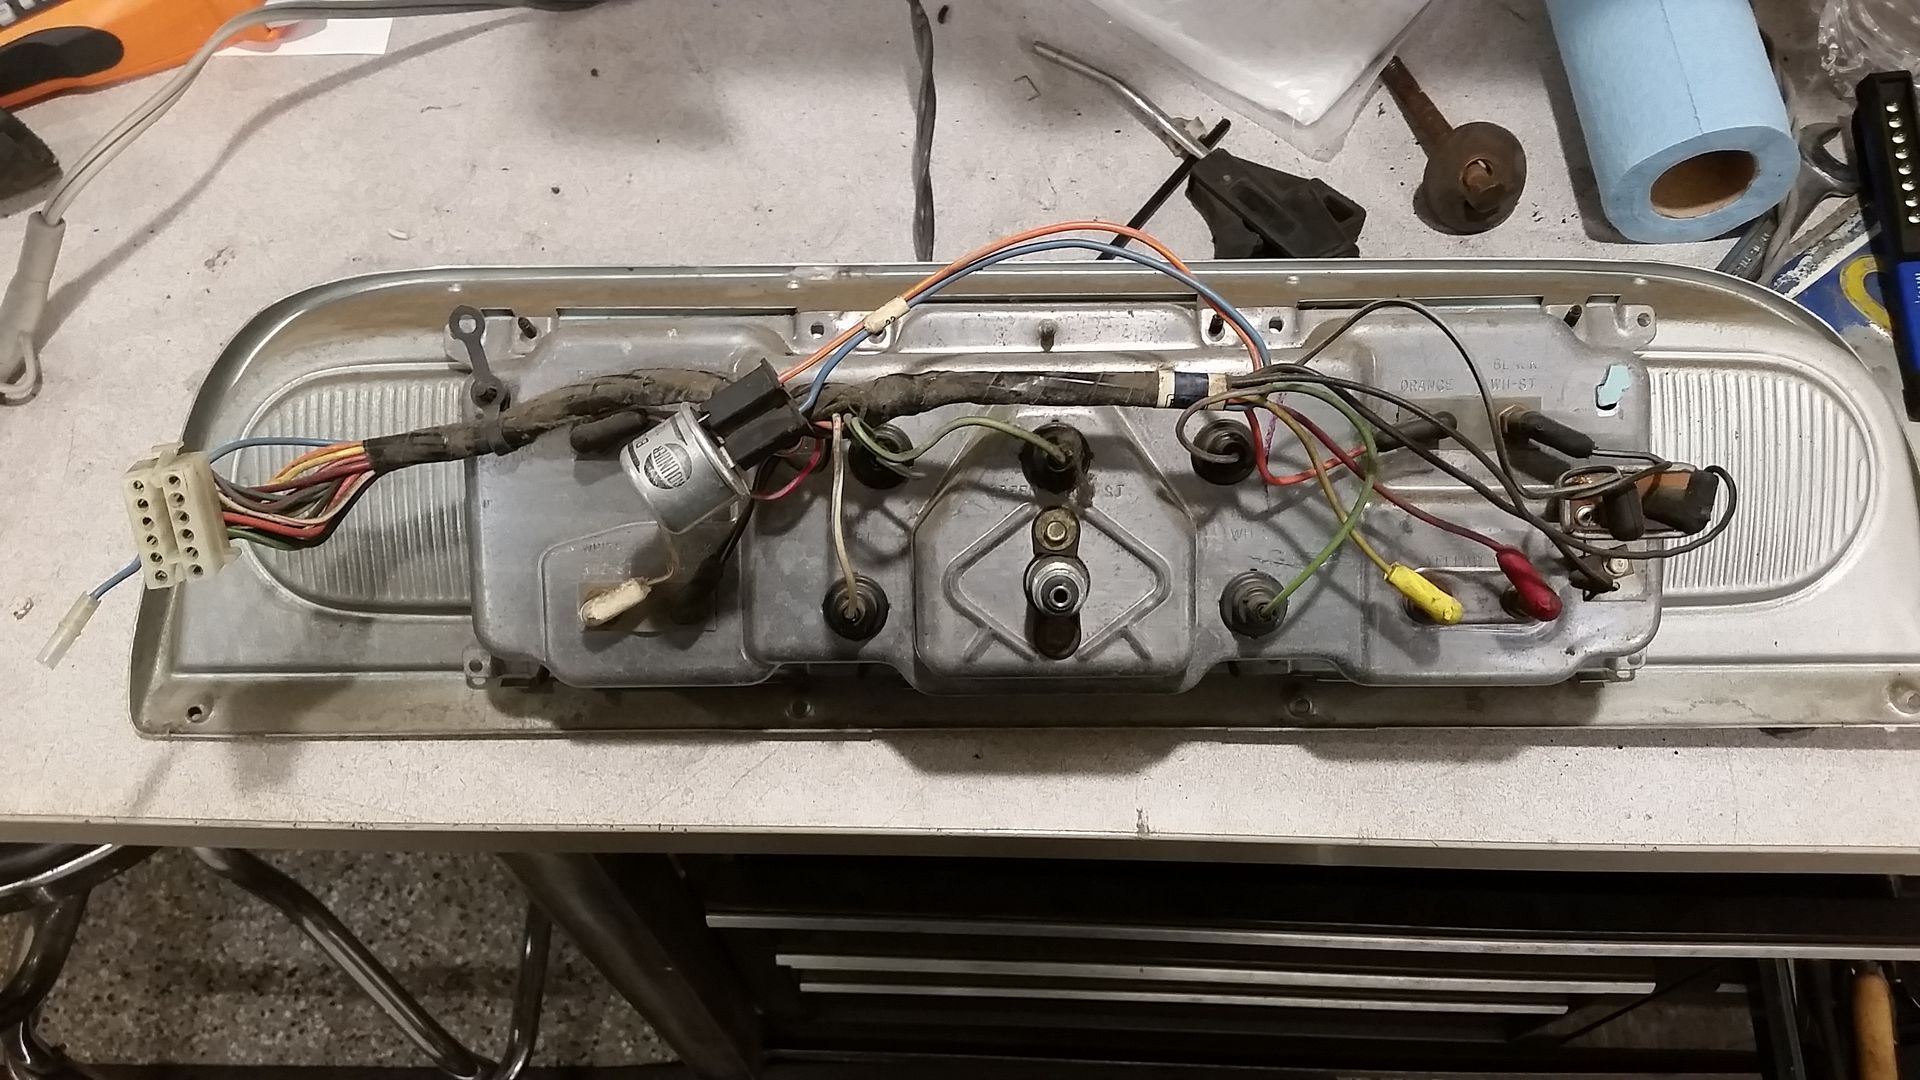
Also working on a bunch of wiring stuff today. Pulled the cluster out and got to work labeling the wiring from the old cluster. I unpinned the wires from the harness that I would not need now or hopefully in the future. This should leave me with a nice and clean wiring harness that I can plug into the Dakota Digital VHX guages I am going to use.
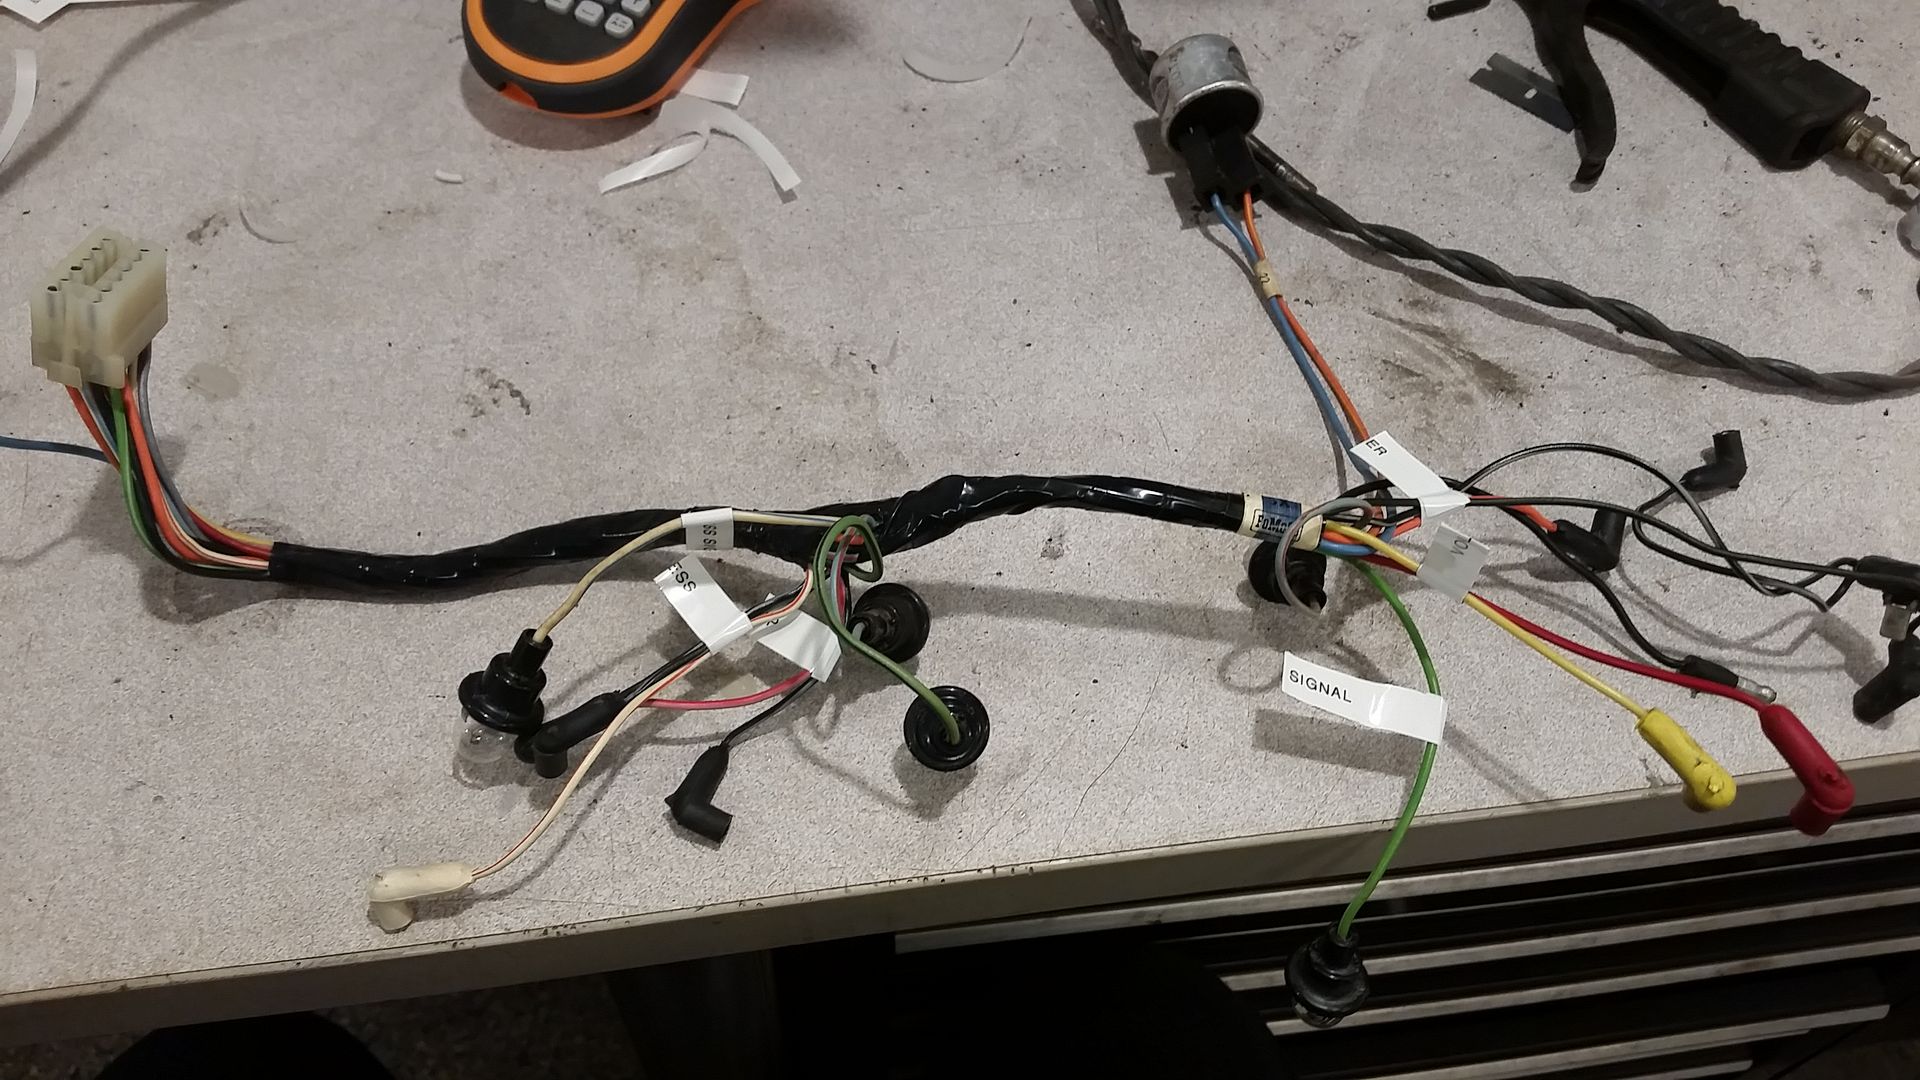
The rest of the stuff I was working on was pretty boring. I had originally planned on just runnin the wiring to the battery and up front for the lighting on the fenders like the stock stuff, however the damn inner fenders turned out so good I could just not bring myself to it. So I redid a little bit of wiring on the drivers side, poked a hole into the panel where the vent draws from and then out the factory grommet to the underside of the inner fender. I also ran the wires out for the pressure switch and cleaned up the harness near that, it is done now and looks a lot cleaner.
Got the passenger side figured out as well, drilled holes, ran the wire and got grommets installed in the opening. I also have the big wire to feed my Ford Racing stuff as well as the small distribution block I have in there to feed some other stuff.
Next week or so is going to be pretty boring, just wiring in a bunch of stuff. Might try and get the bed on a stand so I can get to work on it. I need to get the hole cut in the bed for not only the filler neck but also for the three link and weld up the holes in the side of the bed, they are driving me crazy.
Sorry for all the dialogue.... :-whud
-
hackster
- Preferred User

- Posts: 317
- Joined: Fri Oct 18, 2013 11:21 am
Re: Hackster's F100 #2 CV Swap 6 speed manual and Coyote
Crappy day at work today and not exactly the best day in the garage. But life goes on and so does this damn build thread!!! 
I was all excited to get going on the bed. Plan was to get it on some rollers and get it mobile so I could work on it in the shop. Needs a gas filler hole and all the bedside holes filled up.
I even picked up some 4 wheel dollies on the way home.
Then I realized that I needed to notch out the bottom of the bed even to be able to set it on the dollies, otherwise I would not be able to get to the bottom side.
I notched out the lower bed support over the three link frame mount but the bed floor will need to be cutout in order for uptravel to happen so I got to building this contraption. It just needed to be rounded in my head.
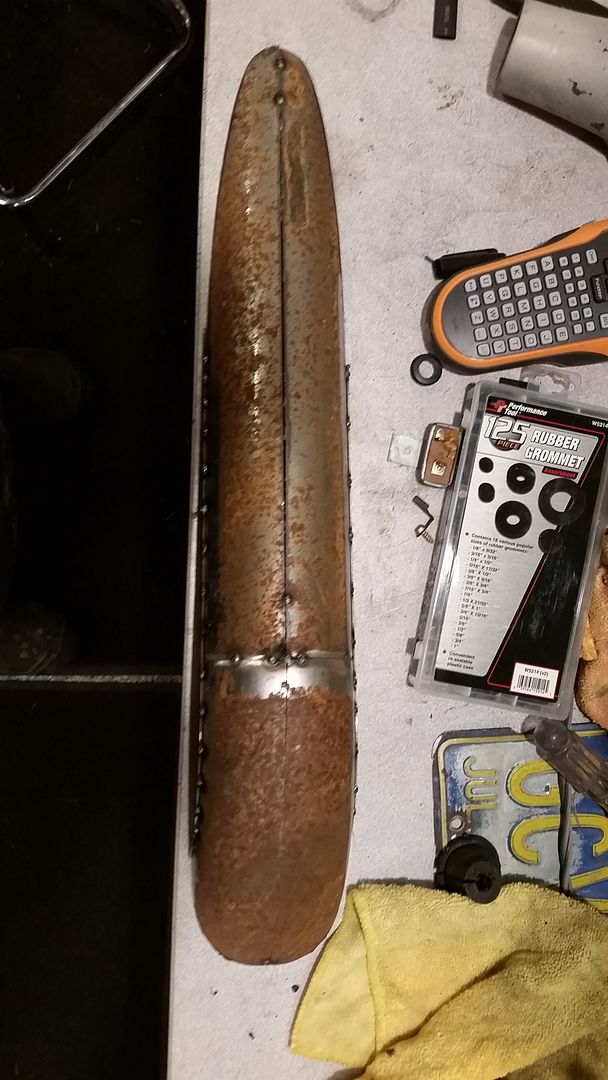
This is 1 4" Ubend, some 4" tubing and a little 18 ga sheetmetal.
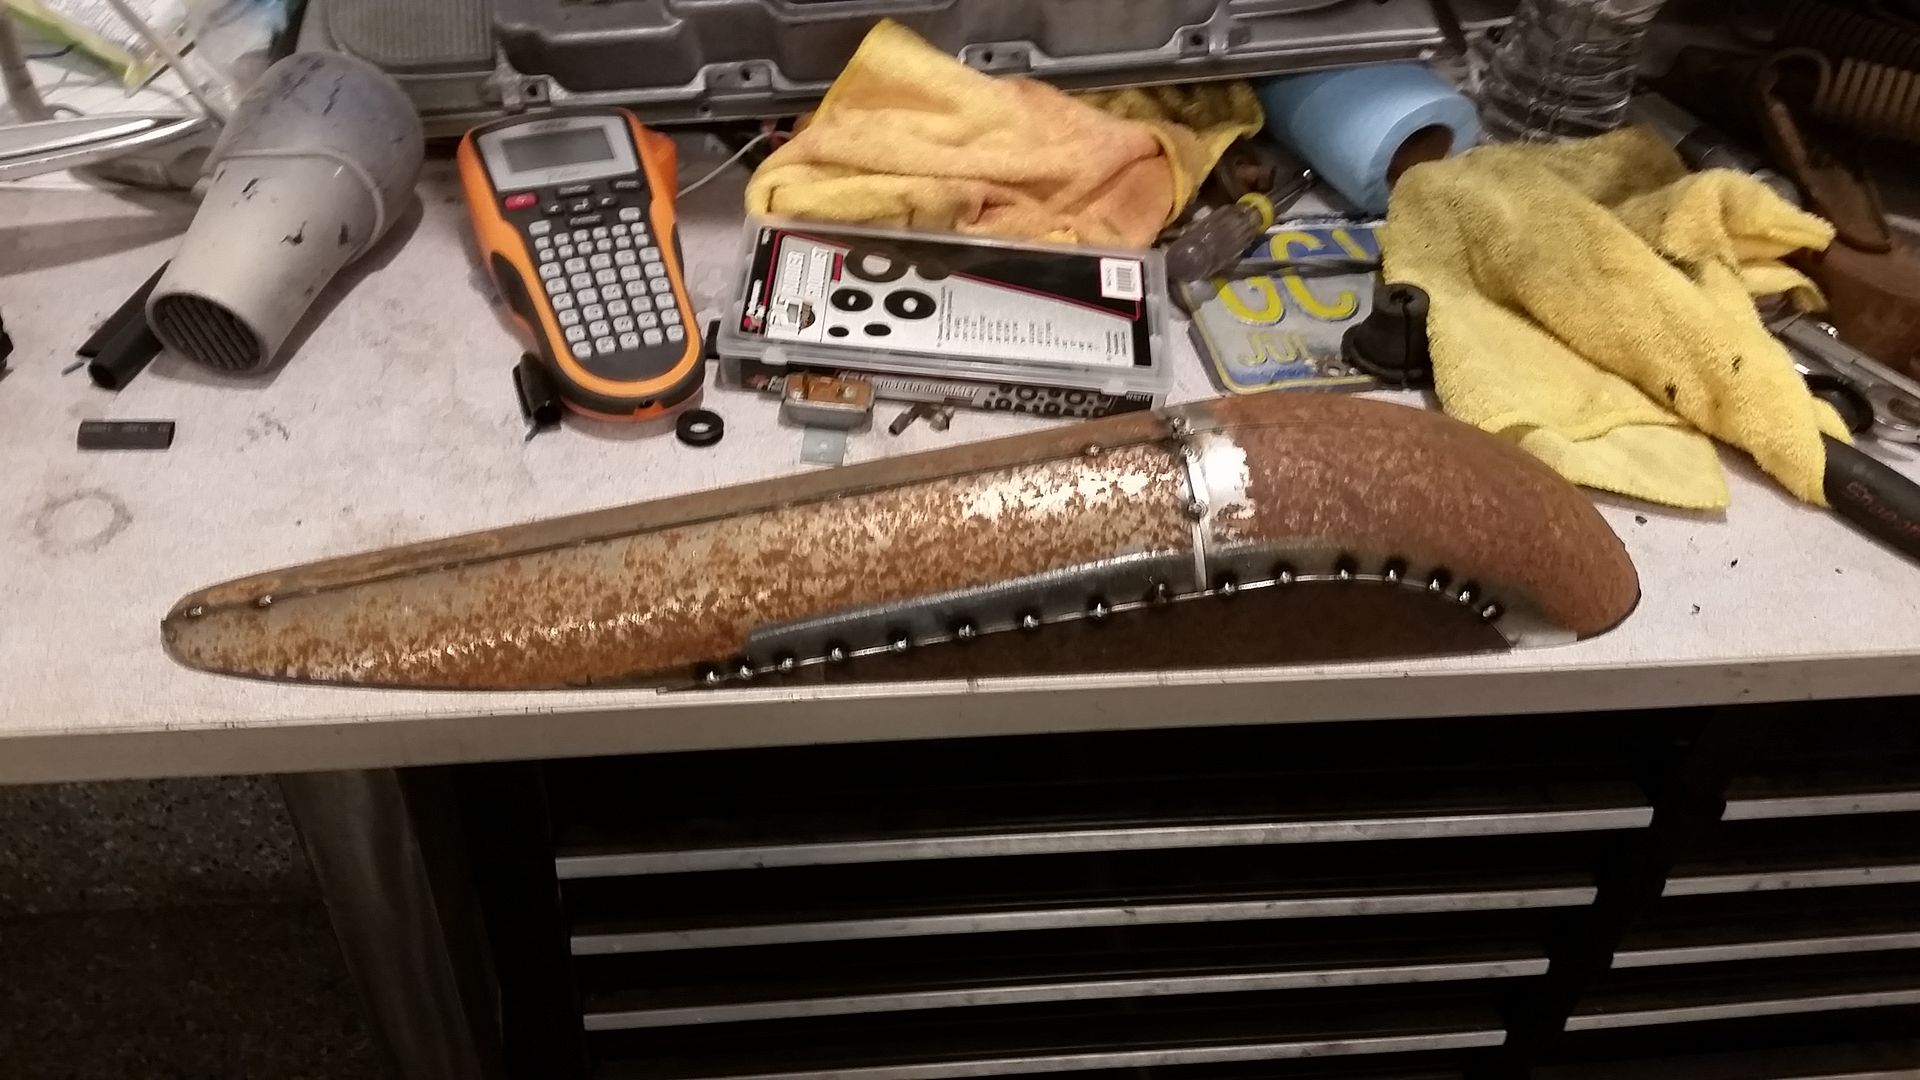
Then I took this, cut it down the middle with a piece of flat 18 ga at 3" at the front and 4" at the rear giving me what I think will be a nice cover for the third link.
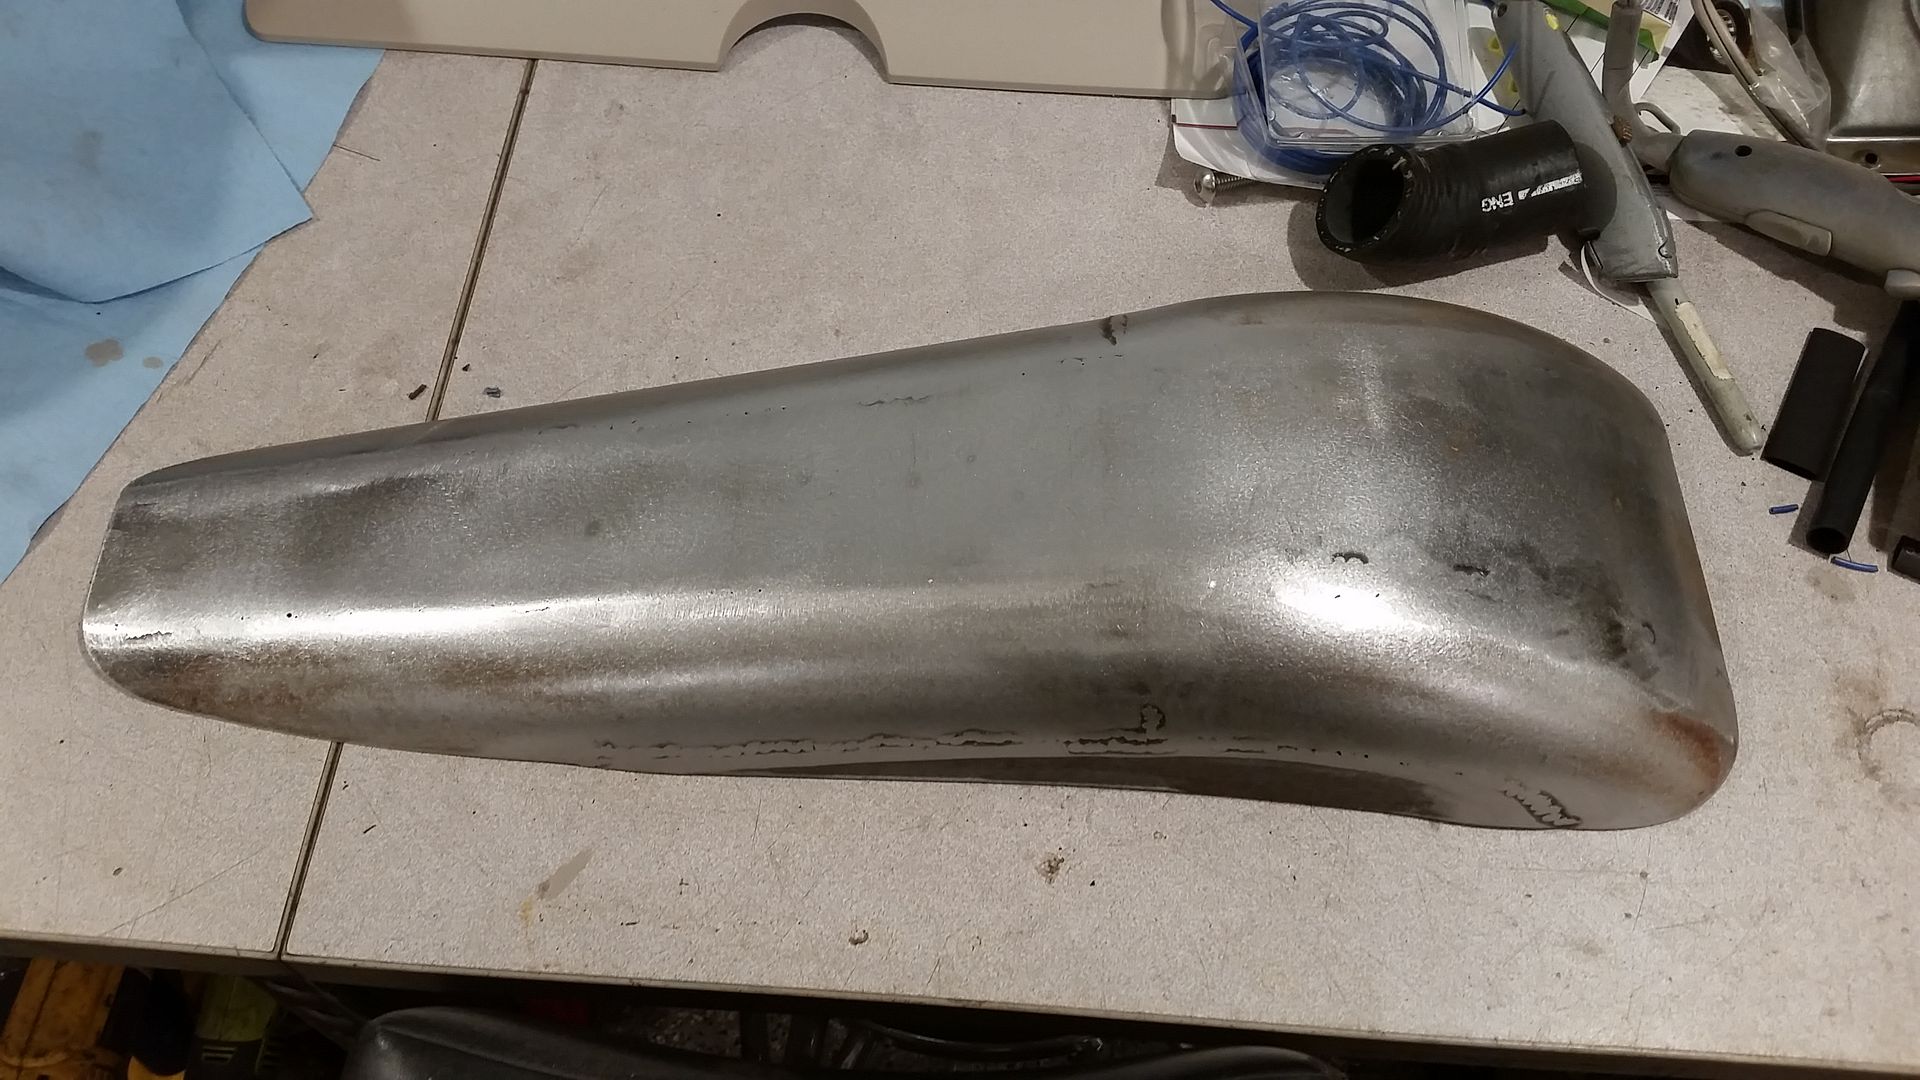
You can get an idea of what it is going to cover.
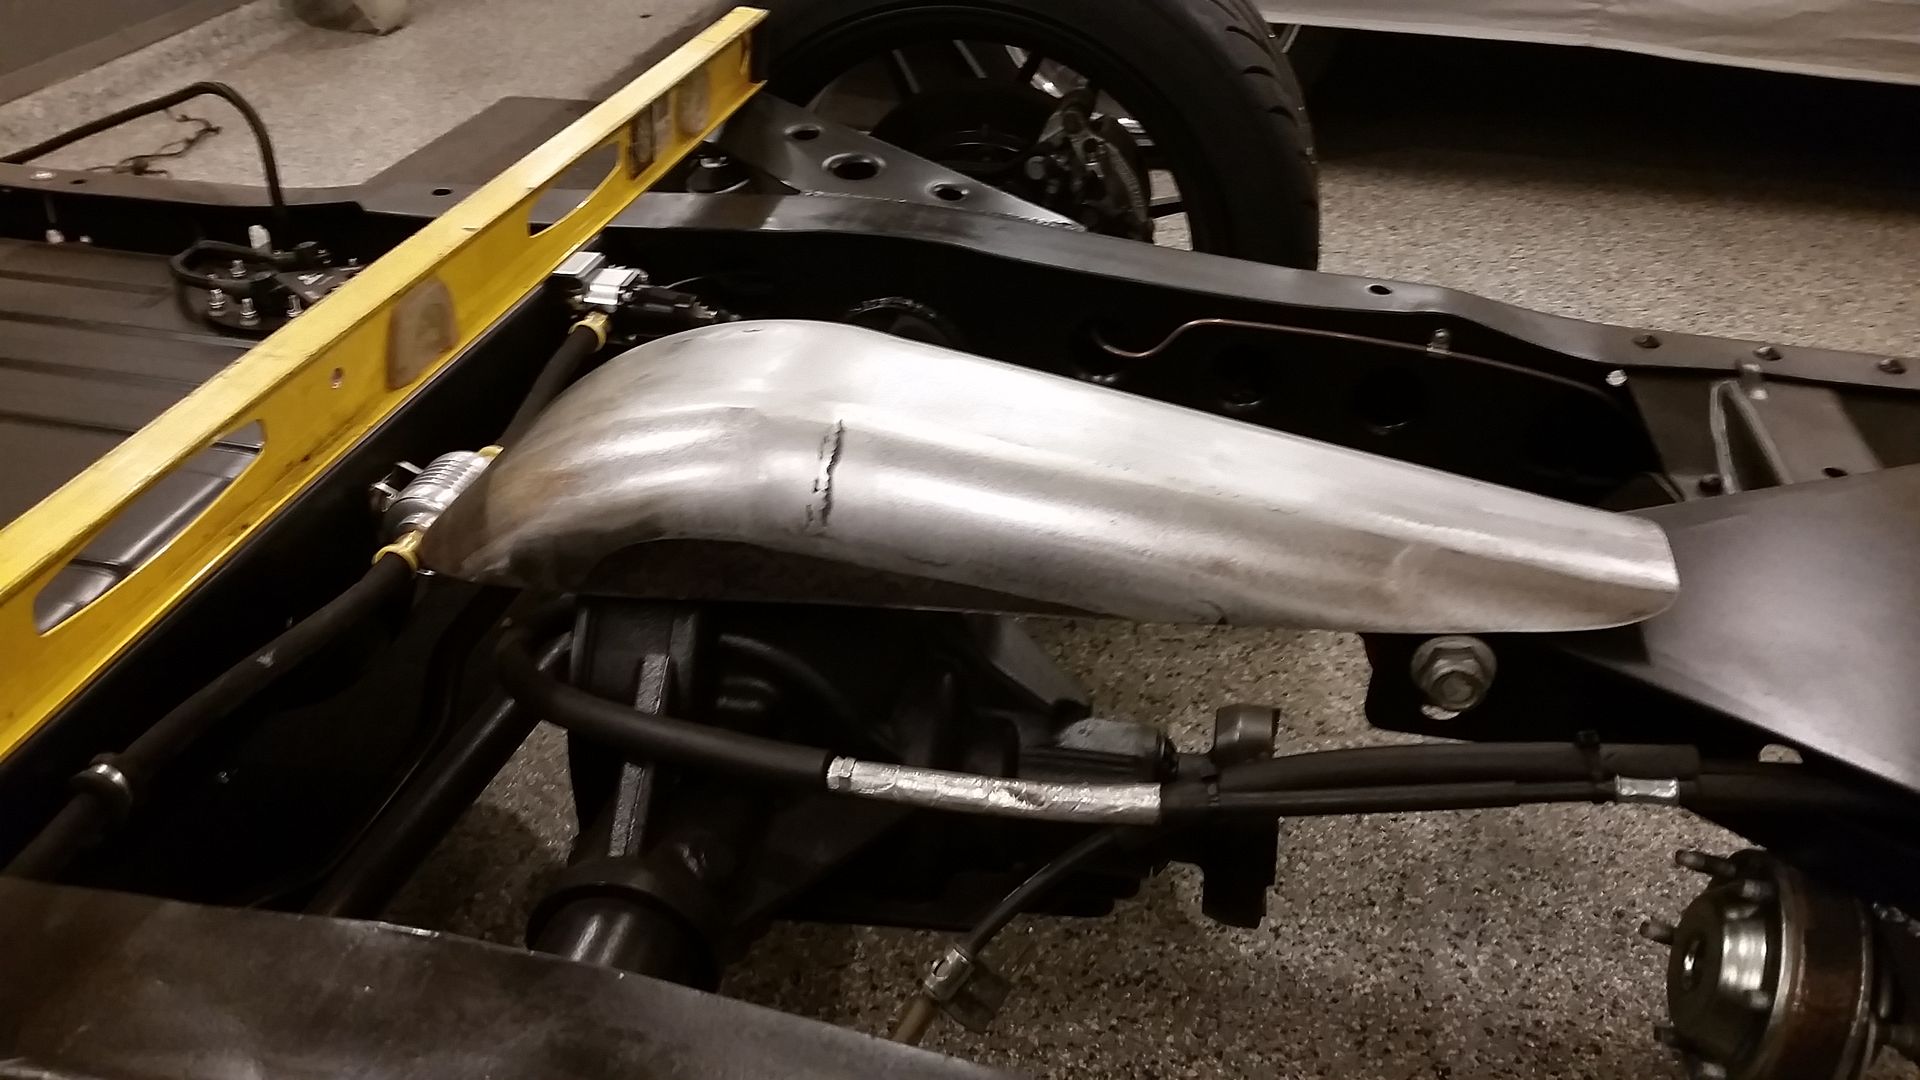
Hope to try and bend up a flange for it and get the hole cut in the bed tomorrow night, then I can get back to the work I had planned for tonight.
Sean
I was all excited to get going on the bed. Plan was to get it on some rollers and get it mobile so I could work on it in the shop. Needs a gas filler hole and all the bedside holes filled up.
I even picked up some 4 wheel dollies on the way home.
Then I realized that I needed to notch out the bottom of the bed even to be able to set it on the dollies, otherwise I would not be able to get to the bottom side.
I notched out the lower bed support over the three link frame mount but the bed floor will need to be cutout in order for uptravel to happen so I got to building this contraption. It just needed to be rounded in my head.

This is 1 4" Ubend, some 4" tubing and a little 18 ga sheetmetal.

Then I took this, cut it down the middle with a piece of flat 18 ga at 3" at the front and 4" at the rear giving me what I think will be a nice cover for the third link.

You can get an idea of what it is going to cover.

Hope to try and bend up a flange for it and get the hole cut in the bed tomorrow night, then I can get back to the work I had planned for tonight.
Sean
-
hackster
- Preferred User

- Posts: 317
- Joined: Fri Oct 18, 2013 11:21 am
Re: Hackster's F100 #2 CV Swap 6 speed manual and Coyote
So Garage build was not in the cards tonight. I needed to get the hole cut in the bed and get my little home made recess welded in before I could lay the bed down and get it into the garage....it is dark when I get home and chilly tonight, in the low 30's so it was a chilly night but successful.
I managed to get the hole cut and fit to my insert and welded up!!!
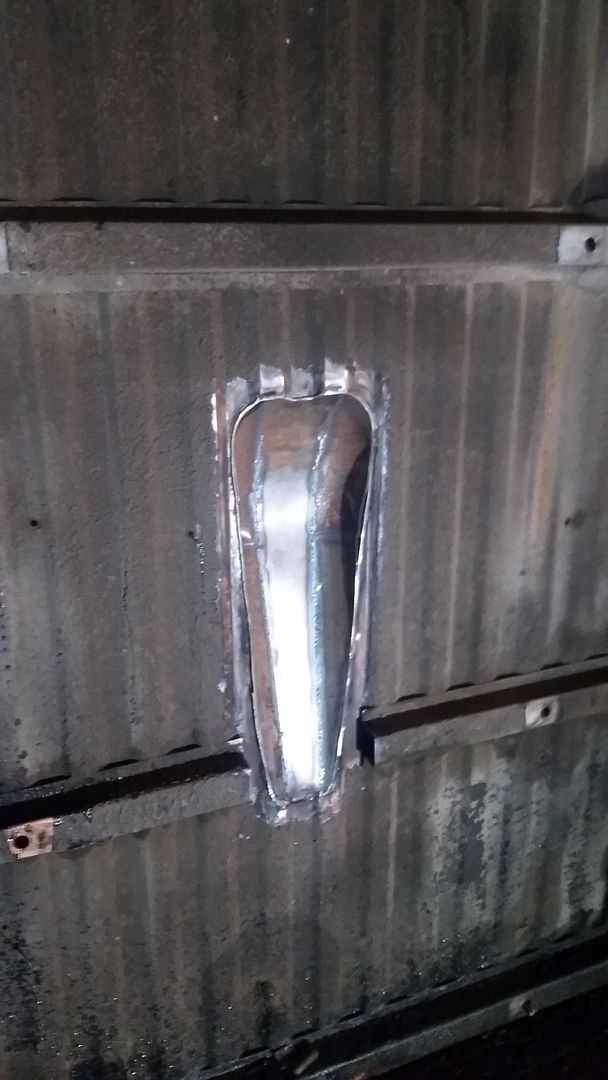
Turned out pretty alright from this side, whats the top look like though?
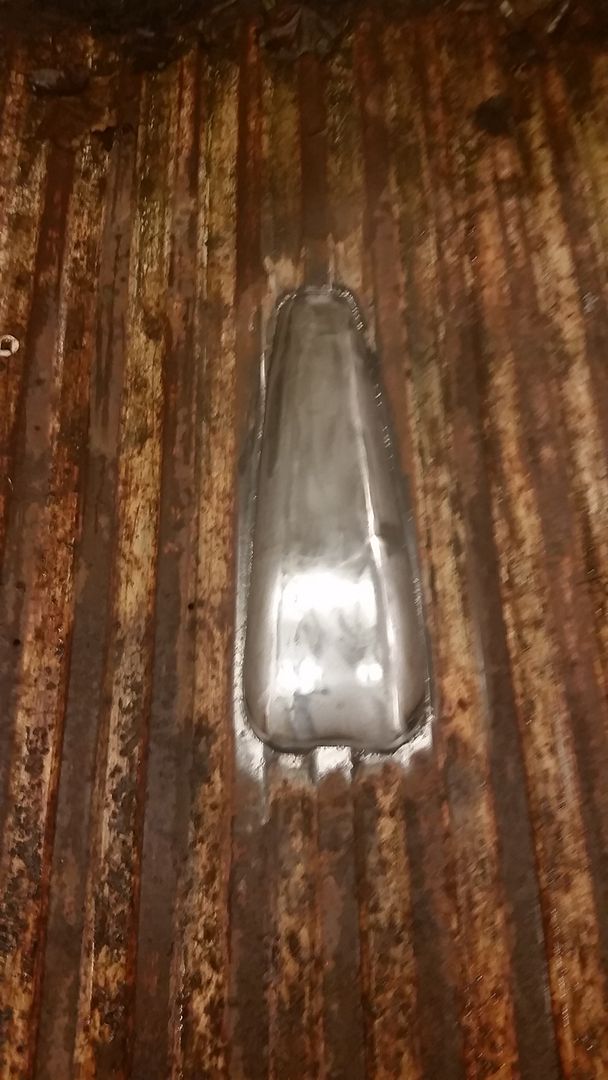
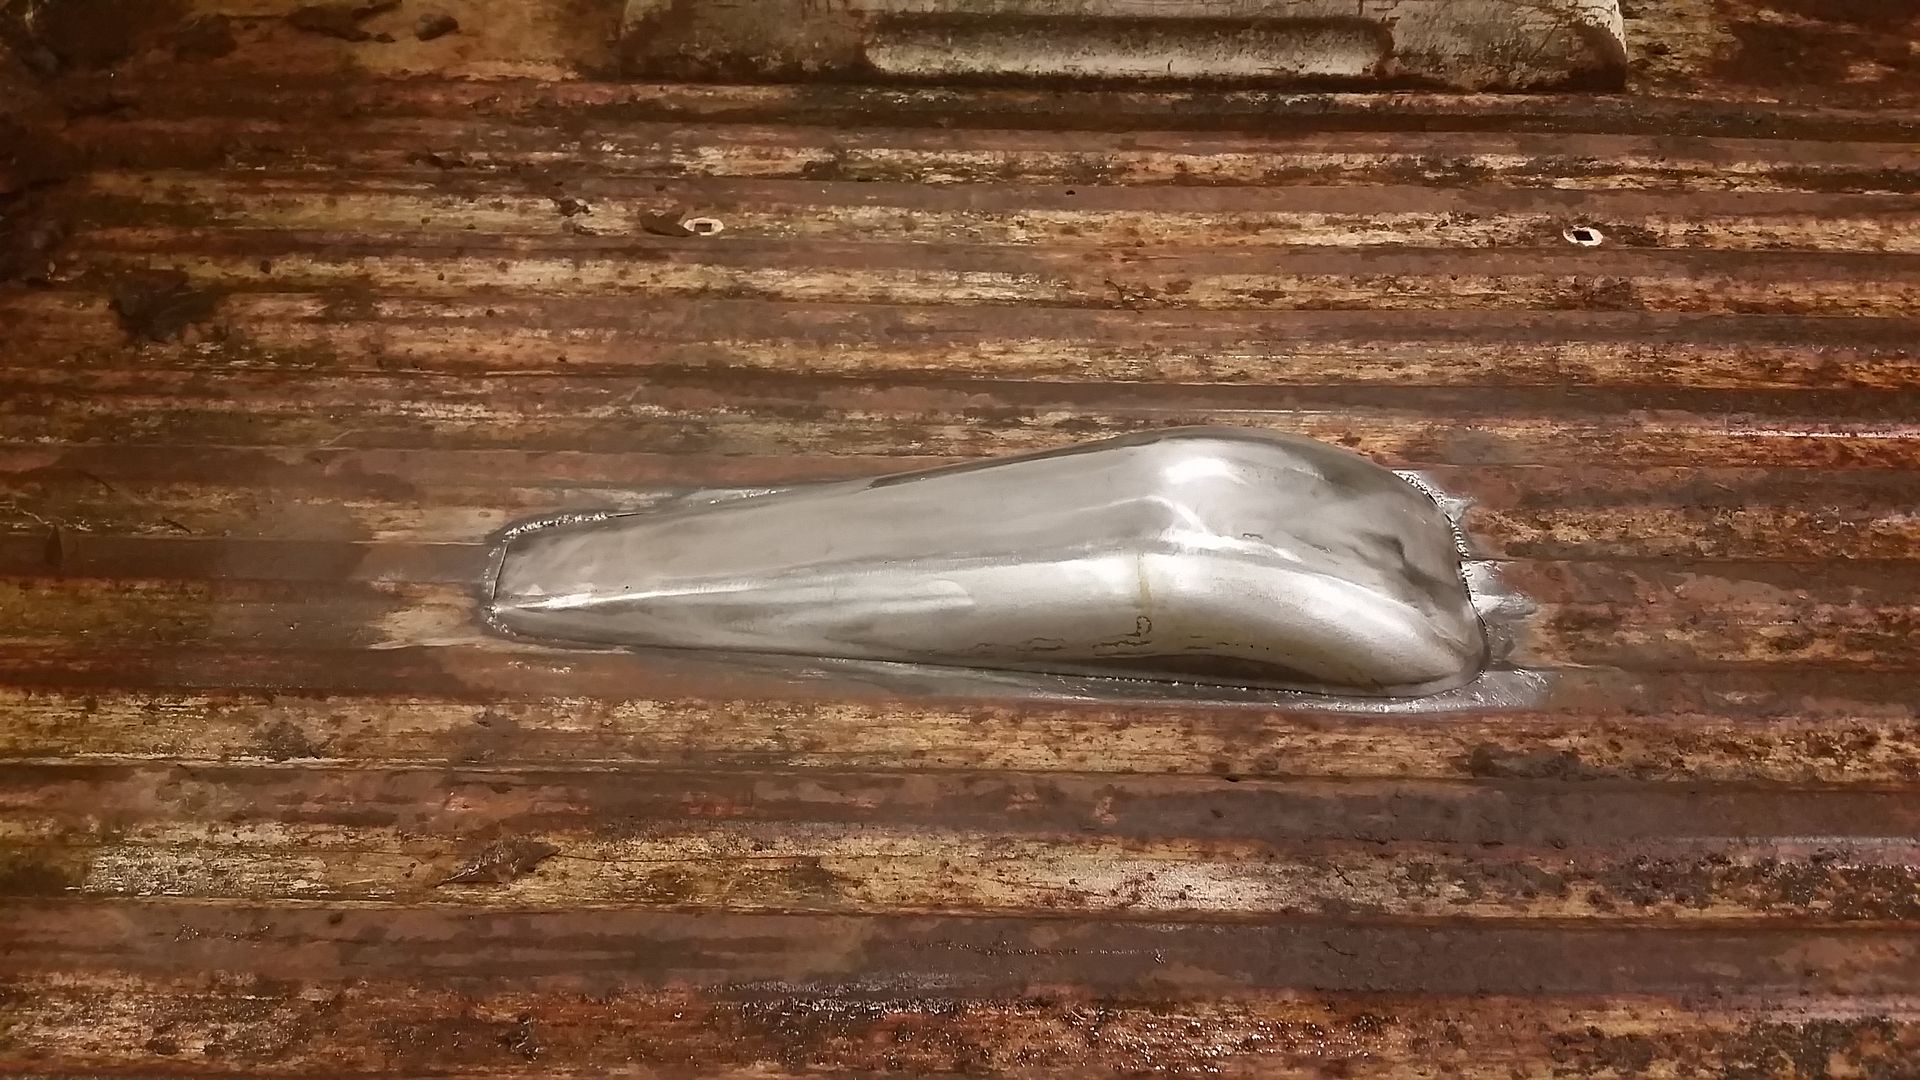
Turned out pretty damn good!!! My phone died but I also got the top side seam sealed up and got the stupid bolts all cut off the sides of the bed. I need to weld those up tomorrow and hopefully shoot some paint on her before the holiday.
Sean
I managed to get the hole cut and fit to my insert and welded up!!!

Turned out pretty alright from this side, whats the top look like though?


Turned out pretty damn good!!! My phone died but I also got the top side seam sealed up and got the stupid bolts all cut off the sides of the bed. I need to weld those up tomorrow and hopefully shoot some paint on her before the holiday.
Sean
- BossGB385
- New Member

- Posts: 22
- Joined: Thu May 21, 2015 10:25 pm
- Location: Ga
Re: Hackster's F100 #2 CV Swap 6 speed manual and Coyote
I like it. Coming along very nicely.
-
michael9218
- New Member

- Posts: 35
- Joined: Tue Sep 29, 2015 8:07 pm
- Location: Woodstock, Ga
Re: Hackster's F100 #2 CV Swap 6 speed manual and Coyote
I was waiting to see how you were going to notch the bed for the top link. Looks very clean!
-
hackster
- Preferred User

- Posts: 317
- Joined: Fri Oct 18, 2013 11:21 am
Re: Hackster's F100 #2 CV Swap 6 speed manual and Coyote
Thank you very much!!BossGB385 wrote:I like it. Coming along very nicely.
Thanks, It was a compromise really. I did not want it to be square and this is about all my skill set would let me build. Hind sight, I should just cut out the floor of the bed and built new.....actually I think I will likely do that at some point.michael9218 wrote:I was waiting to see how you were going to notch the bed for the top link. Looks very clean!
Managed to sneak out in the garage for just a few minutes tonight, seems as though all the sick people at work gave me a cold so not much time in the shop.
Got the holes in the bed sides all welded up and ground down, I am getting better at that each time I do it.
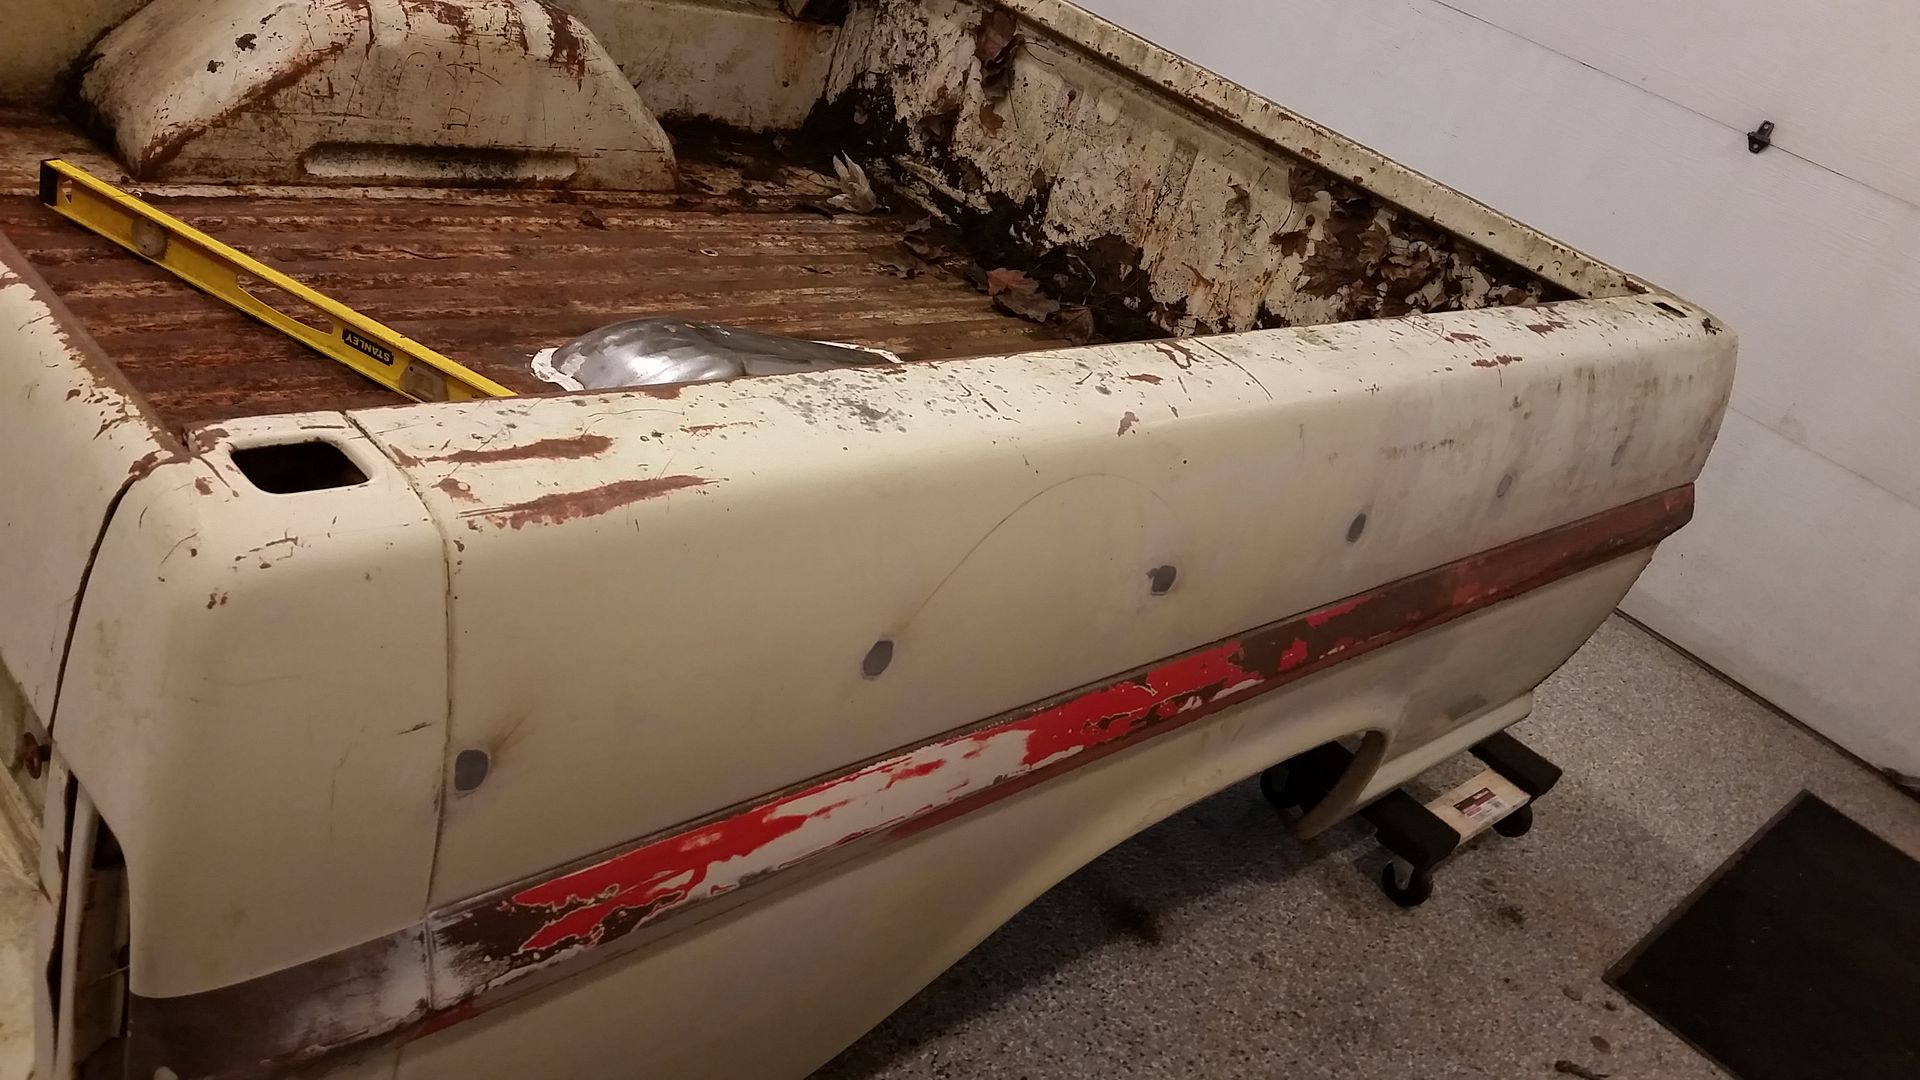
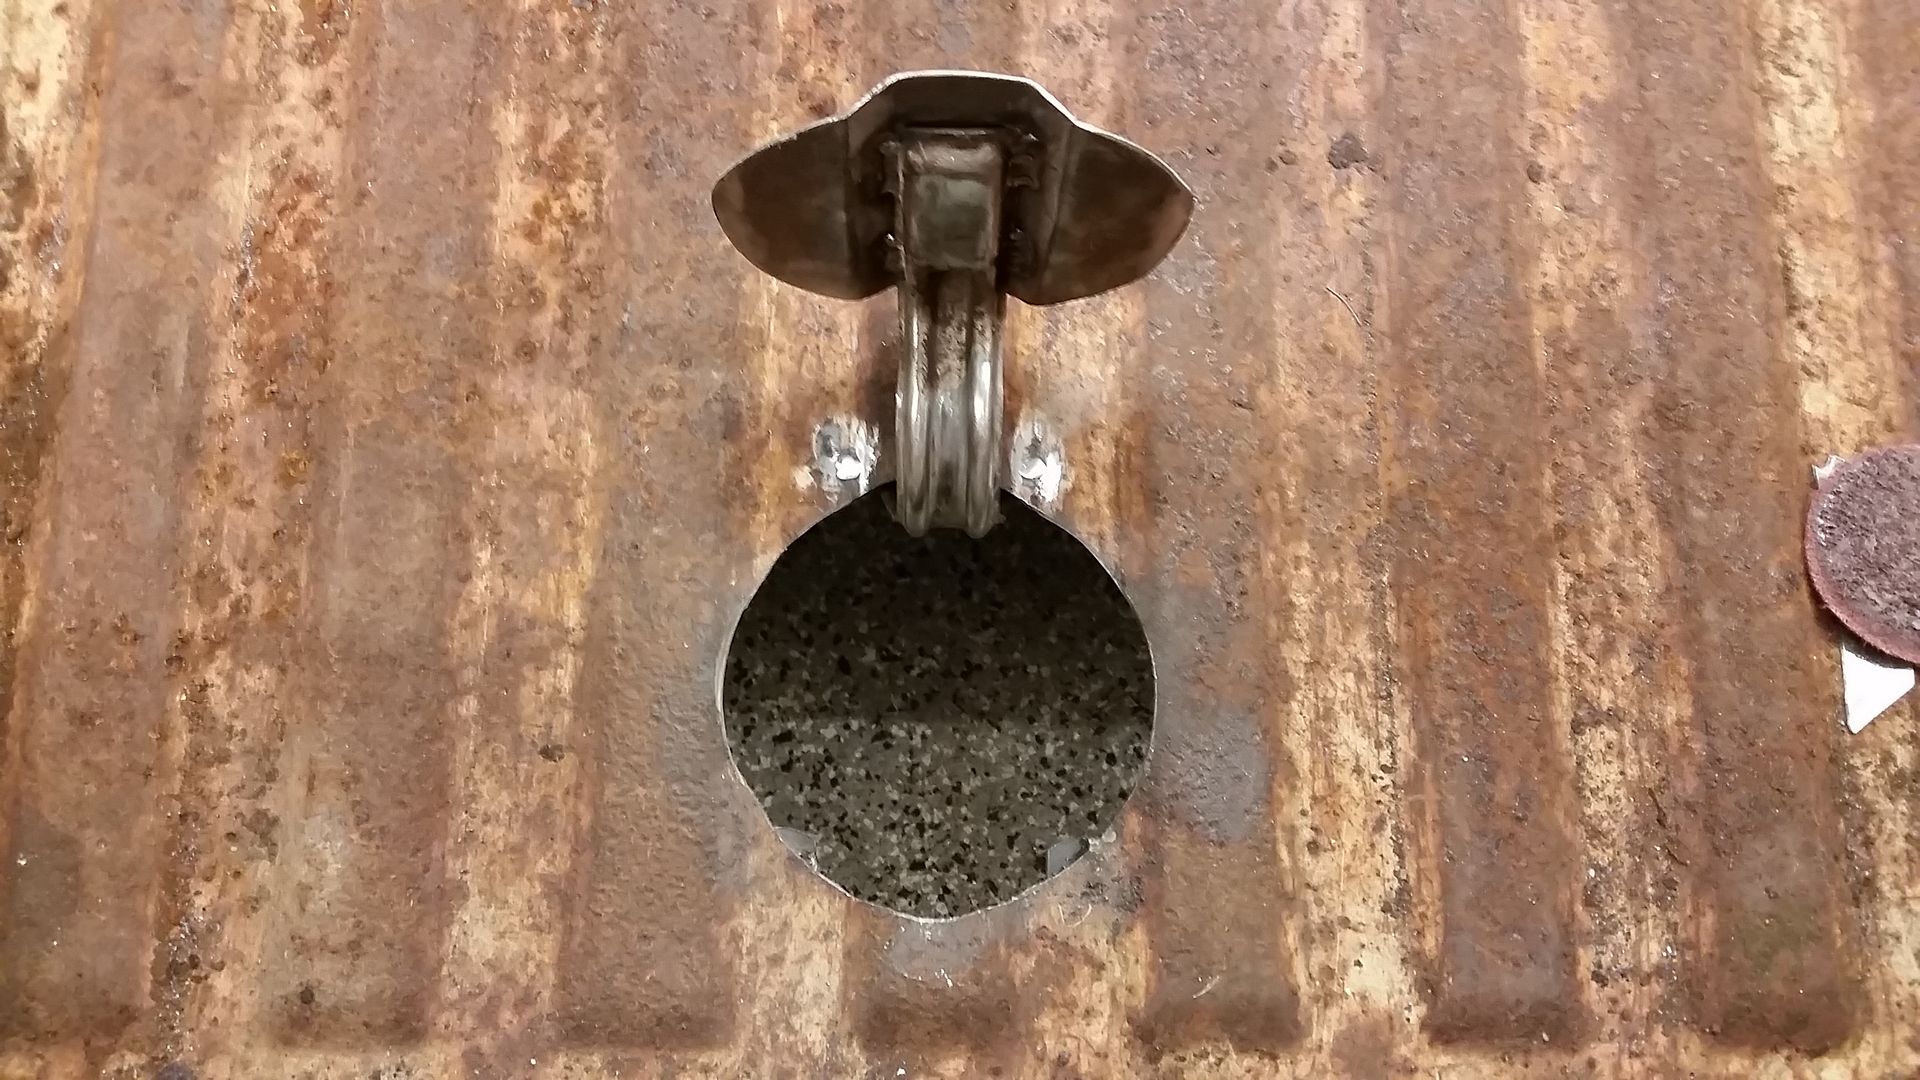
Picked up a gas door from an Explorer and used it to get a gas door in the bed floor. I really liked the way the last one turned out so I just copied myself on this one. 6" hole saw....that died halfway through and voila instant gas door.

Hinge worked really well.
I got some high build on the weld spots hope to lay some paint on them tomorrow after work. Gotta pickup some stuff for the wiring, hope to make a good dent on it this weekend.
Sean
-
hackster
- Preferred User

- Posts: 317
- Joined: Fri Oct 18, 2013 11:21 am
Re: Hackster's F100 #2 CV Swap 6 speed manual and Coyote
Happy New Year!!
Wish I had a little better progress to share. Its been cold, really cold here and not much progress.
I did get the holes all primed and sanded down on the bed, I actually really liked the look of the primered patched holes on the bed. I ended up giving them a little bit of clean and then spending hours and hours wet sanding and buffing. I am not sure why, I know its supposed to be ratty looking but that doesnt mean it cannot be cool and clean right?
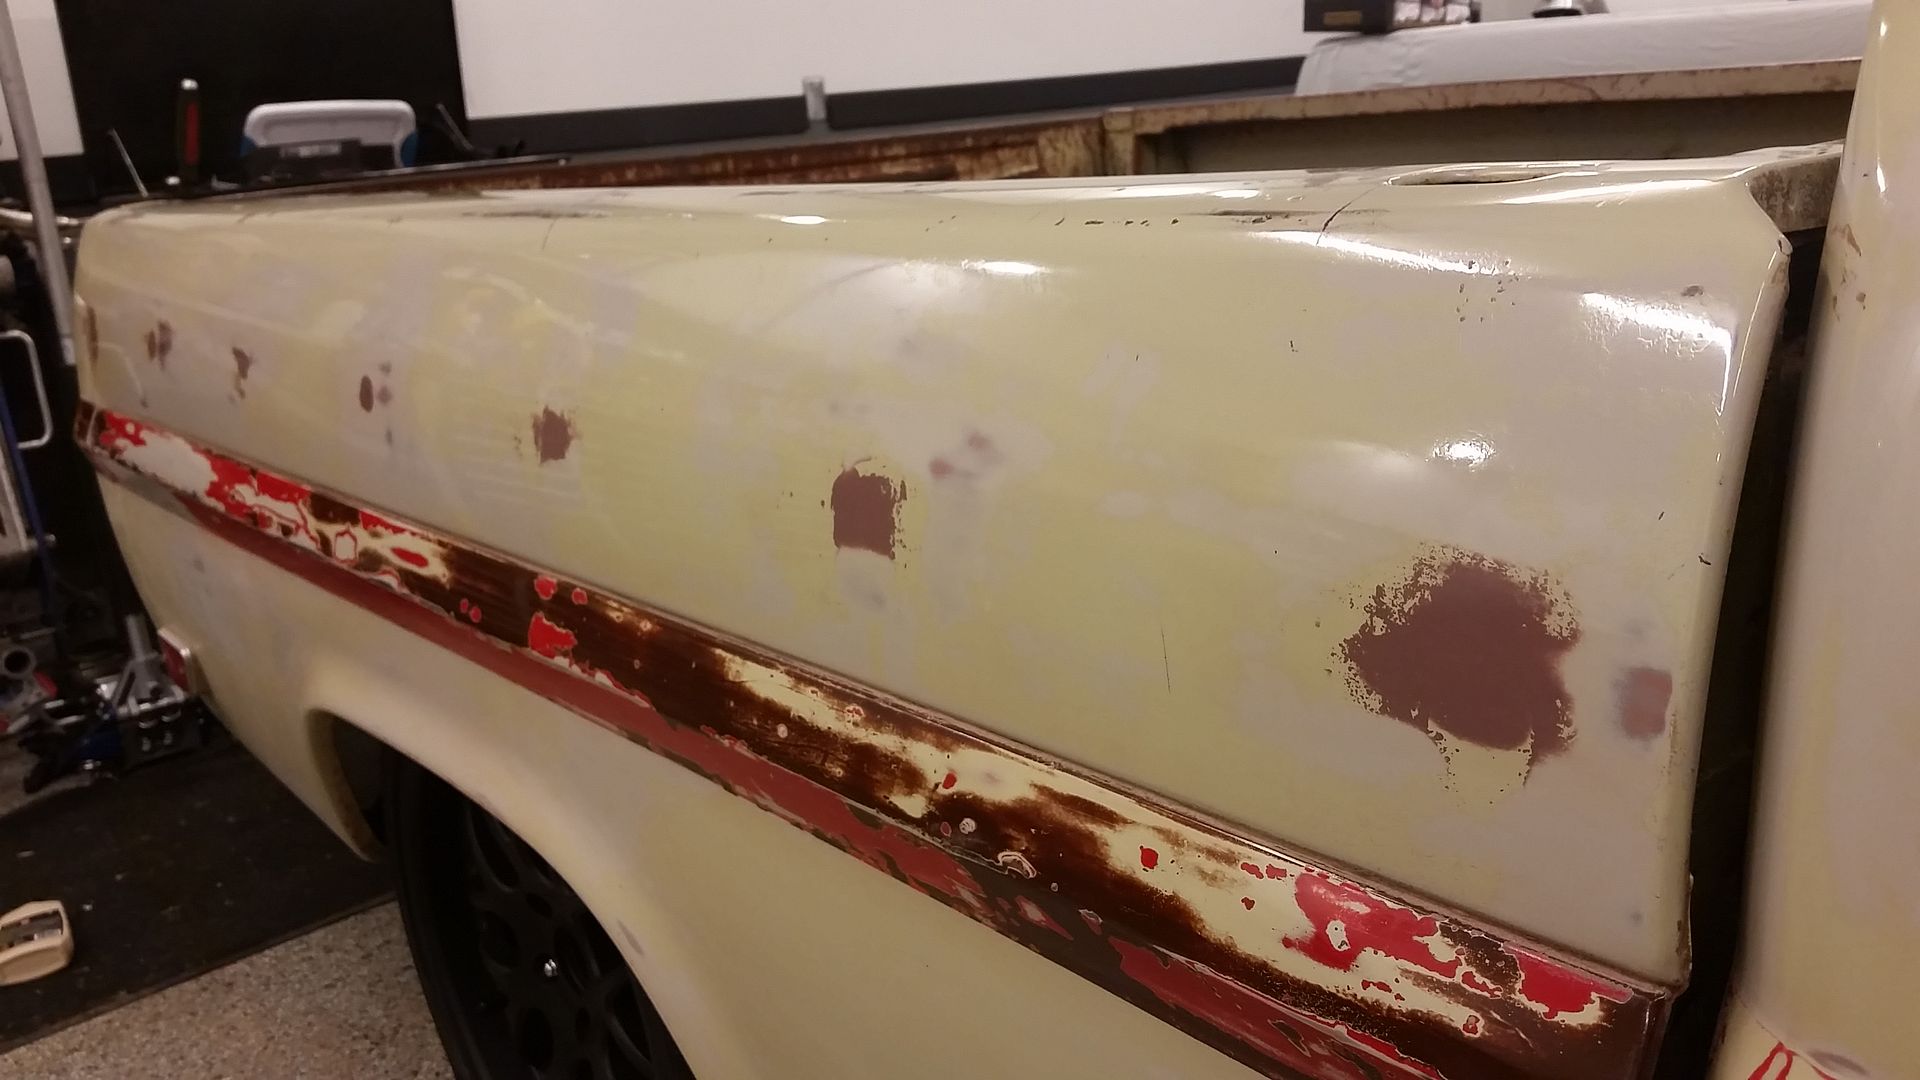
You can also see that I managed to get it on the truck too. I actually need a little bit more clearance for the shock towers. Its only about 1/4" so I am not sure If I am just going to clearance it with a ball peen hammer and be good or cut and patch it.
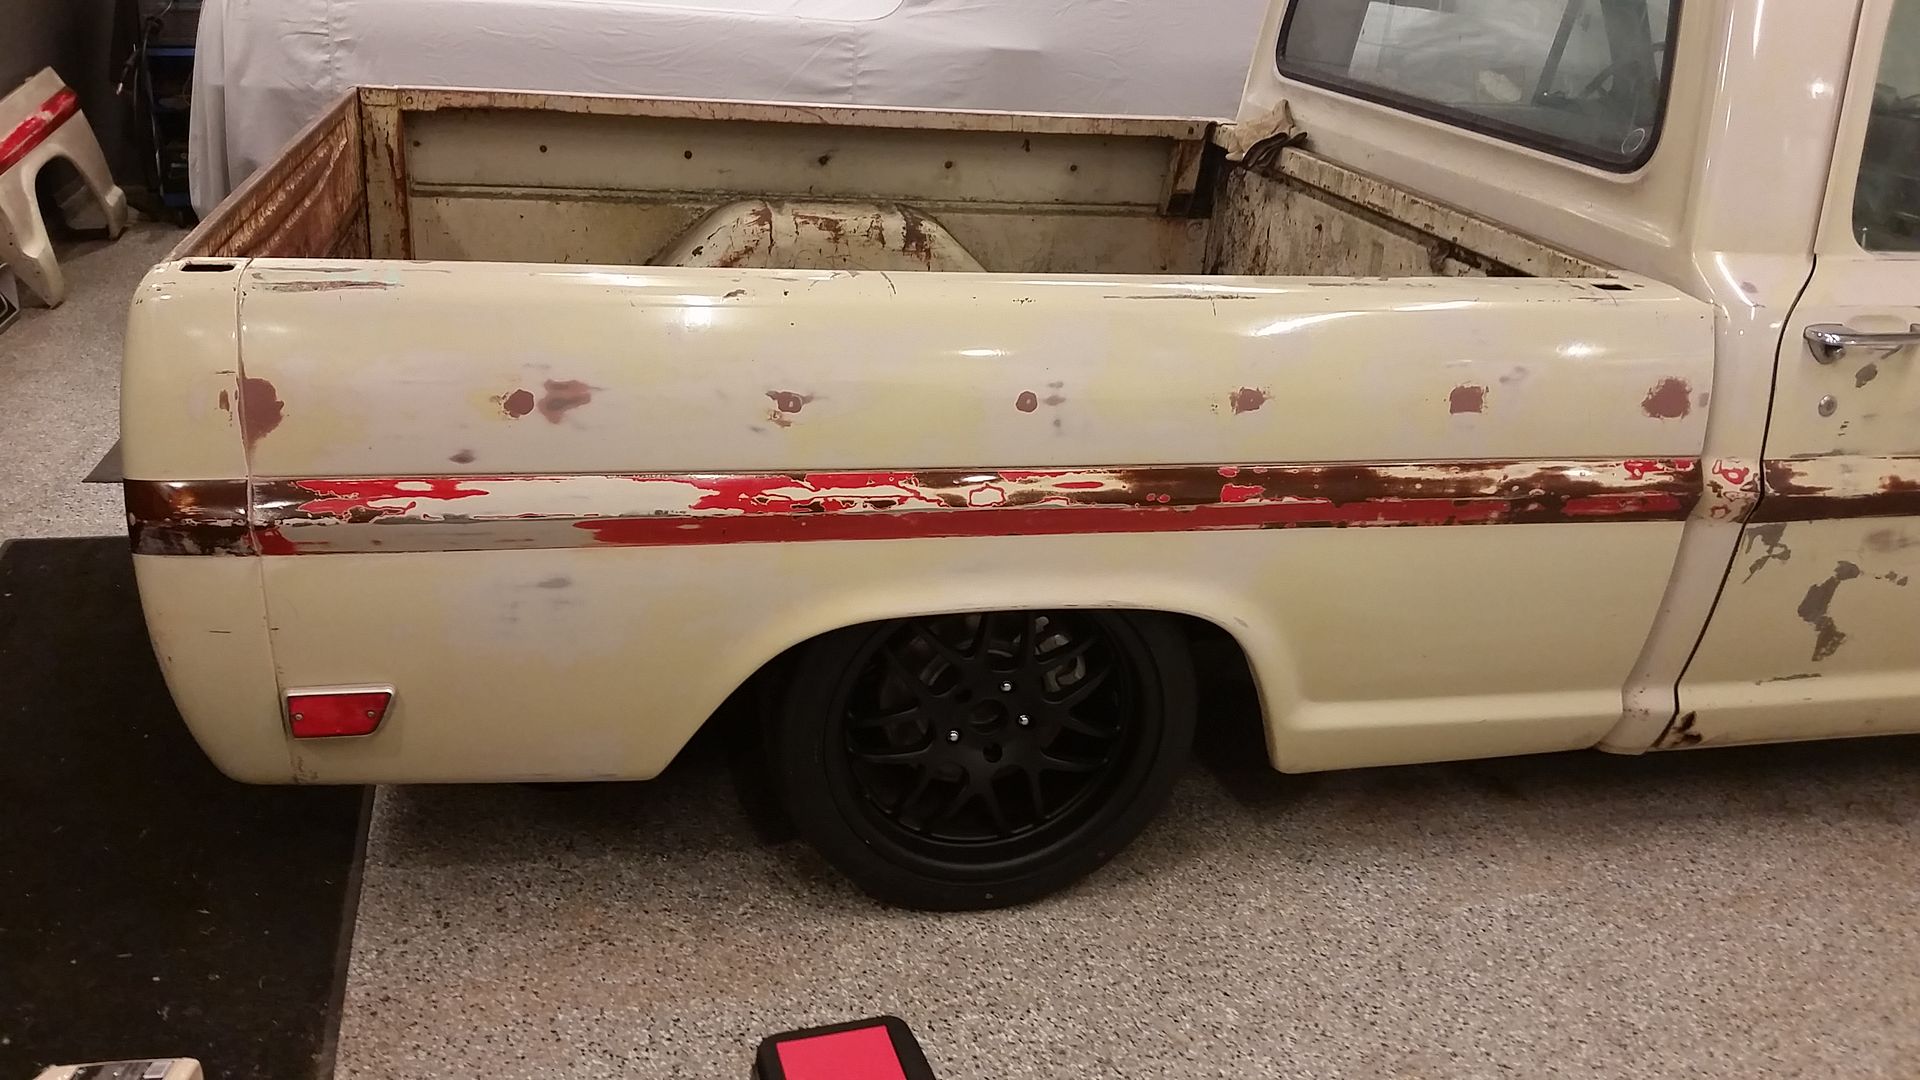
Before I went crazy with the buffer. Its about done on this side now, I still have to do the door on this side and door on the other side.
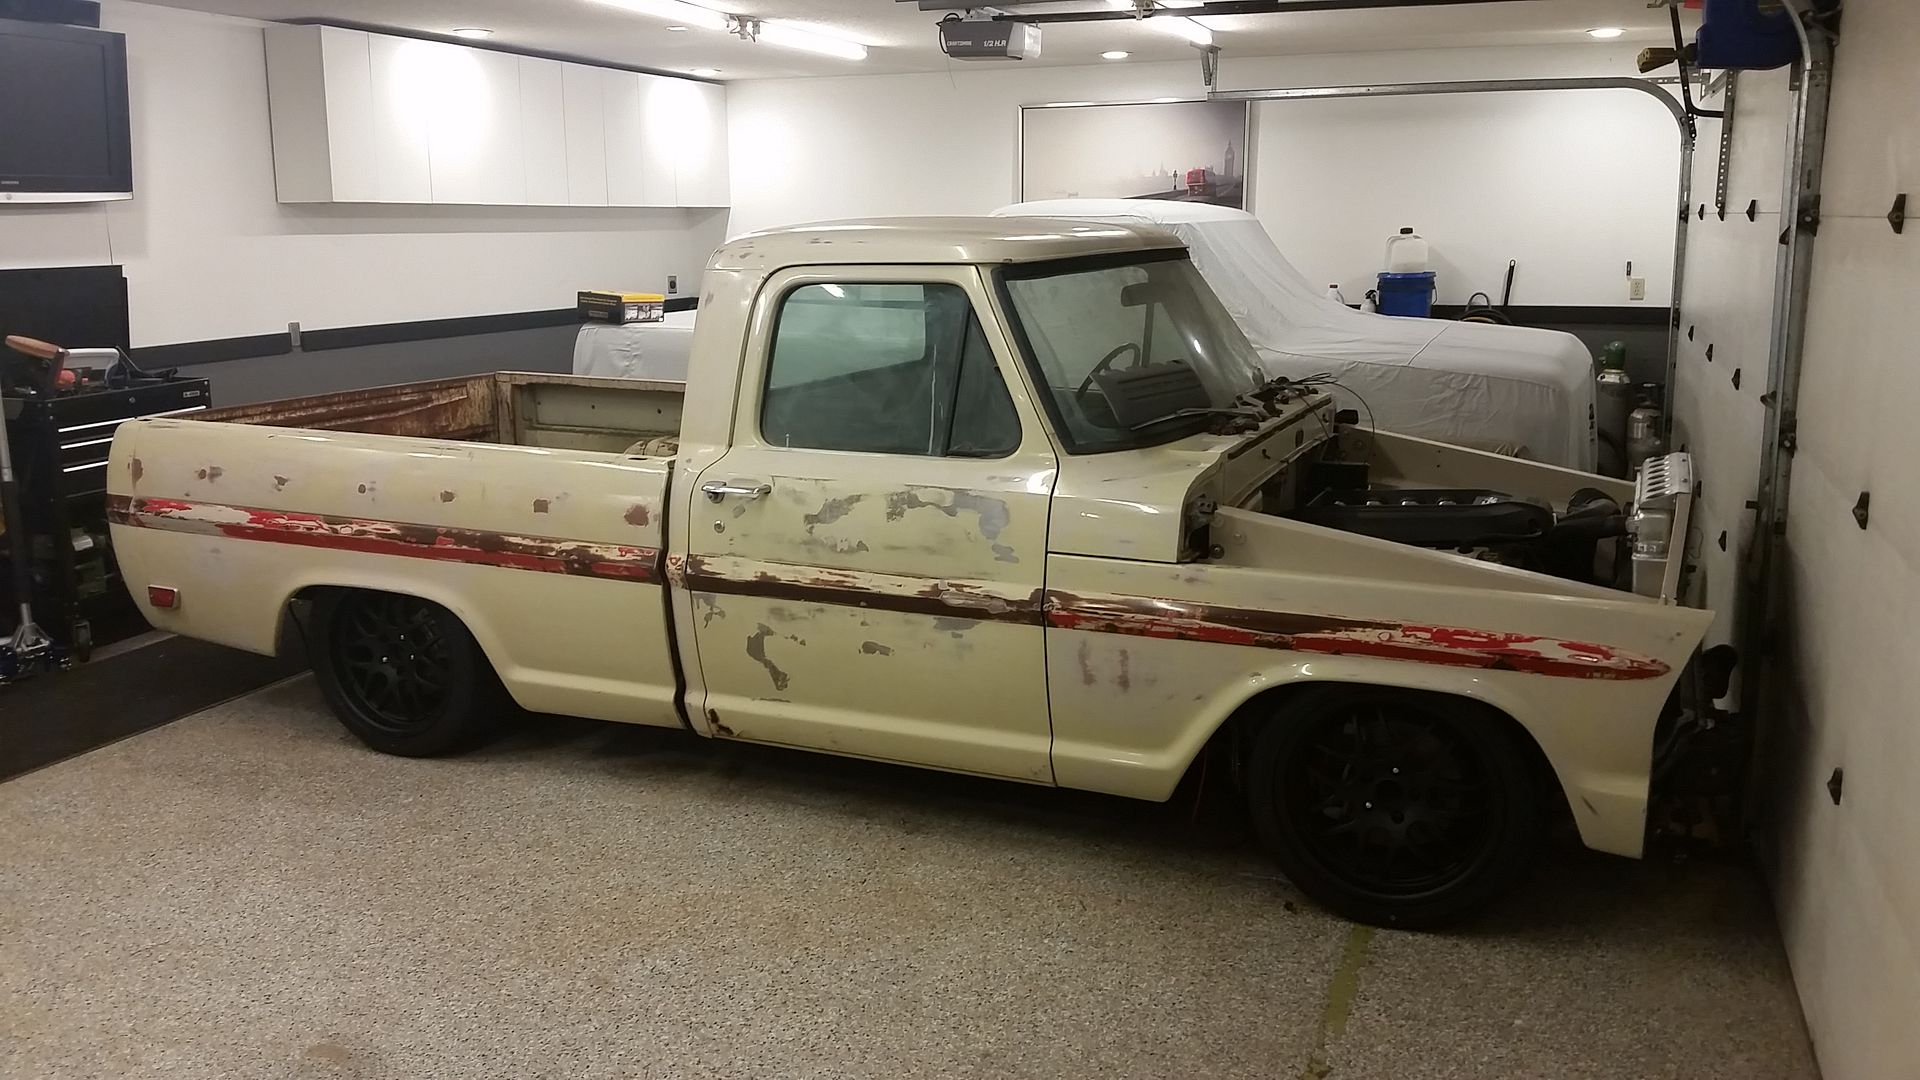
Also trying to tackle a bit of wiring today, here is just a glimpse of my fun =) Should make a little progress tomorrow and Sunday on the wiring. I think I only have about 2 more days of wiring.
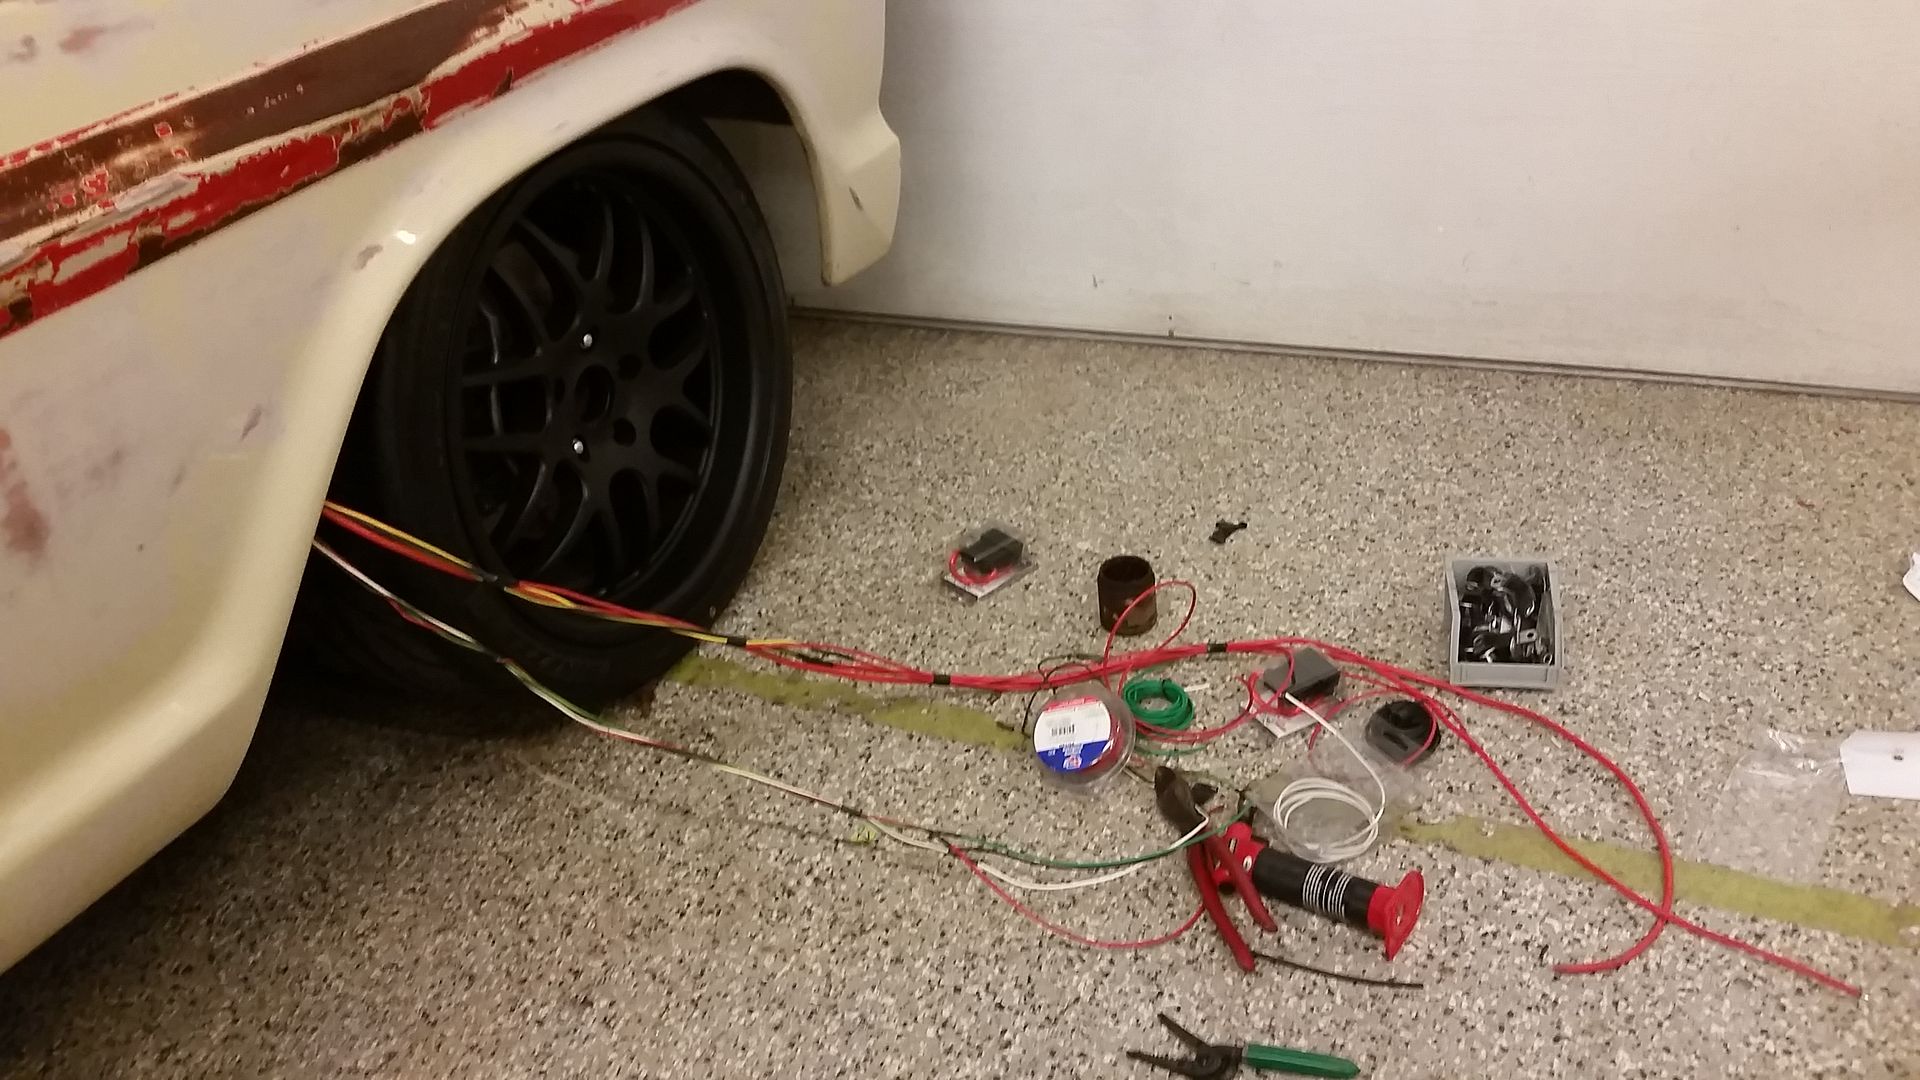
Sean
Wish I had a little better progress to share. Its been cold, really cold here and not much progress.
I did get the holes all primed and sanded down on the bed, I actually really liked the look of the primered patched holes on the bed. I ended up giving them a little bit of clean and then spending hours and hours wet sanding and buffing. I am not sure why, I know its supposed to be ratty looking but that doesnt mean it cannot be cool and clean right?

You can also see that I managed to get it on the truck too. I actually need a little bit more clearance for the shock towers. Its only about 1/4" so I am not sure If I am just going to clearance it with a ball peen hammer and be good or cut and patch it.

Before I went crazy with the buffer. Its about done on this side now, I still have to do the door on this side and door on the other side.

Also trying to tackle a bit of wiring today, here is just a glimpse of my fun =) Should make a little progress tomorrow and Sunday on the wiring. I think I only have about 2 more days of wiring.

Sean
-
crazyhorse
- 100% FORDified!

- Posts: 1514
- Joined: Sun Jan 27, 2008 9:24 pm
Re: Hackster's F100 #2 CV Swap 6 speed manual and Coyote
Mr Hackster, you are doing a good job . 
Looks good.
Thank you for posting all those good pictures.
I enjoy following your rebuild.


Looks good.
Thank you for posting all those good pictures.
I enjoy following your rebuild.