Hackster's F100 #2 CV Swap 6 speed manual and Coyote

Post progress reports on your project truck(s)

Moderator: FORDification

Post Reply
hackster
Preferred User
Preferred User
Posts: 317
Joined: Fri Oct 18, 2013 11:21 am

Re: Hackster's F100 #2 CV Swap 6 speed manual and Coyote

Post by hackster »

Thanks Crazy Horse!!

Got some mew tires on the tow rig this morning and had to get a few parts rounded up but still managed to have a pretty productive day in the garage.

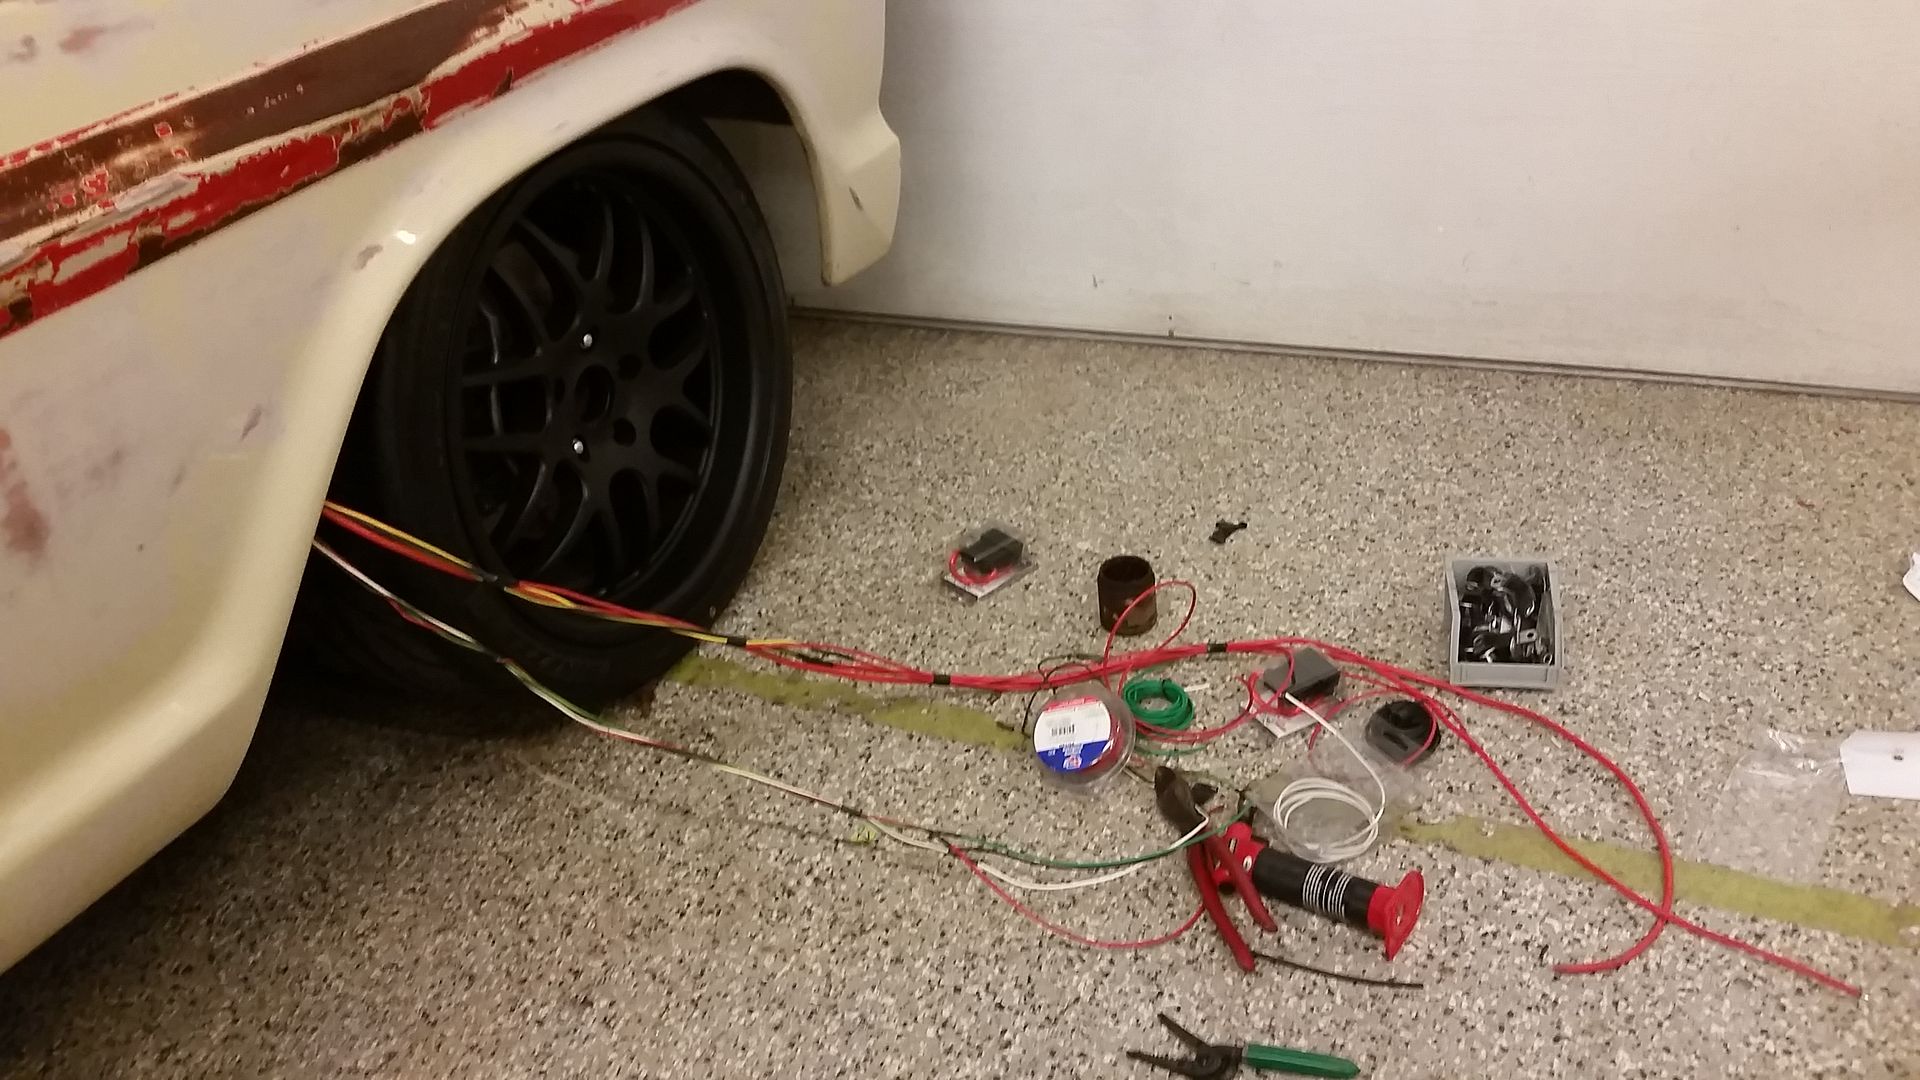
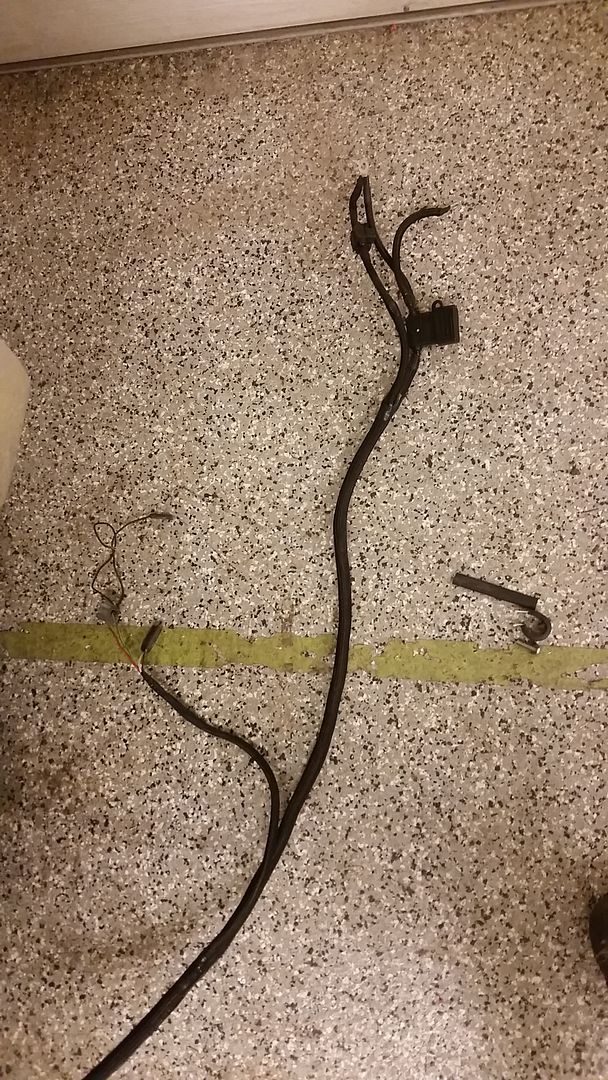
Started off tucked up under the passenger fenderwell building out the rest of the power harness. I am running (2) 8 ga fuse holders at the battery to feed the main truck power, my fuse panel and the ford racing stuff. I am running a 60 amp fuse on each, they should not be pulling that much power though. This is really just to protect the wire from the battery to the next fuse. Also fused the two other 12v + wires from the truck harness up to the battery.

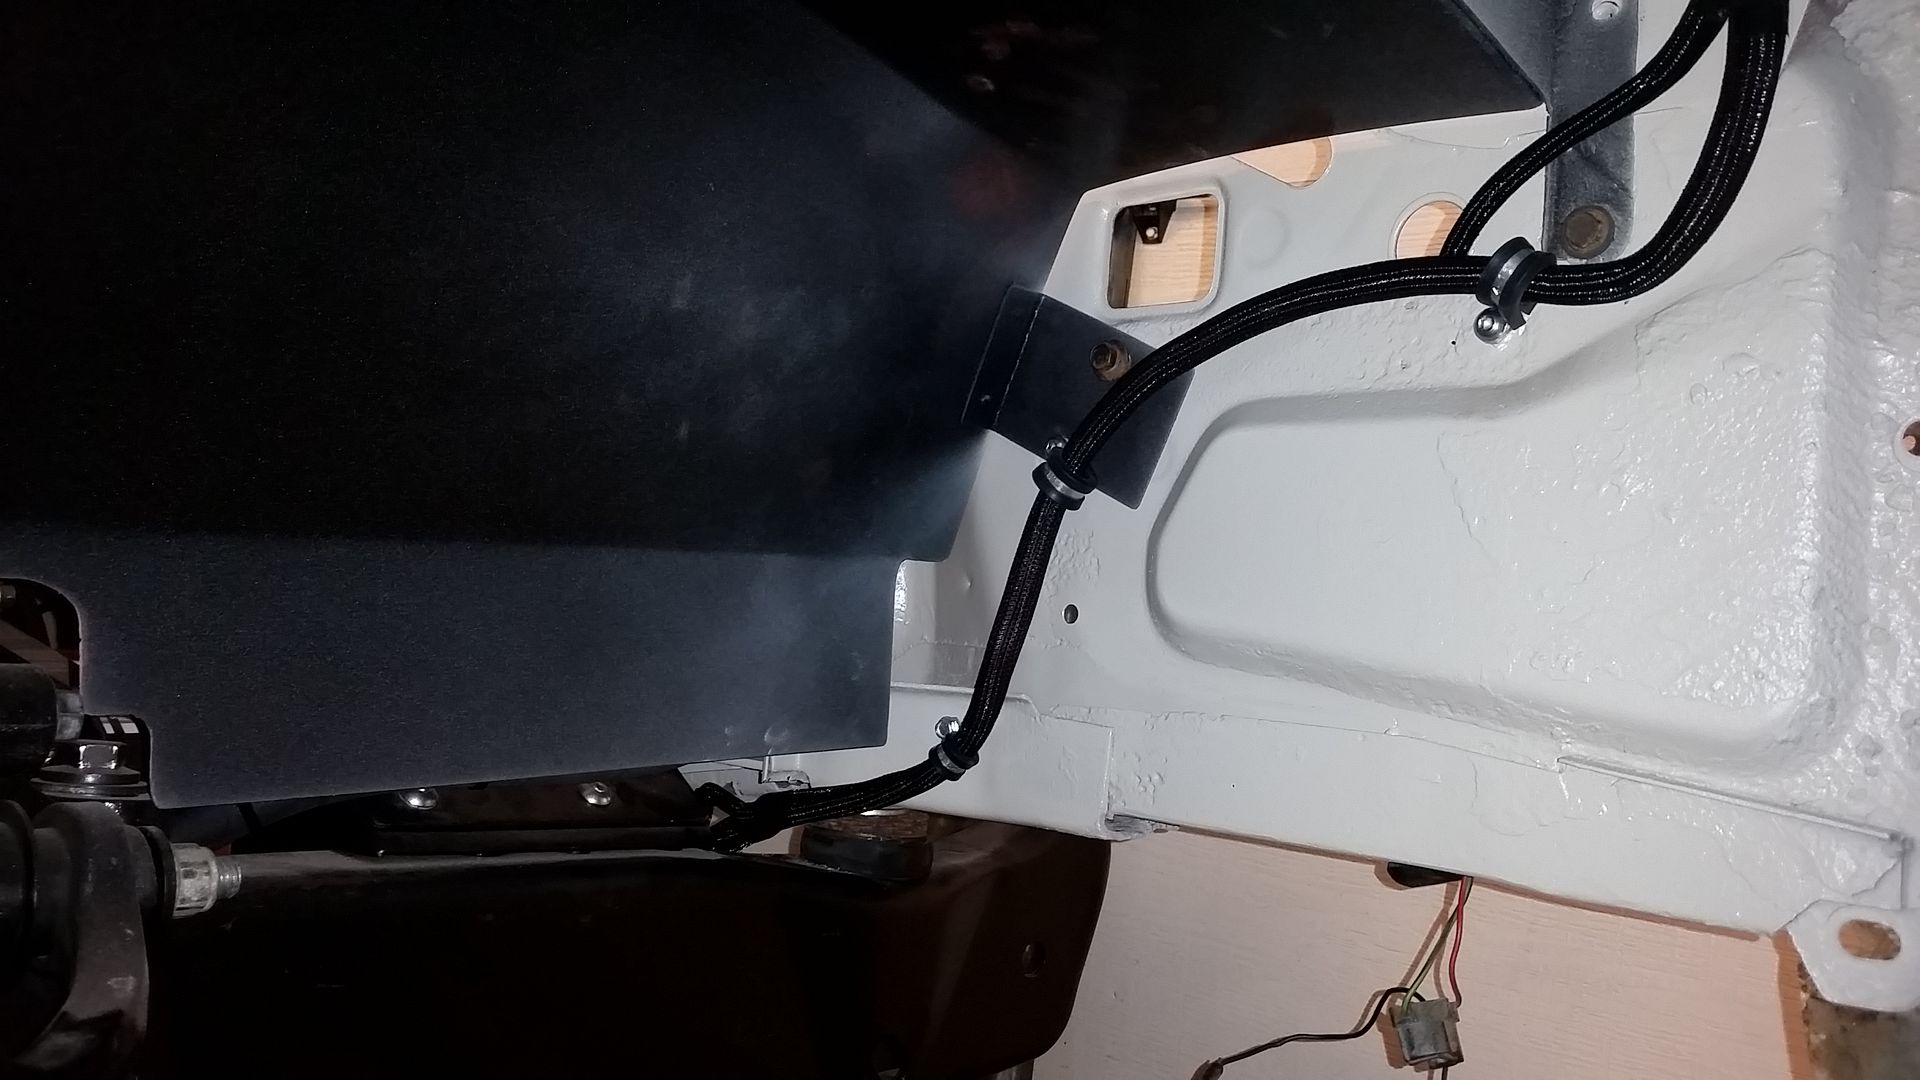
It took a little bit of finnagling but the harness up under the fender, that likely nobody will see ever turned out really nice. You barely see any wiring for the battery or main power anywhere on the truck. Also did the headlight wiring harness on this side and the passenger side as well.

My mess.
Image

Harness built, fuse holders in place, ends all on and heat shrink in place.
Image

You can see how I hung this in place, its got these insulate p clips and they hang from the bottom of the fender bolts and have a nut on them securing them out of the way.
Image

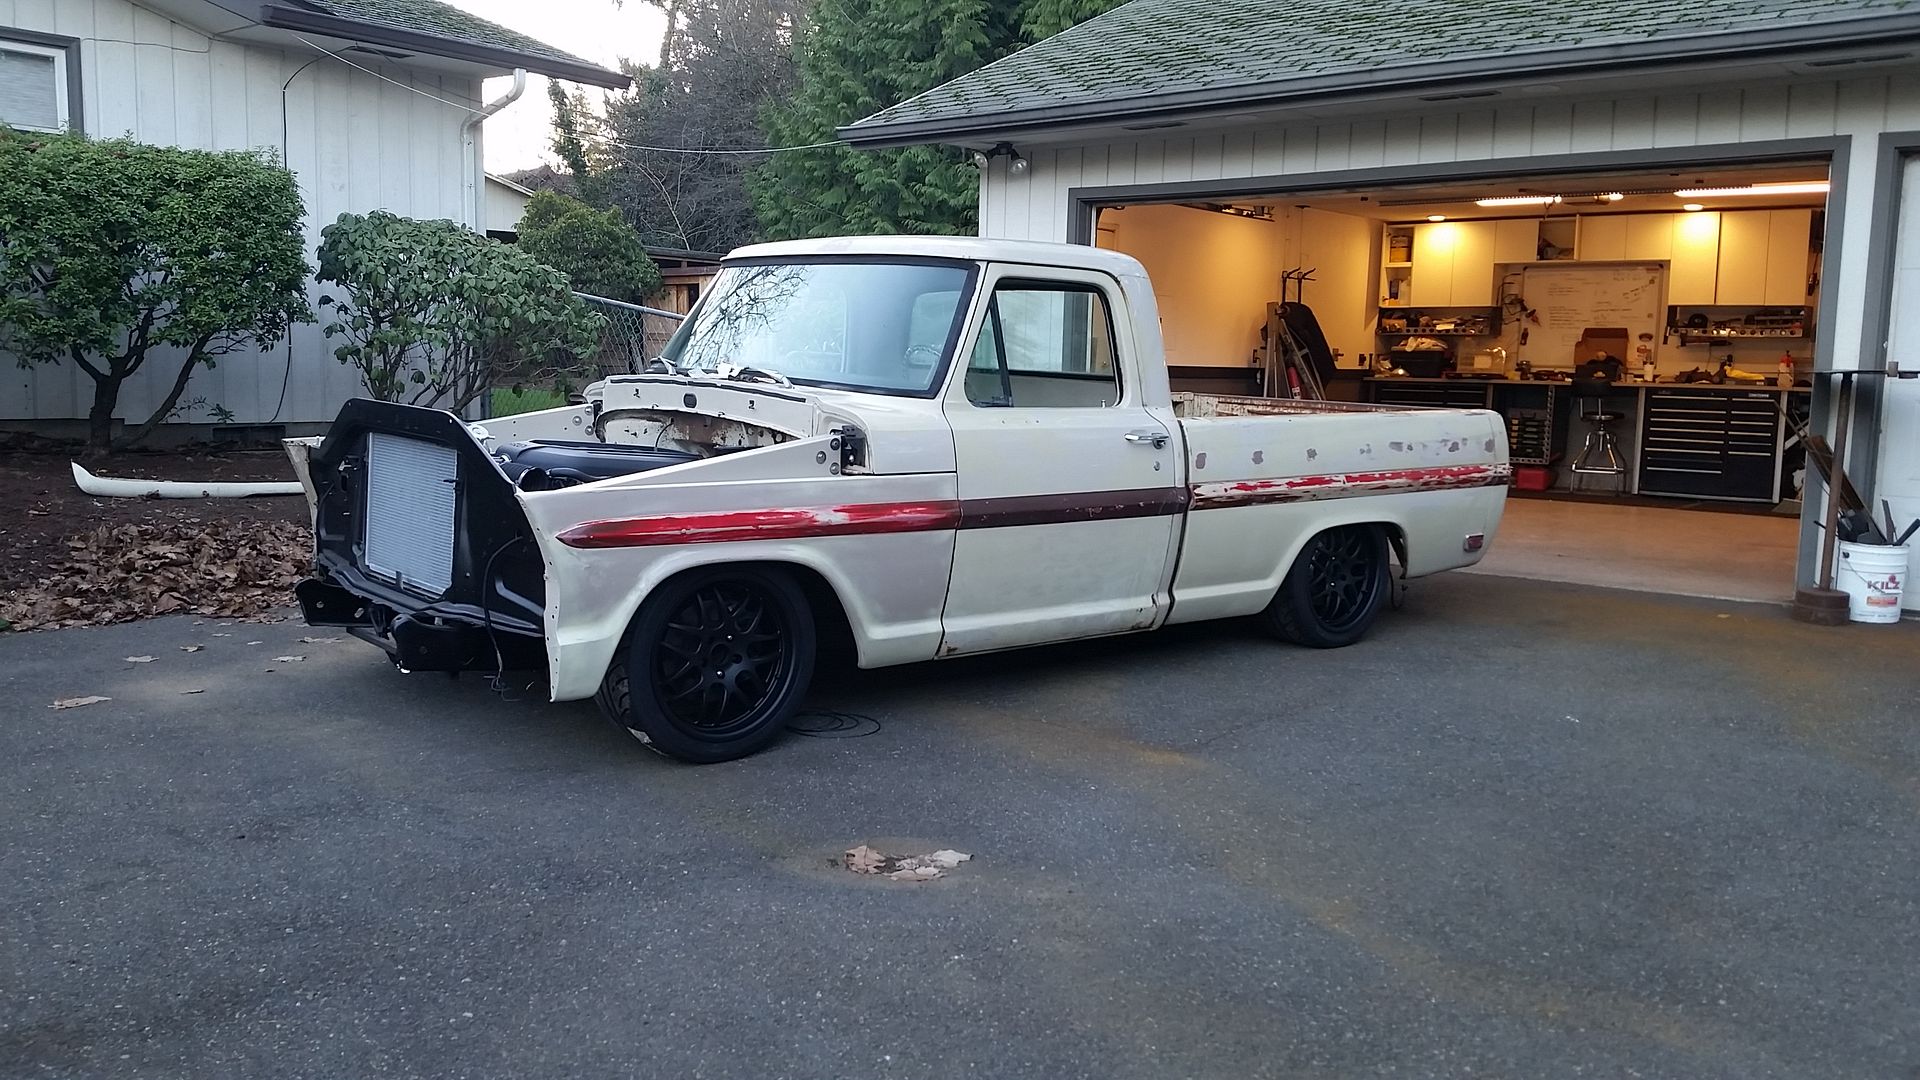
Once I got the passenger side wiring buttoned up, I could hang the drivers side fender on there. and I got to pull it outside for the first time in months, resembling something like a truck again :D
Image

Image

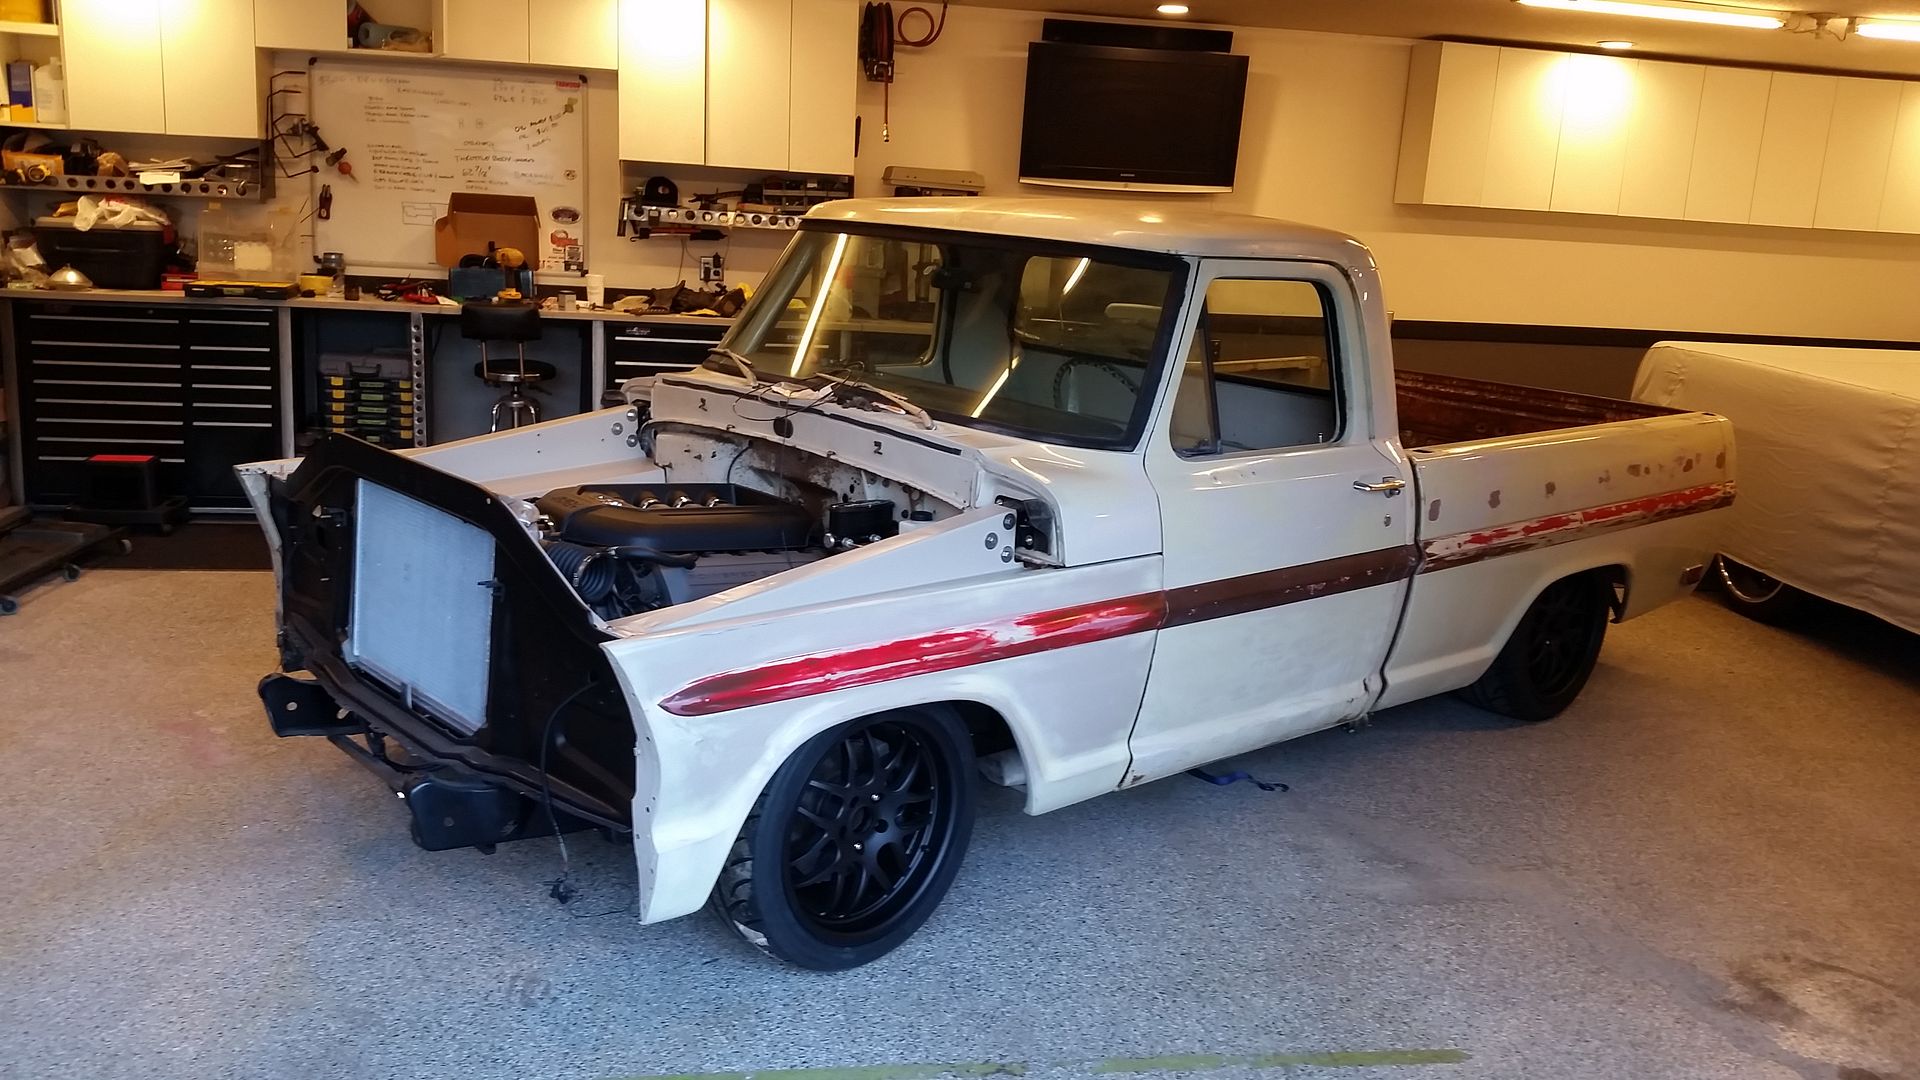
And Pulled it back in the garage this time with a little more work around room. Not sure why I have never done this before.
Image

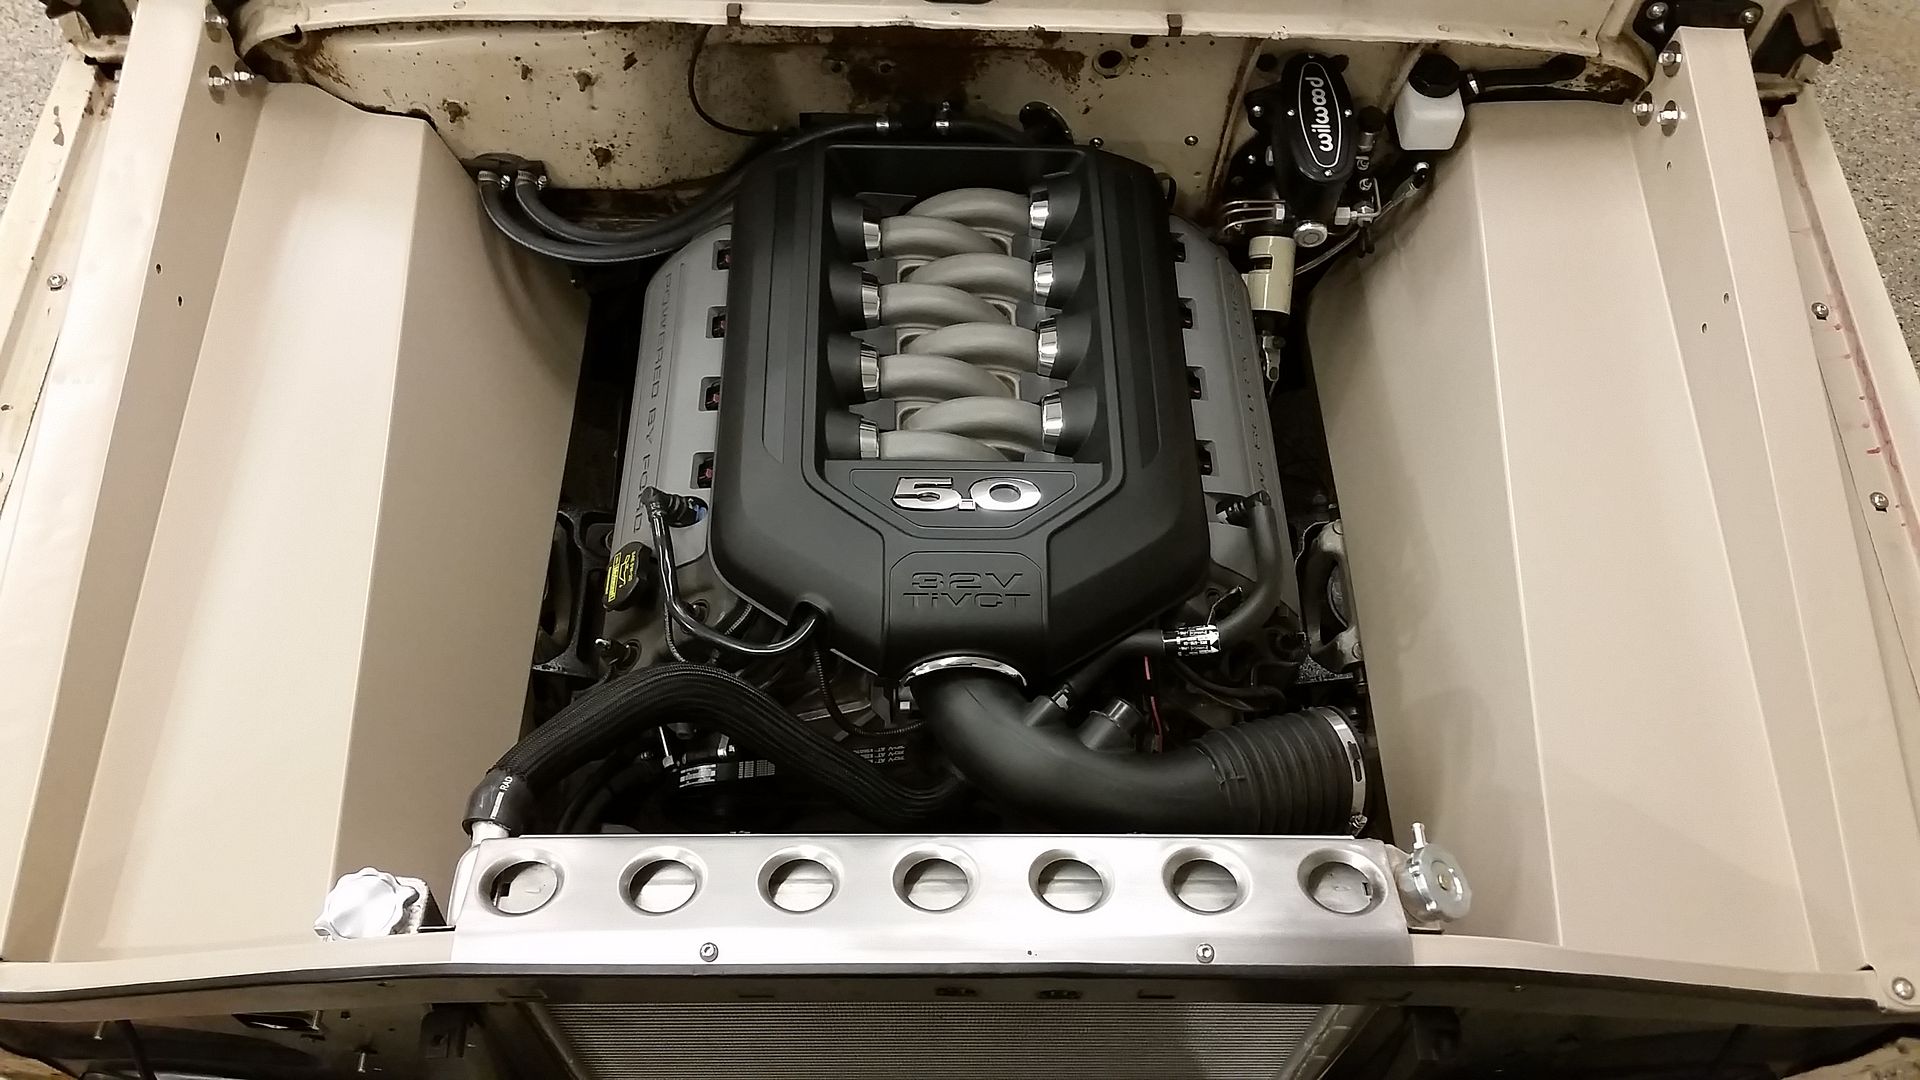
With the exception of a few hose clamps and an air filter, this is completely wired and plumbed. I have to wire in the fans still but the wires are right there, just need to hook up.
Image

So with that tackled and things moved around in the shop it was time for dinner,

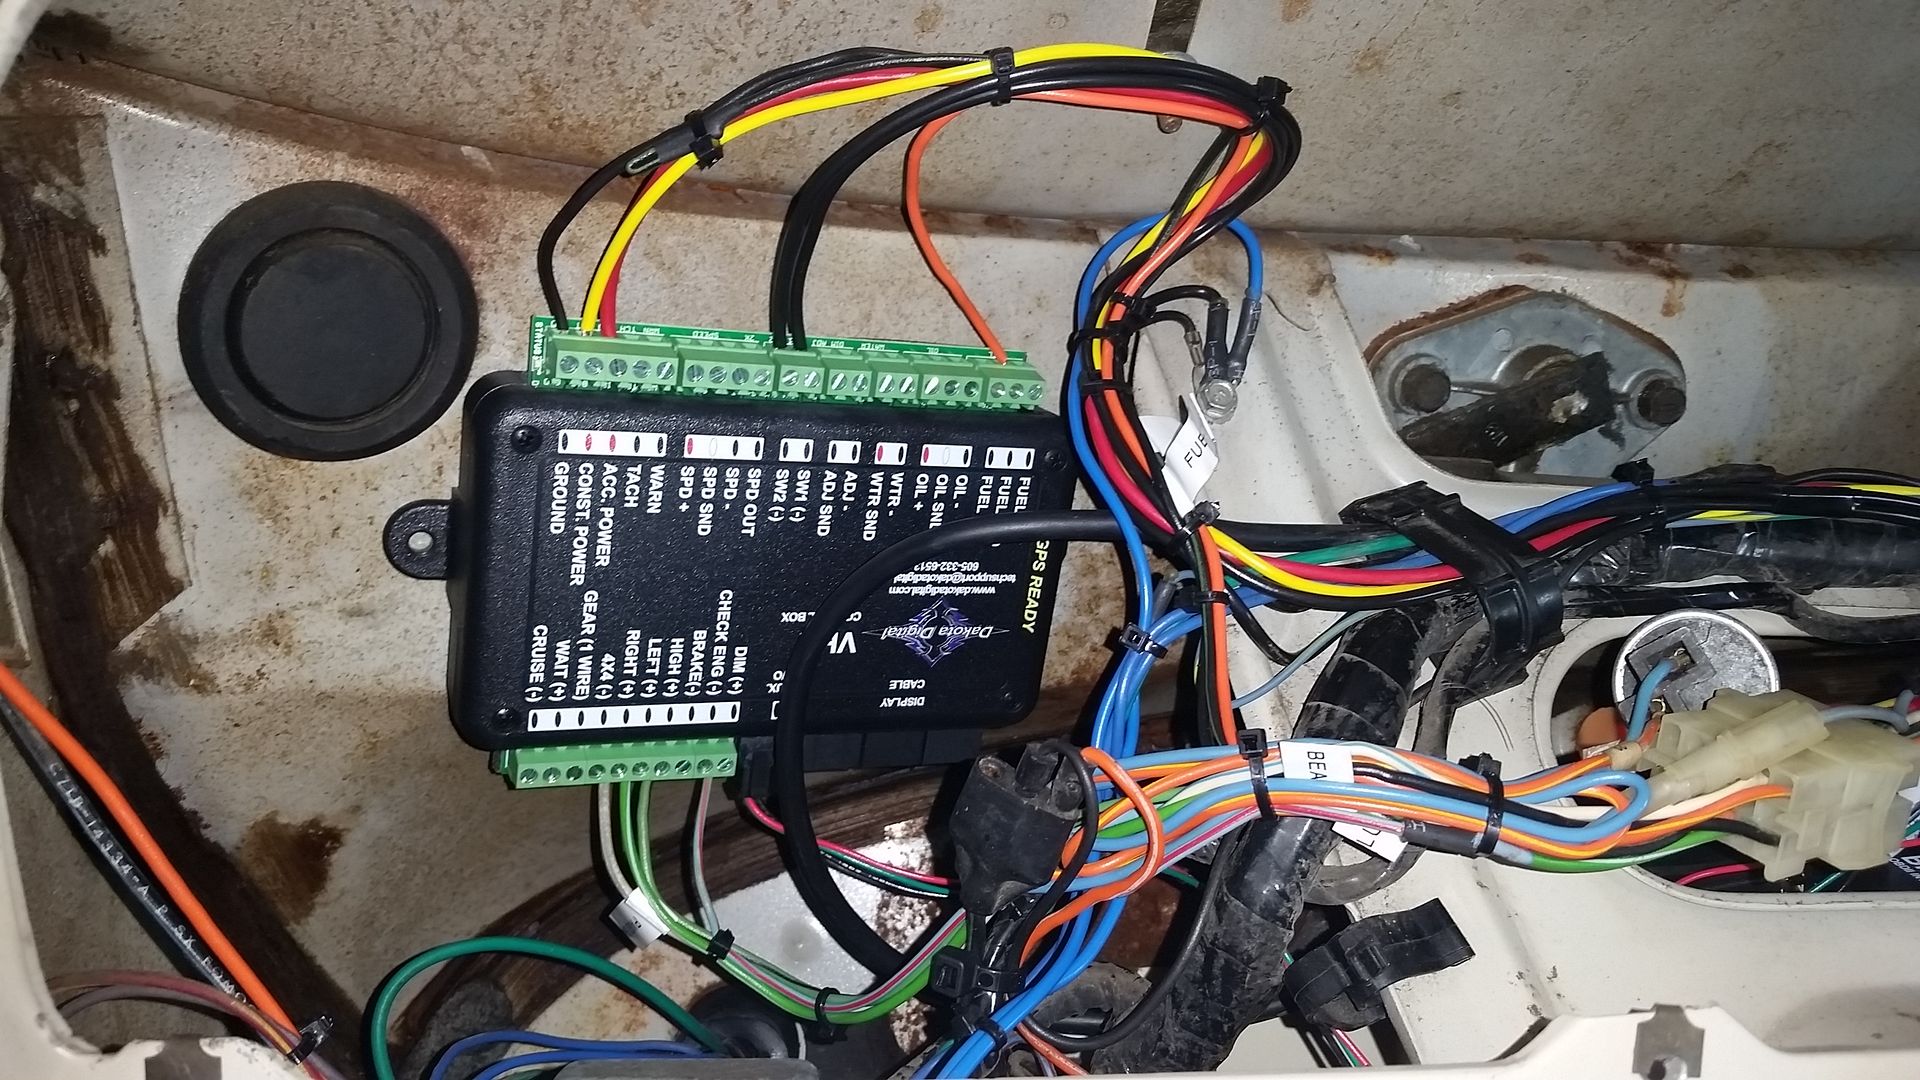
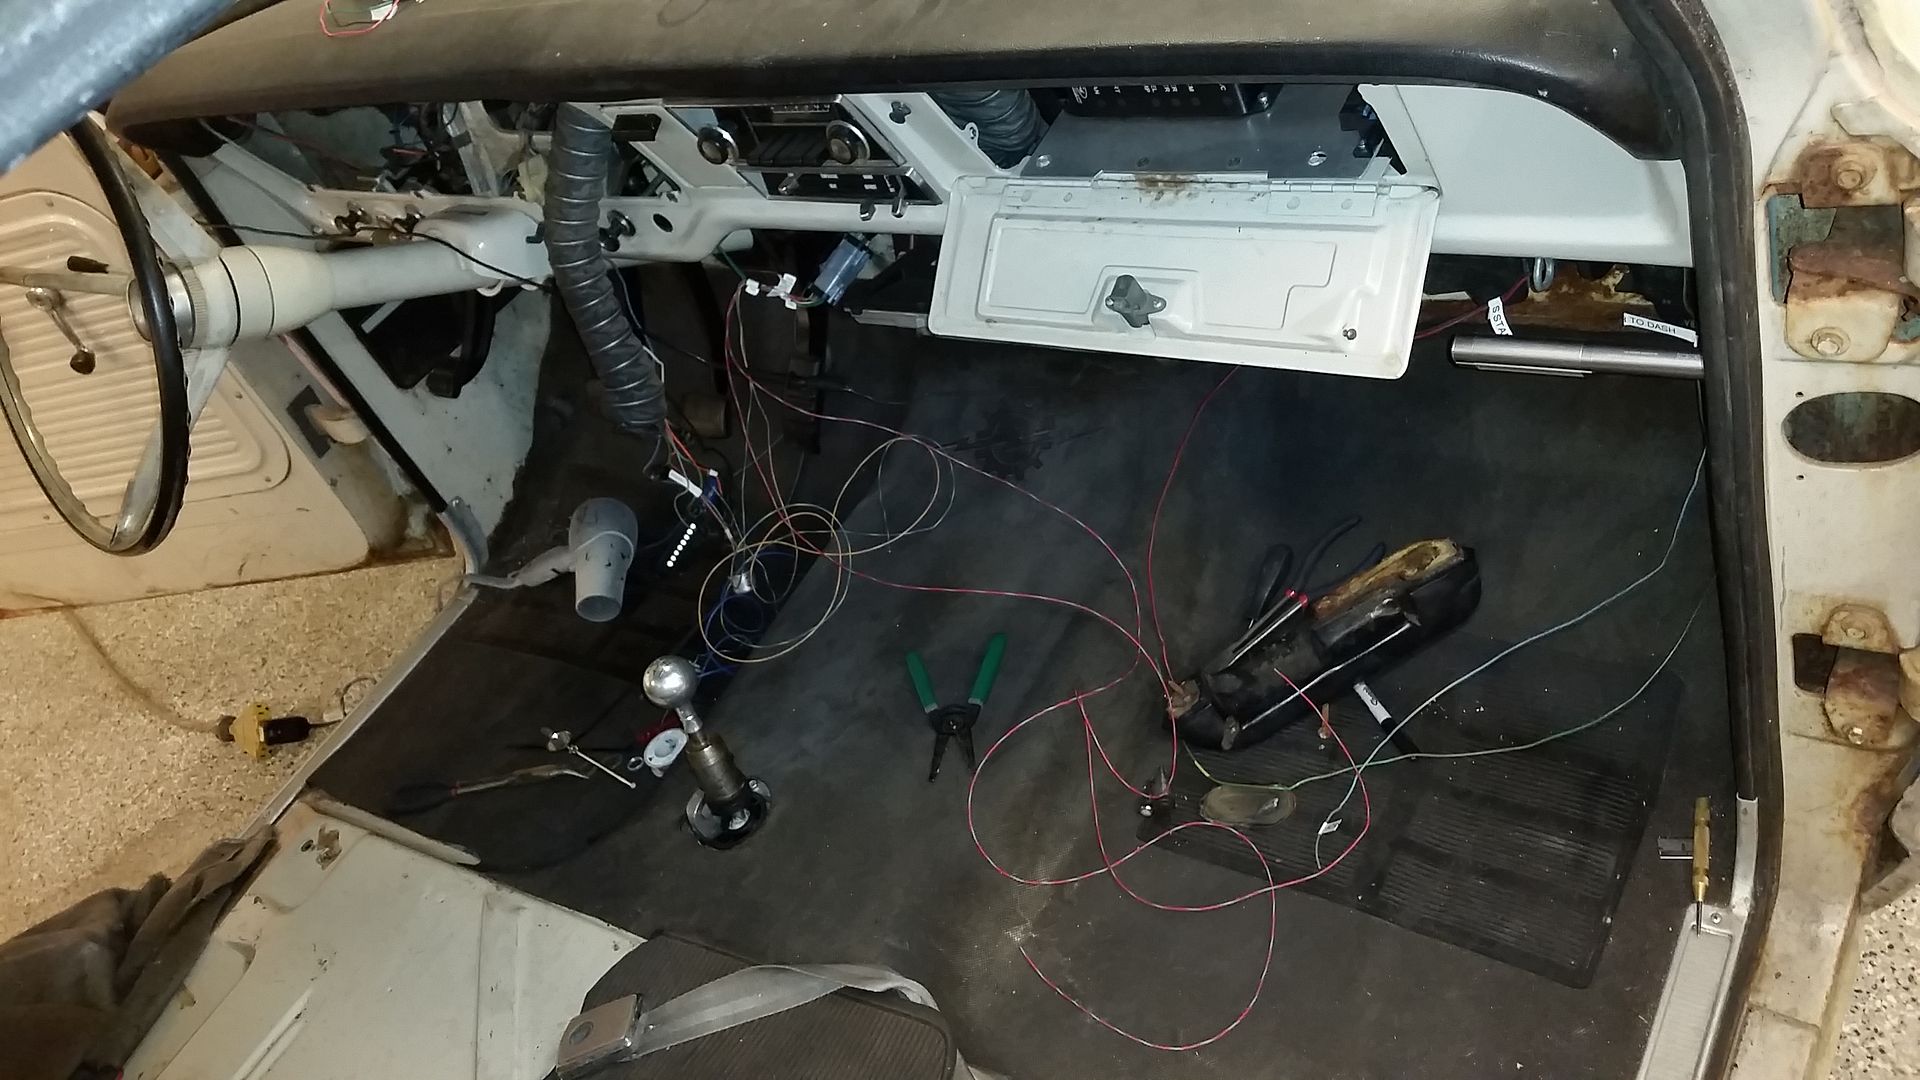
I came back out to tackle some of the interior wiring I needed to button up. I got the VHX Stuff out of the box and got to it. I have the Ford motorsports Coyote control pack all wired in now, switched 12 v, start and 12v+ are all done, switched 12v to the oss, switched 12v to the VHX is terminated and most of the wiring is terminated at the VHX. I have to run from my fuse panel to the VHX panel tomorrow and get it mounted and button up a few other wires at the back of the cluster. I cleaned up a ton of stuff in the instrument cluster and unpinned any wires I did not need for the VHX stuff to run, this way I have a nice little pigtail I can still disconnect.

More Wiring fun..
Image

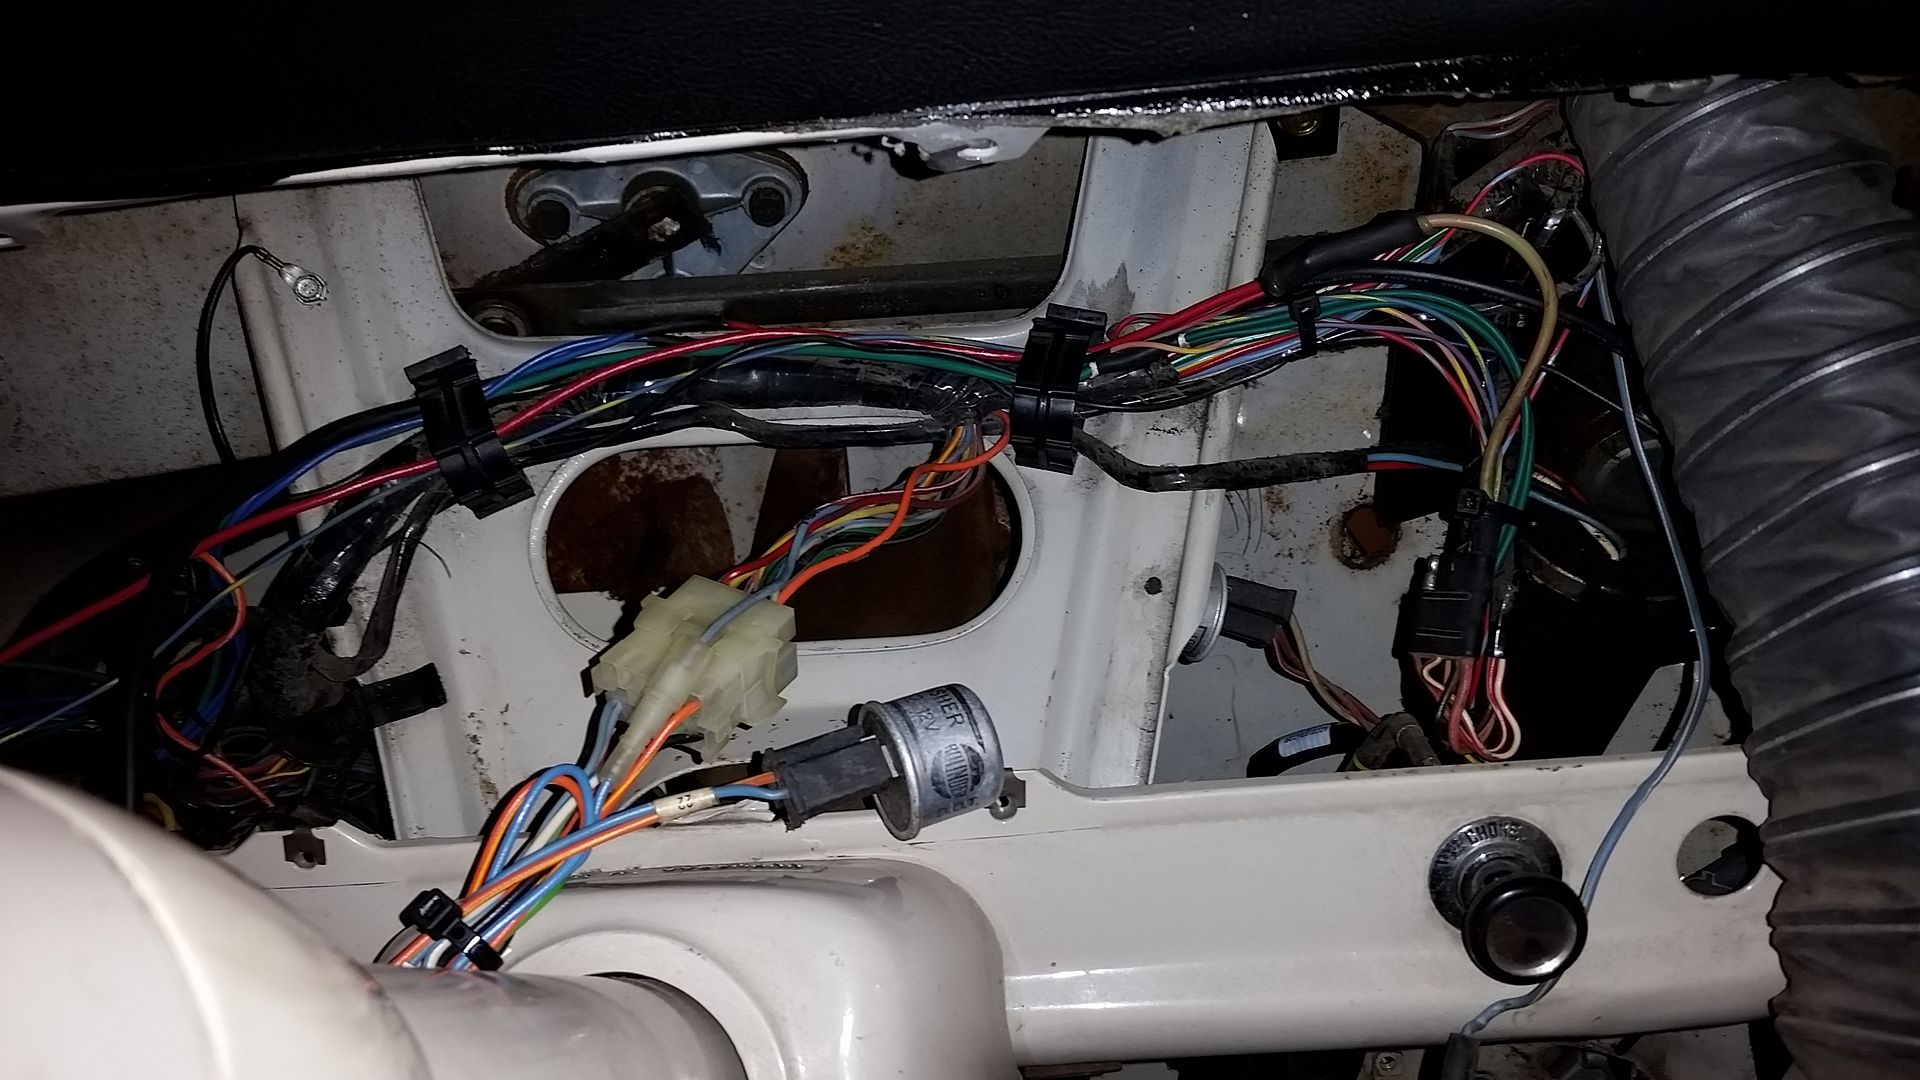
Running wires and cleaning up the under dash wiring All connections are soldered and heat shrunk on the truck.
Image

Going to try and get the grilled on and button up all of the remaining wiring on this turd.

Sean
michael9218
New Member
New Member
Posts: 35
Joined: Tue Sep 29, 2015 8:07 pm
Location: Woodstock, Ga

Re: Hackster's F100 #2 CV Swap 6 speed manual and Coyote

Post by michael9218 »

Nice update. The engine compartment looks sweet!
hackster
Preferred User
Preferred User
Posts: 317
Joined: Fri Oct 18, 2013 11:21 am

Re: Hackster's F100 #2 CV Swap 6 speed manual and Coyote

Post by hackster »

Thanks Michael,

Made great progress for the last holiday weekend for months.

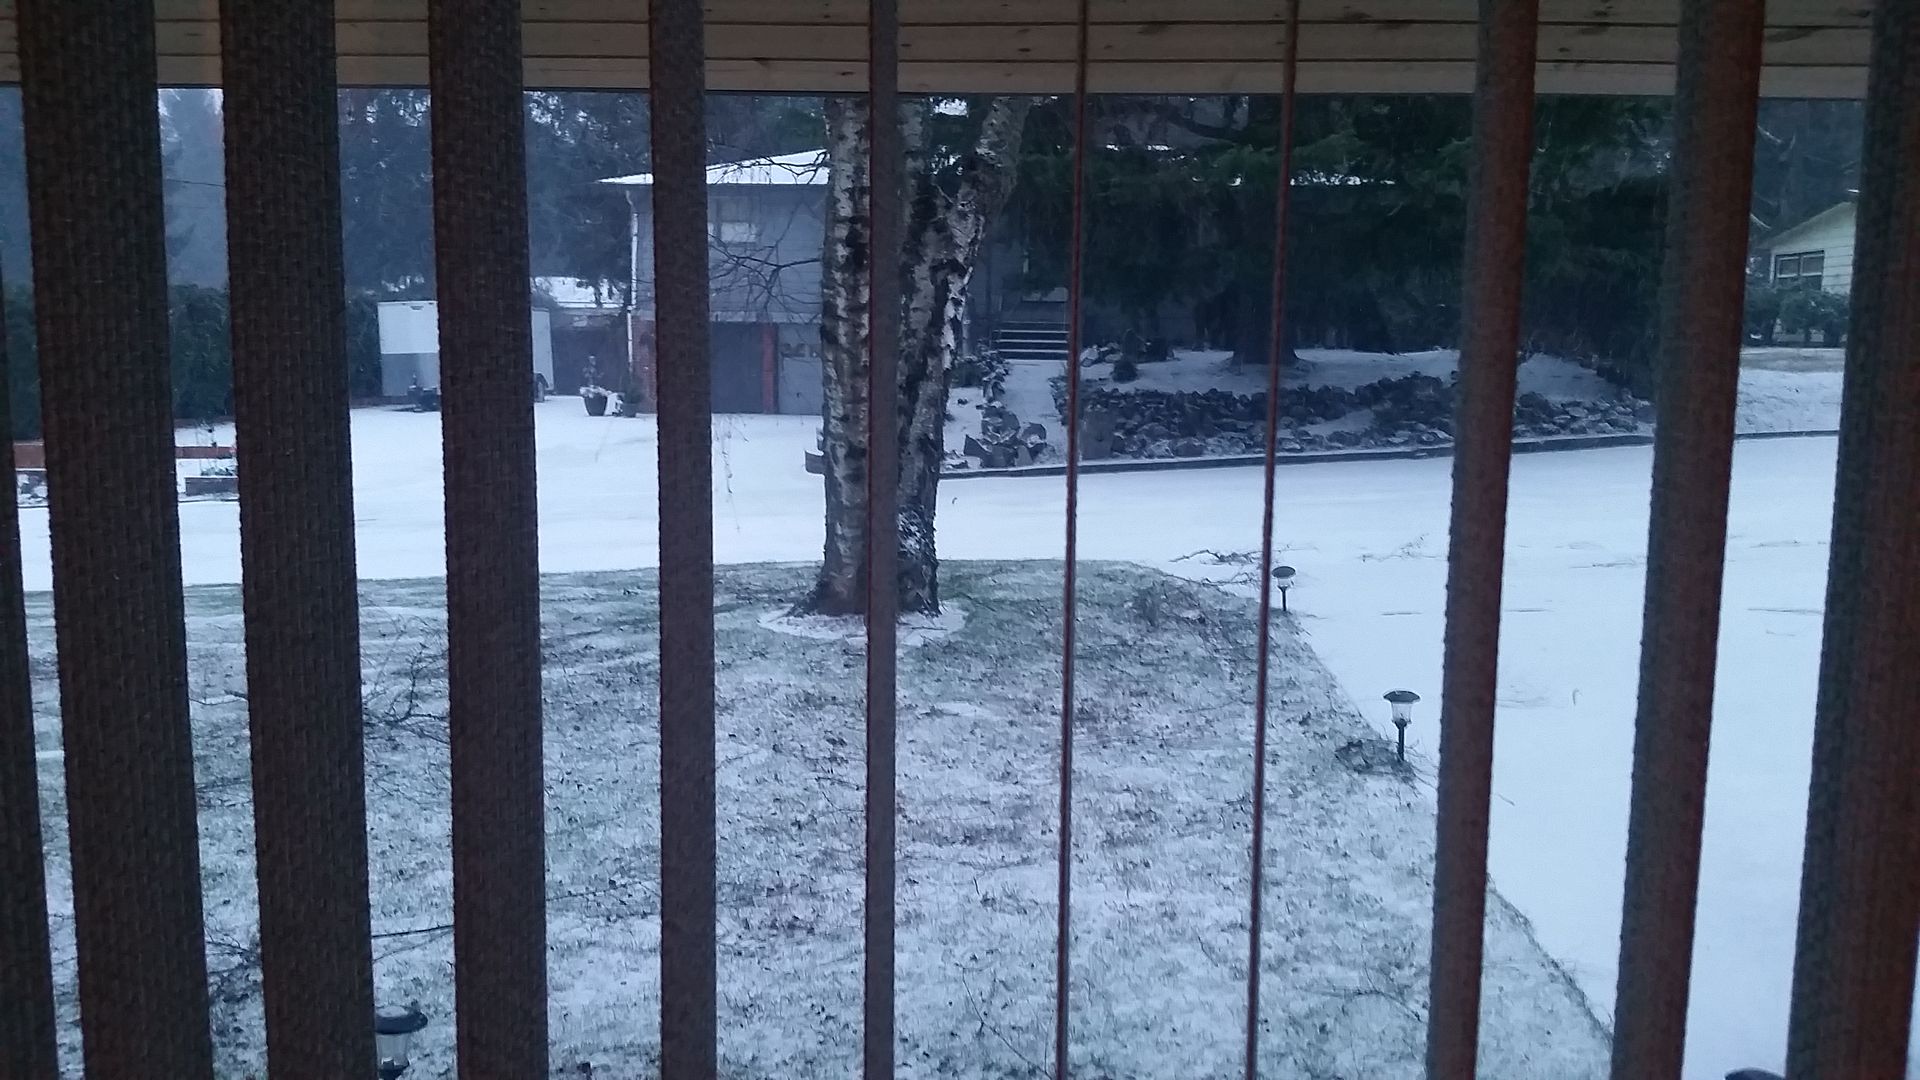
Woke up to a little bit of snow. Here in Portland, it shuts down the town. It was great.

Image

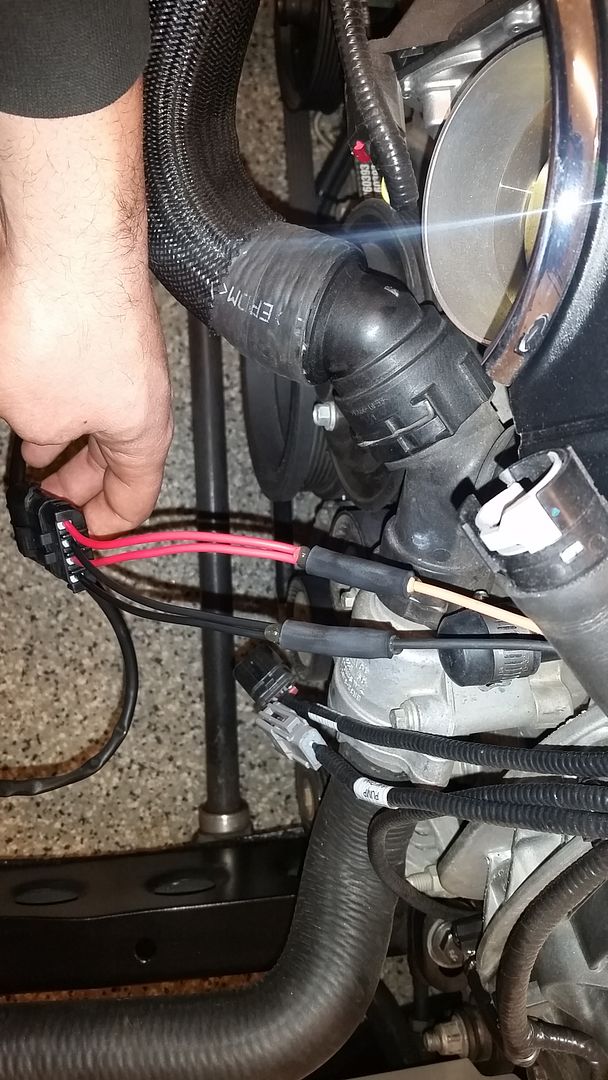
Working on buttoning up the last of the wiring stuff. Had to get the fan wiring from the Ford Racing harness to the dual fans, so more soldering and heat shrink work.

Image

Been using this awesome heat shrink for a while on anything open to the elements. It holds up really well and I never have to worry about it.

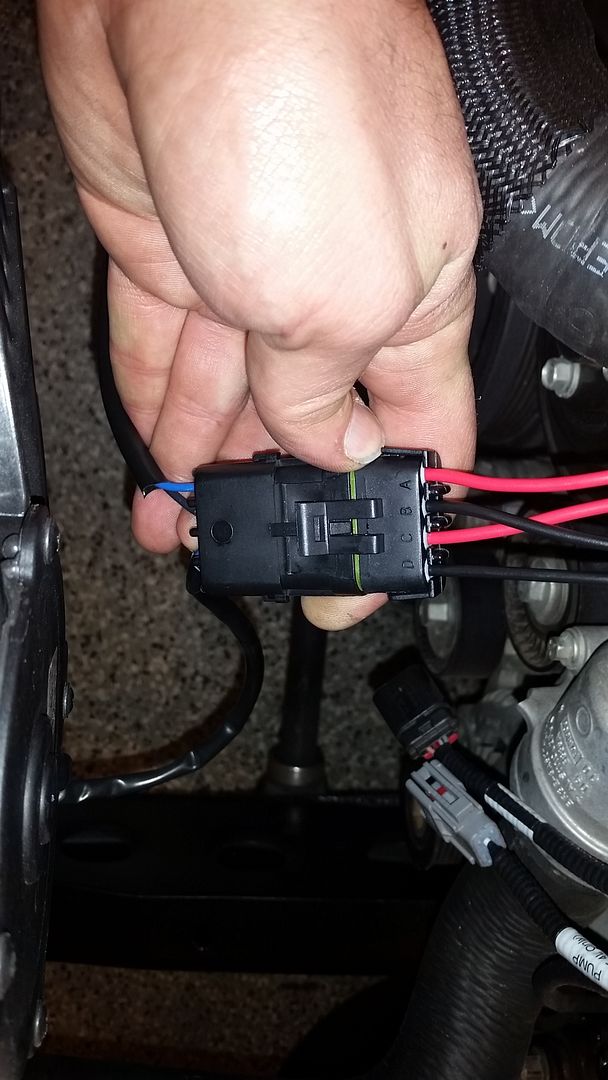
Then onto a 4 pin GM Weatherpack connector to make for easy removal of the fans, they dont draw much amperage so no need for huge wires like the taurus or Mark Viii fans.

I love these connectors, they are a little more work to assemble but work and look like an OEM part you can assemble in your garage.

Image

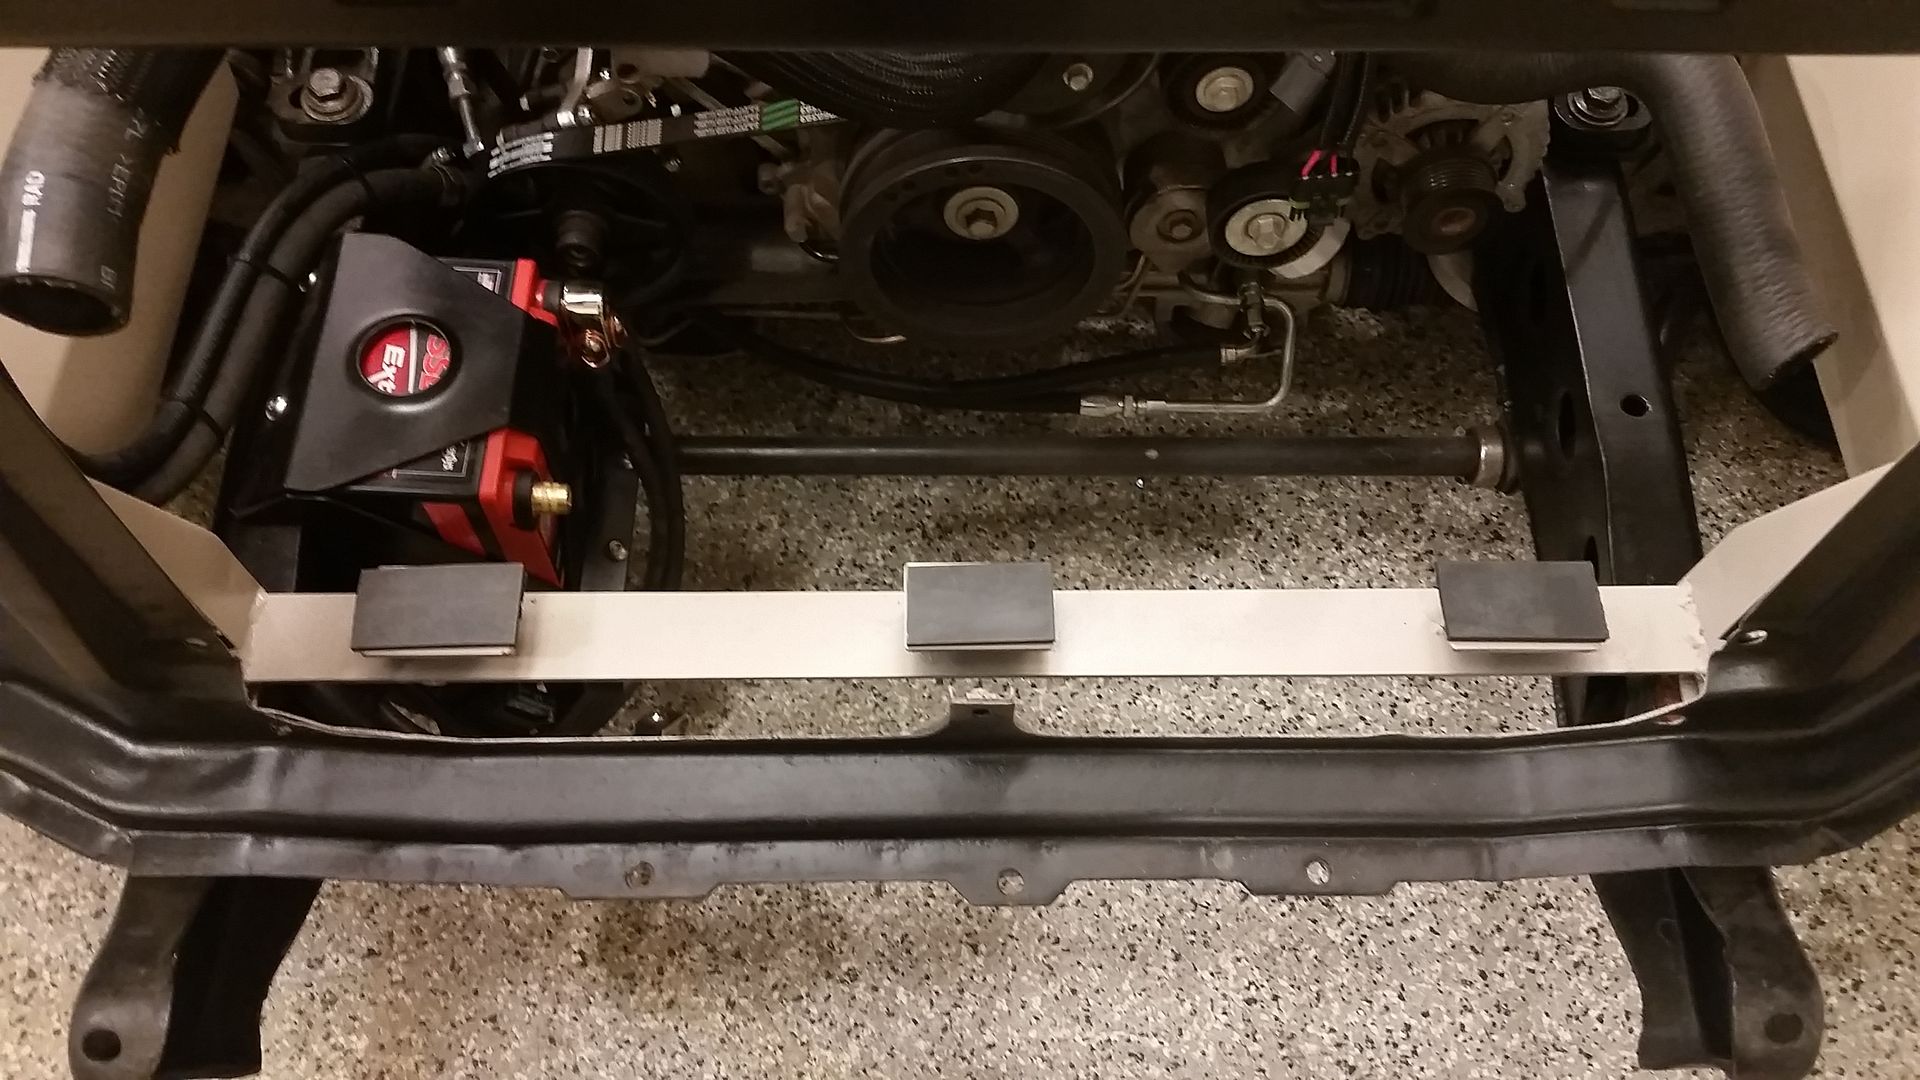
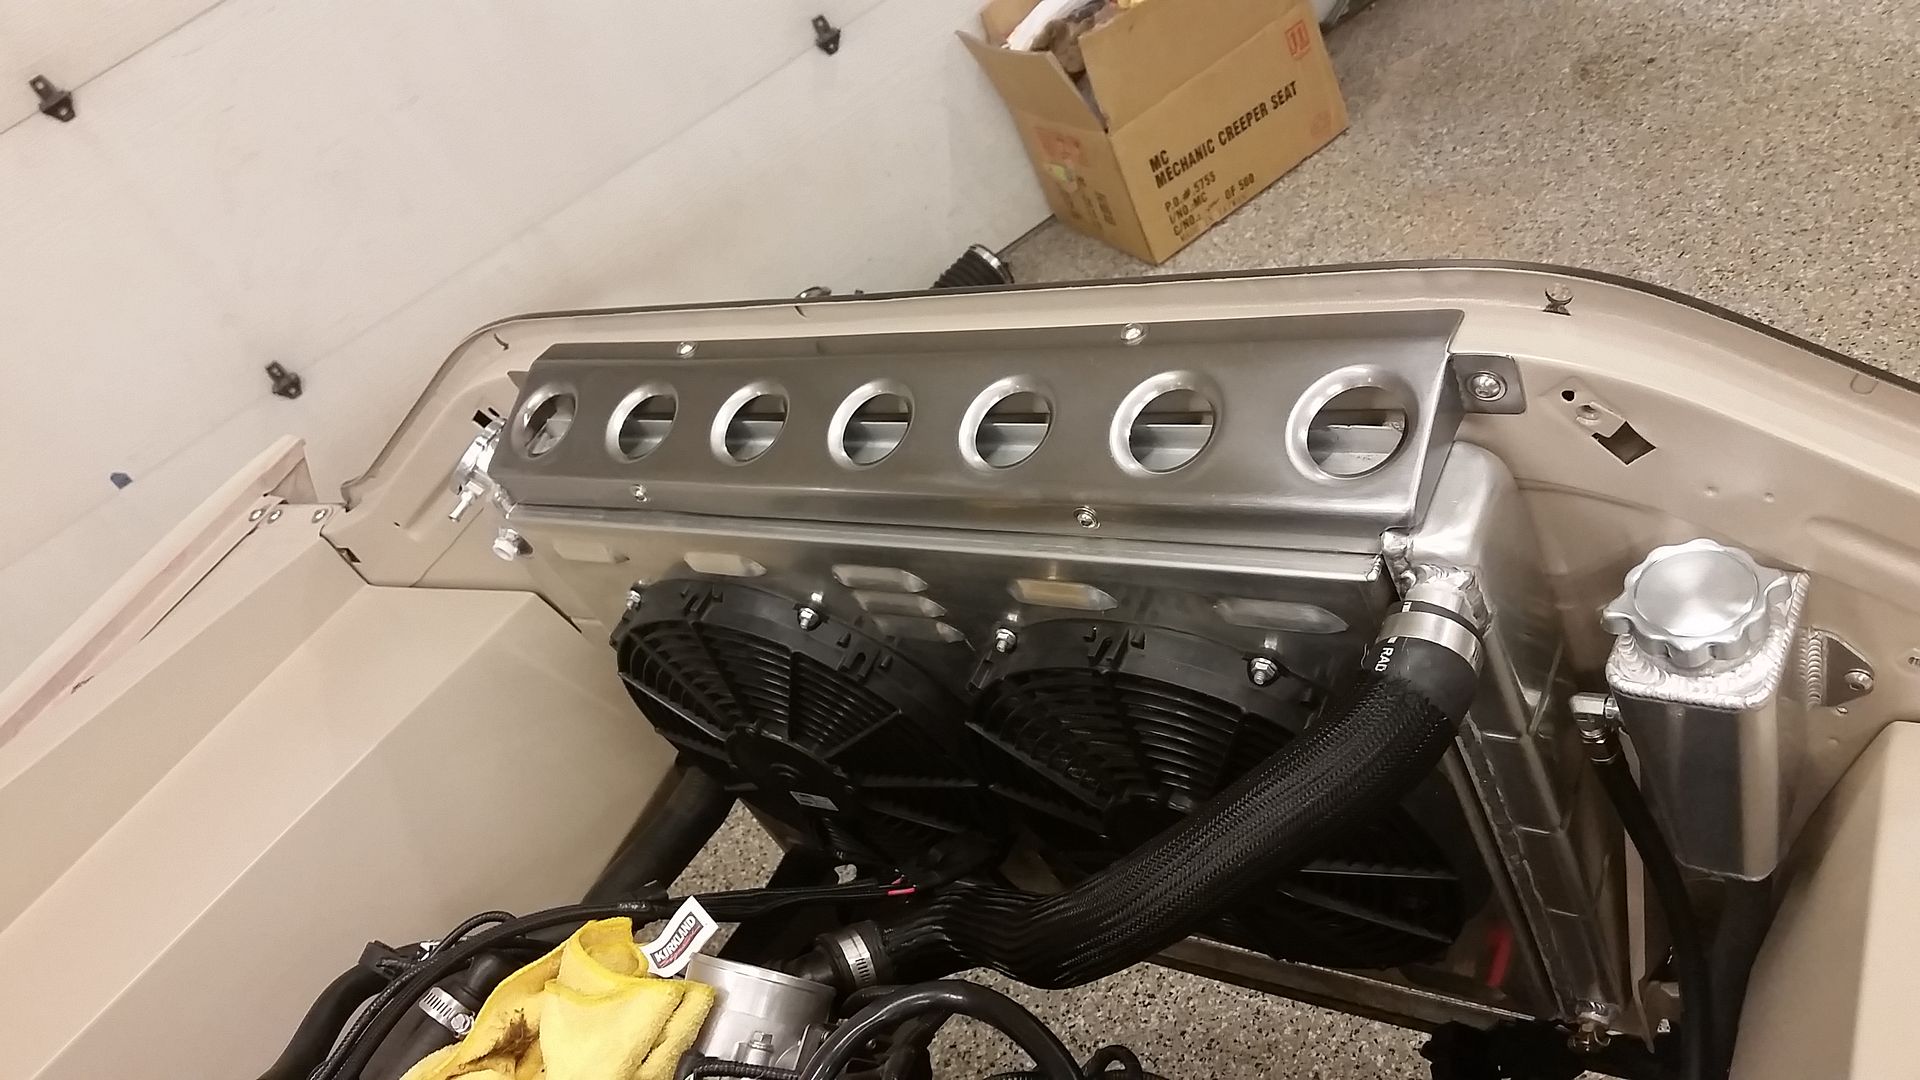
WIth that buttoned up I could finally mount the radiator for good. I originally tried these hard rubber mounts but ended up going with some 1/4" foam tape on them. It works much better and had a little more give to it. You can see how I mounted the bottom of the radiator pretty good in this pic.

Image

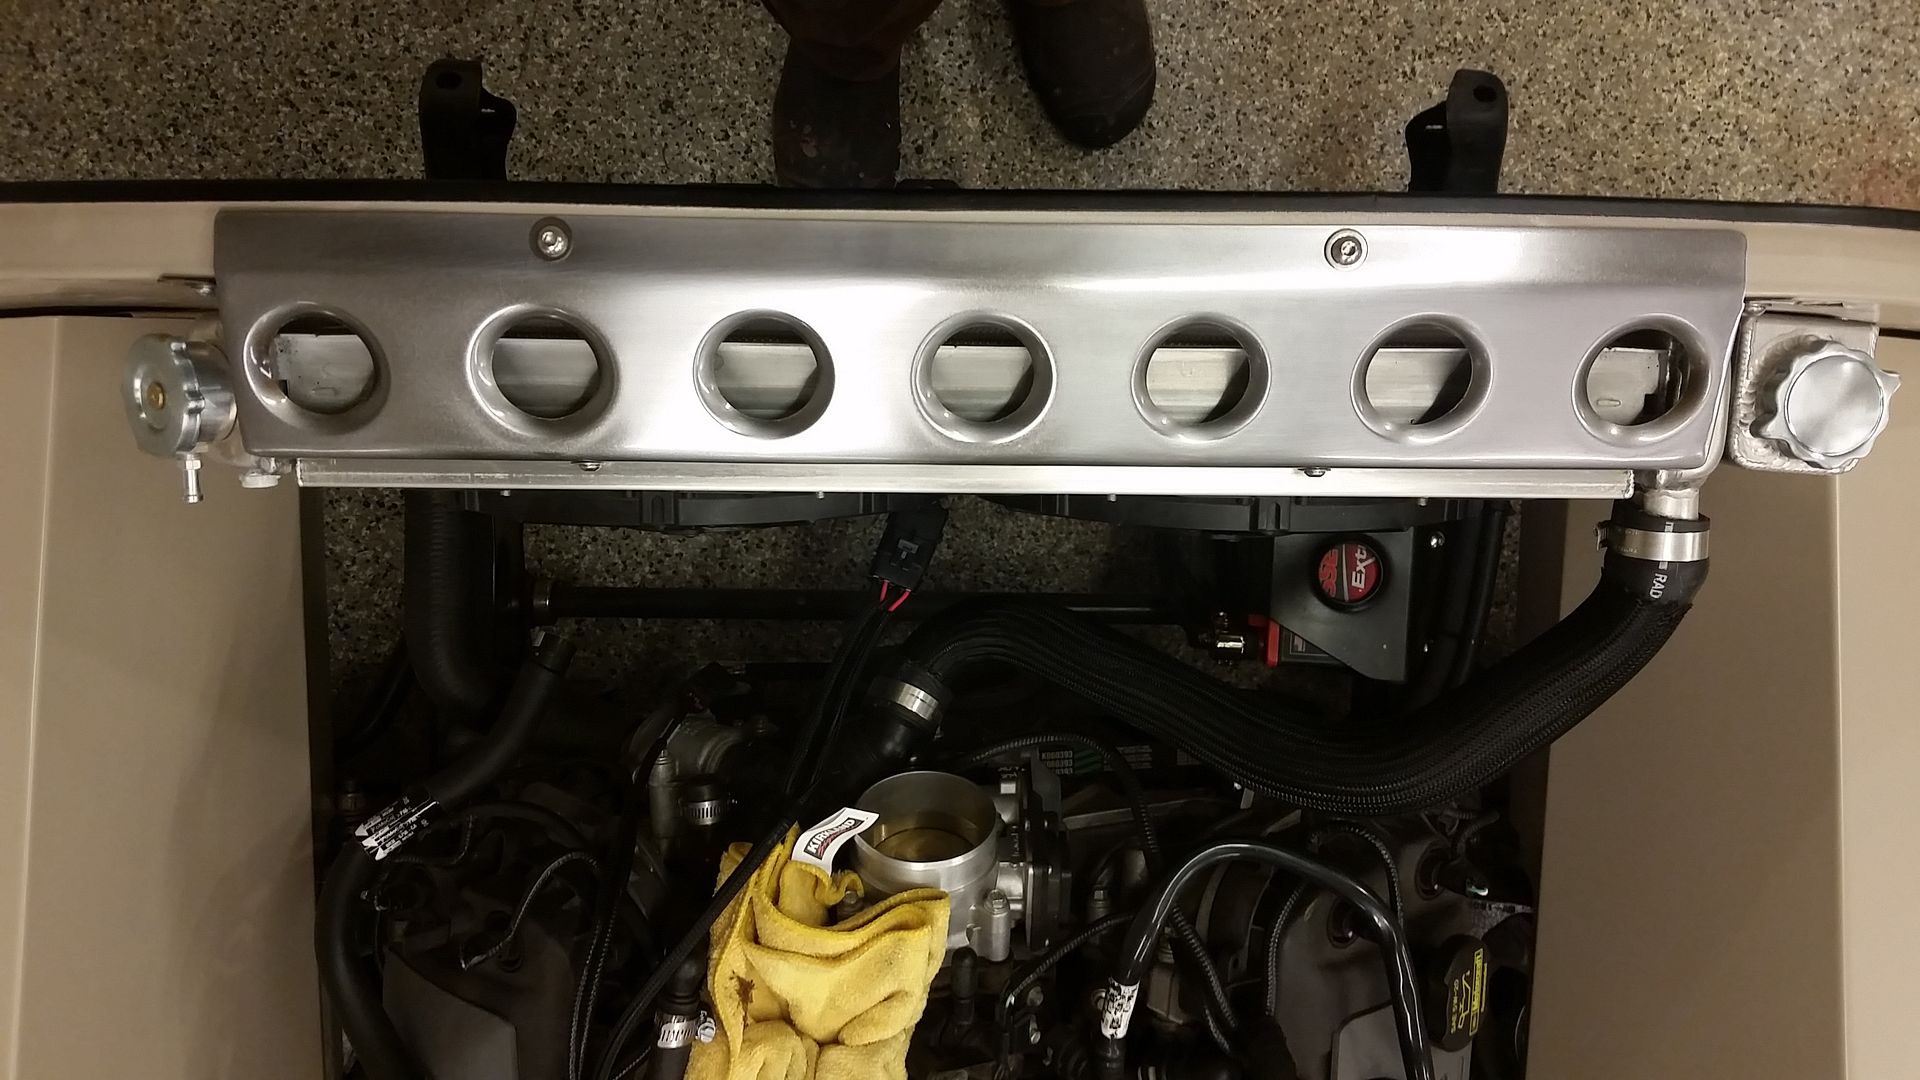
Cleaned up all the residue on the fan shroud and spent a fair bit of time cleaning up the upper radiator mount with a red scuffy pad and some light grit sandpaper. Hit it with some gloss clear and it turned out better than I expected.

Image

Image

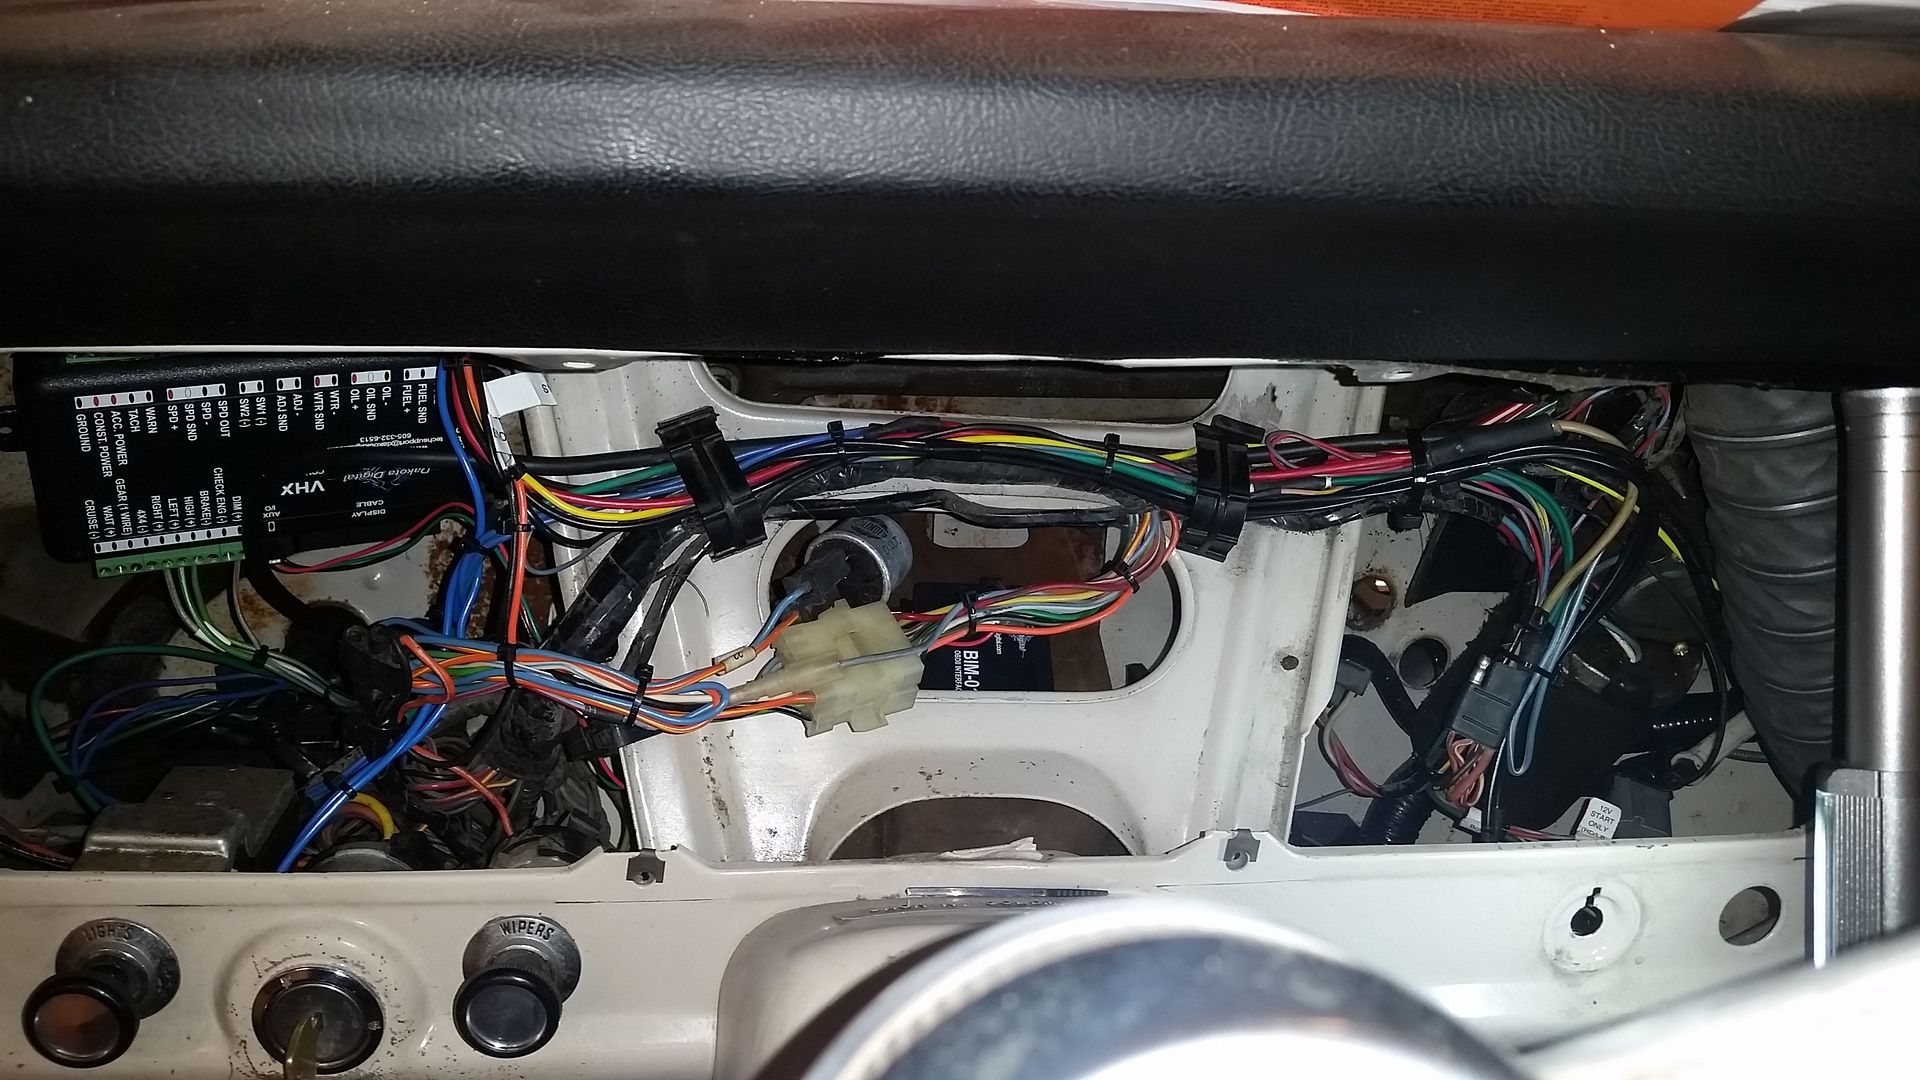
Then went back to work on the wiring inside the truck. Ran a new 12v+ feed over to the VHX control pack figured out the rest of the wiring, they require 2 momentary switches, I tucked them under the dash and out of the way. Buttoned up the Ford Racing stuff, added in a handy little kill switch to keep the honest people kind of honest. Got everything mounted and tied up. Looks pretty good for everything that is going on behind the dash.

Image

Image

With the exception of wiring in the horn and maybe 2 wires to the Bim-02 OBD module to the VHX, the truck is totally wired up. I need to make a list of fluids I need and quantities and get to work filling this stuff up. Should be ready to fire it up pretty soon.

Sean
hackster
Preferred User
Preferred User
Posts: 317
Joined: Fri Oct 18, 2013 11:21 am

Re: Hackster's F100 #2 CV Swap 6 speed manual and Coyote

Post by hackster »

Seems like Crikets in here lately...


Going backwards last night, got the truck up off the ground and in the air in prep for getting fluids in it and finishing up some odds and ends. Bed needs to come back off for some clearance work. I think I need to open up the hump area for the shifter and see if I can get a little room to space up the back of the transmission.

What I thought was going to be a pretty easy driveline, is turning out that the truck is lower than anticipated and I am going to have to run a 2 piece driveline so working on figuring that out in the next couple of days. Its not looking good for the first event of the year at Thunderhill...

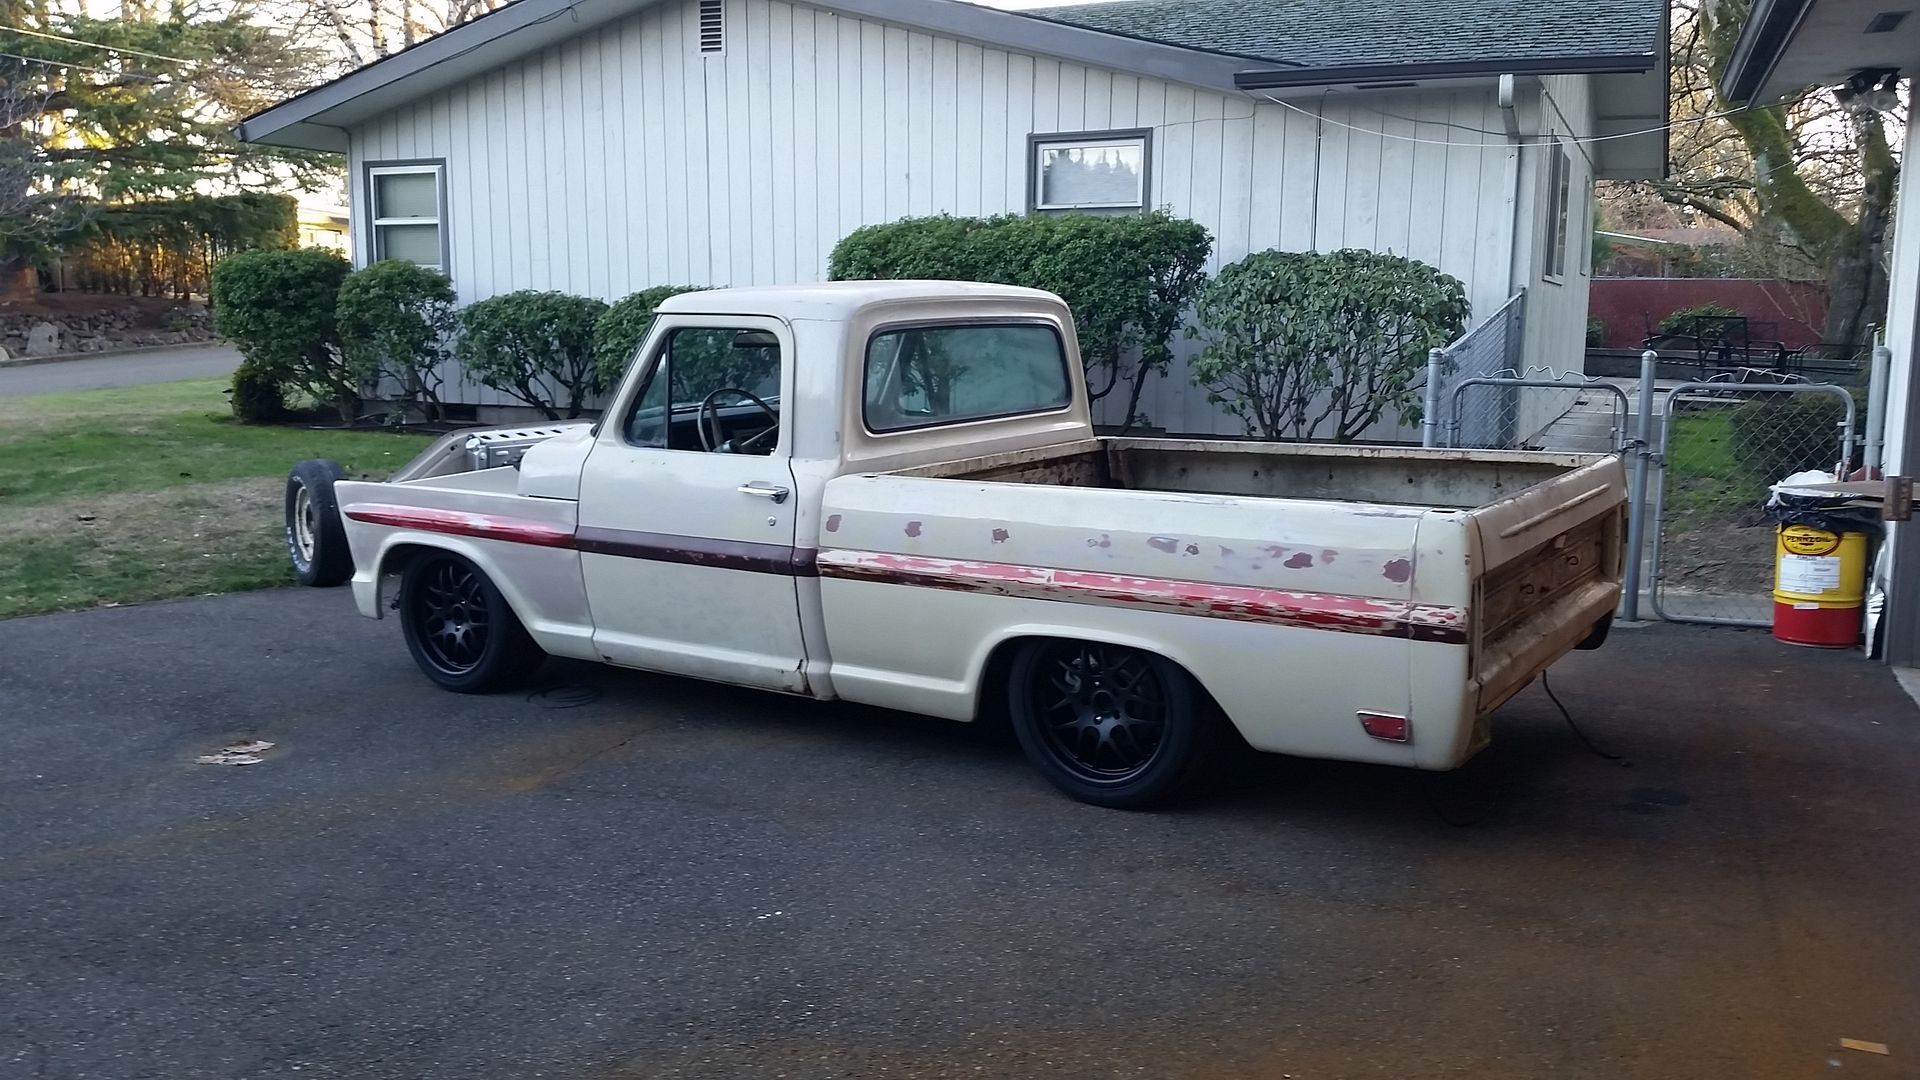
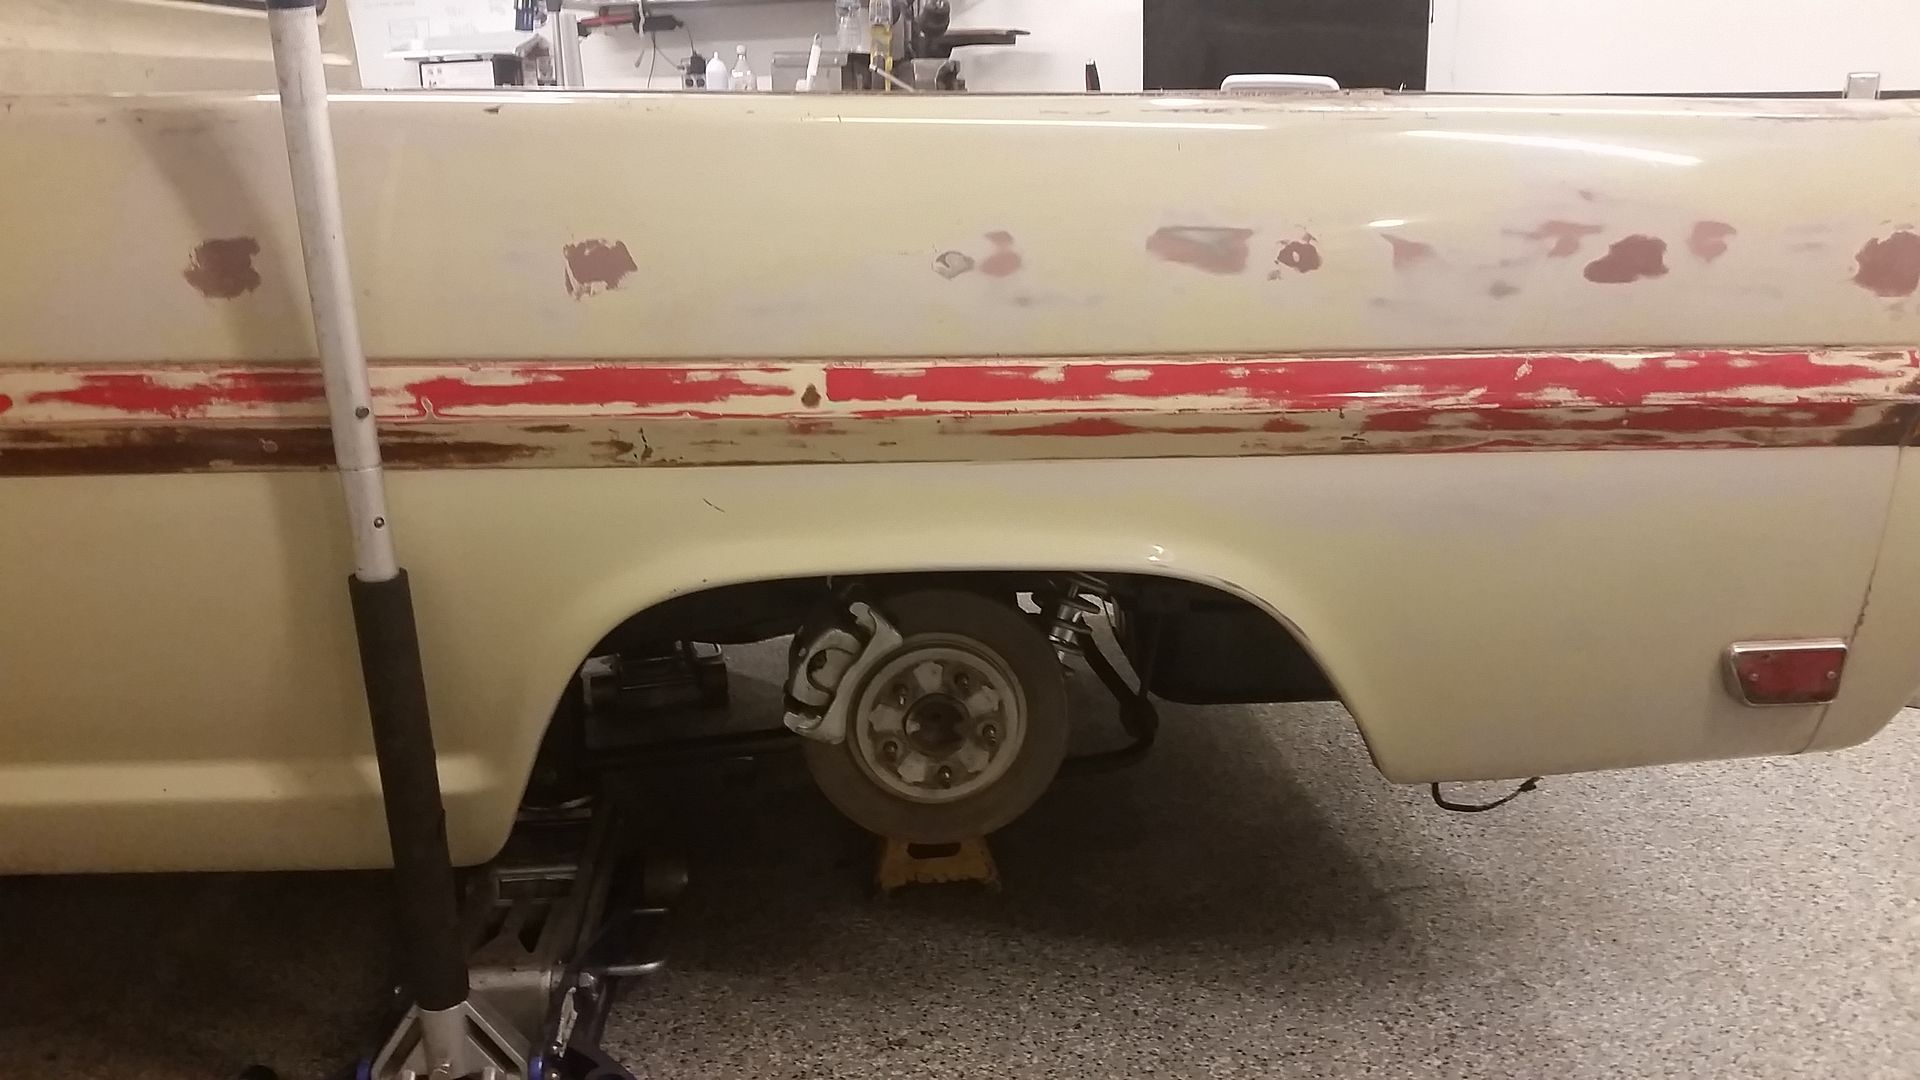
Ride height is about an inch lower than this.

Image


Sean
michael9218
New Member
New Member
Posts: 35
Joined: Tue Sep 29, 2015 8:07 pm
Location: Woodstock, Ga

Re: Hackster's F100 #2 CV Swap 6 speed manual and Coyote

Post by michael9218 »

Doubt it's crickets. Most are probably following along in silence. Your craftsmanship and documentation are an inspiration...

With coilovers, can't you simple raise the truck?
tripped38
New Member
New Member
Posts: 11
Joined: Mon Jun 29, 2015 11:58 am

Re: Hackster's F100 #2 CV Swap 6 speed manual and Coyote

Post by tripped38 »

I am loving this. I can't wait to see it come to life!
hackster
Preferred User
Preferred User
Posts: 317
Joined: Fri Oct 18, 2013 11:21 am

Re: Hackster's F100 #2 CV Swap 6 speed manual and Coyote

Post by hackster »

michael9218 wrote:Doubt it's crickets. Most are probably following along in silence. Your craftsmanship and documentation are an inspiration...

With coilovers, can't you simple raise the truck?

Thanks Michael, I assume that is the case but its nice to get some feedback =) Its much appreciated. I appreciate the nice words as well.

That is the beauty of coilovers, I can just adjust the coilovers and raise the truck up to the desired ride height. I wish I could just lower the front more but it needs to be driven and driven hard!!!
tripped38 wrote:I am loving this. I can't wait to see it come to life!
Thanks....you and me both.

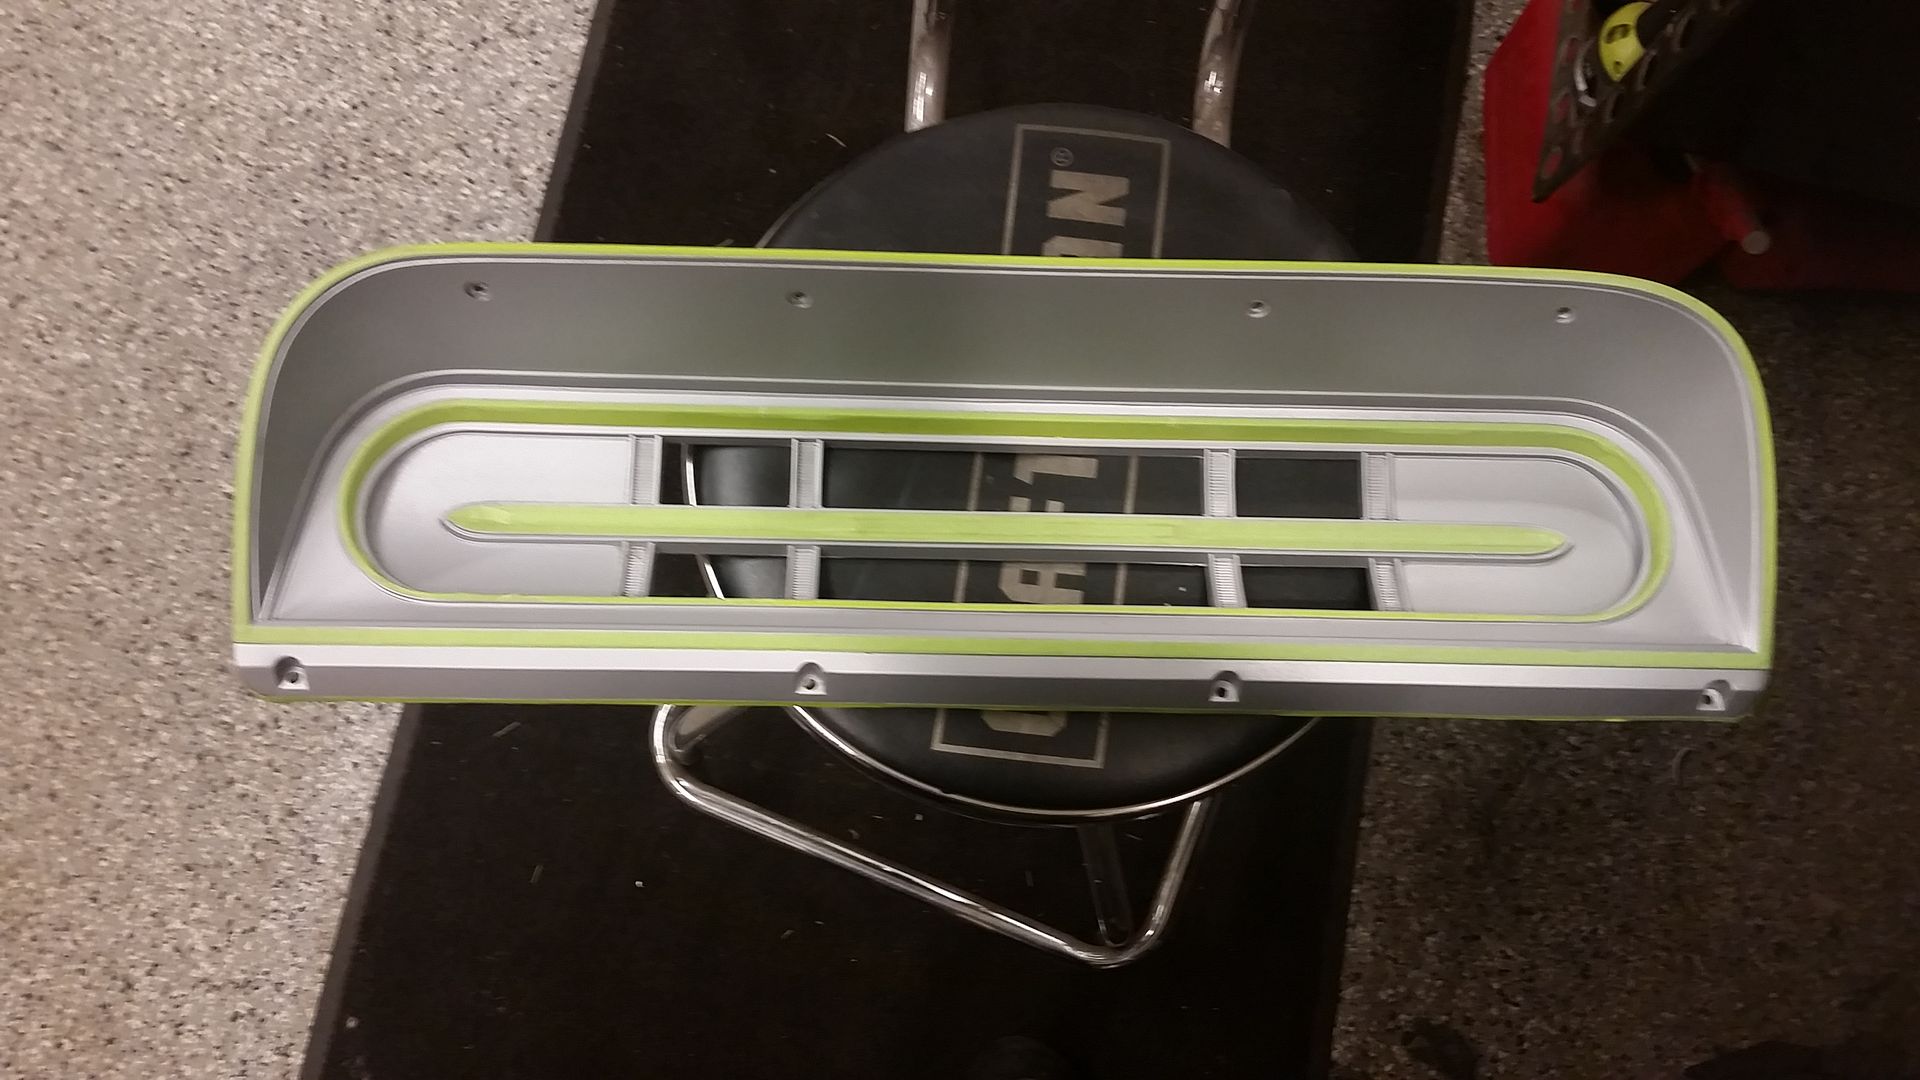
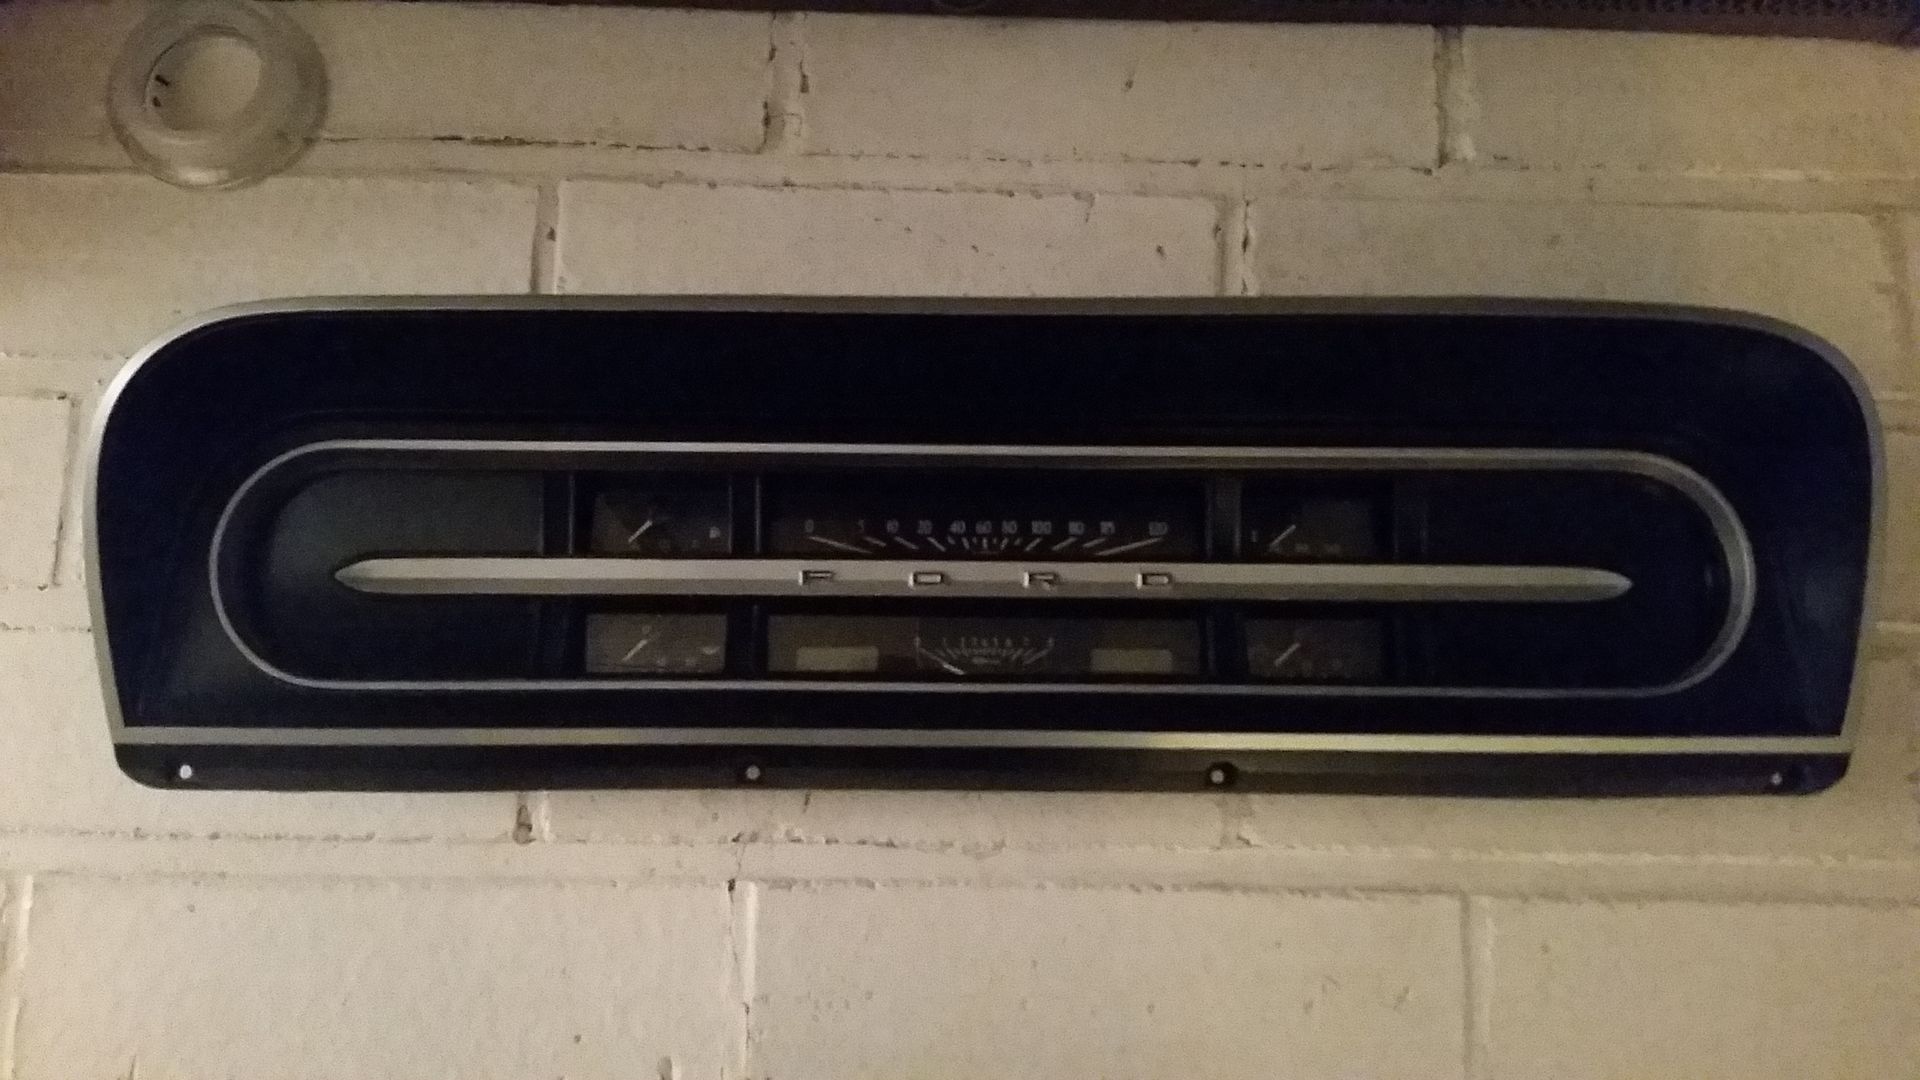
I have been working on this on and off for a few days.....beings that I am sick as a dog right now and cannot really talk, I have been grounded from the garage so I messed around with it for just a few minutes today. I got this from the parts truck and like it better than the base model surround but was never a fan of the chrome and faded look so I hit it with a bunch of scotch brite and high build primer a few days ago. I then hit it with some nice aluminum looking silver. and let the paint dry for a few days.

My tedious task was now taping off all of the silver that I wanted to keep and painting the rest some satin black.

Taped off ready for some heat and black

Image

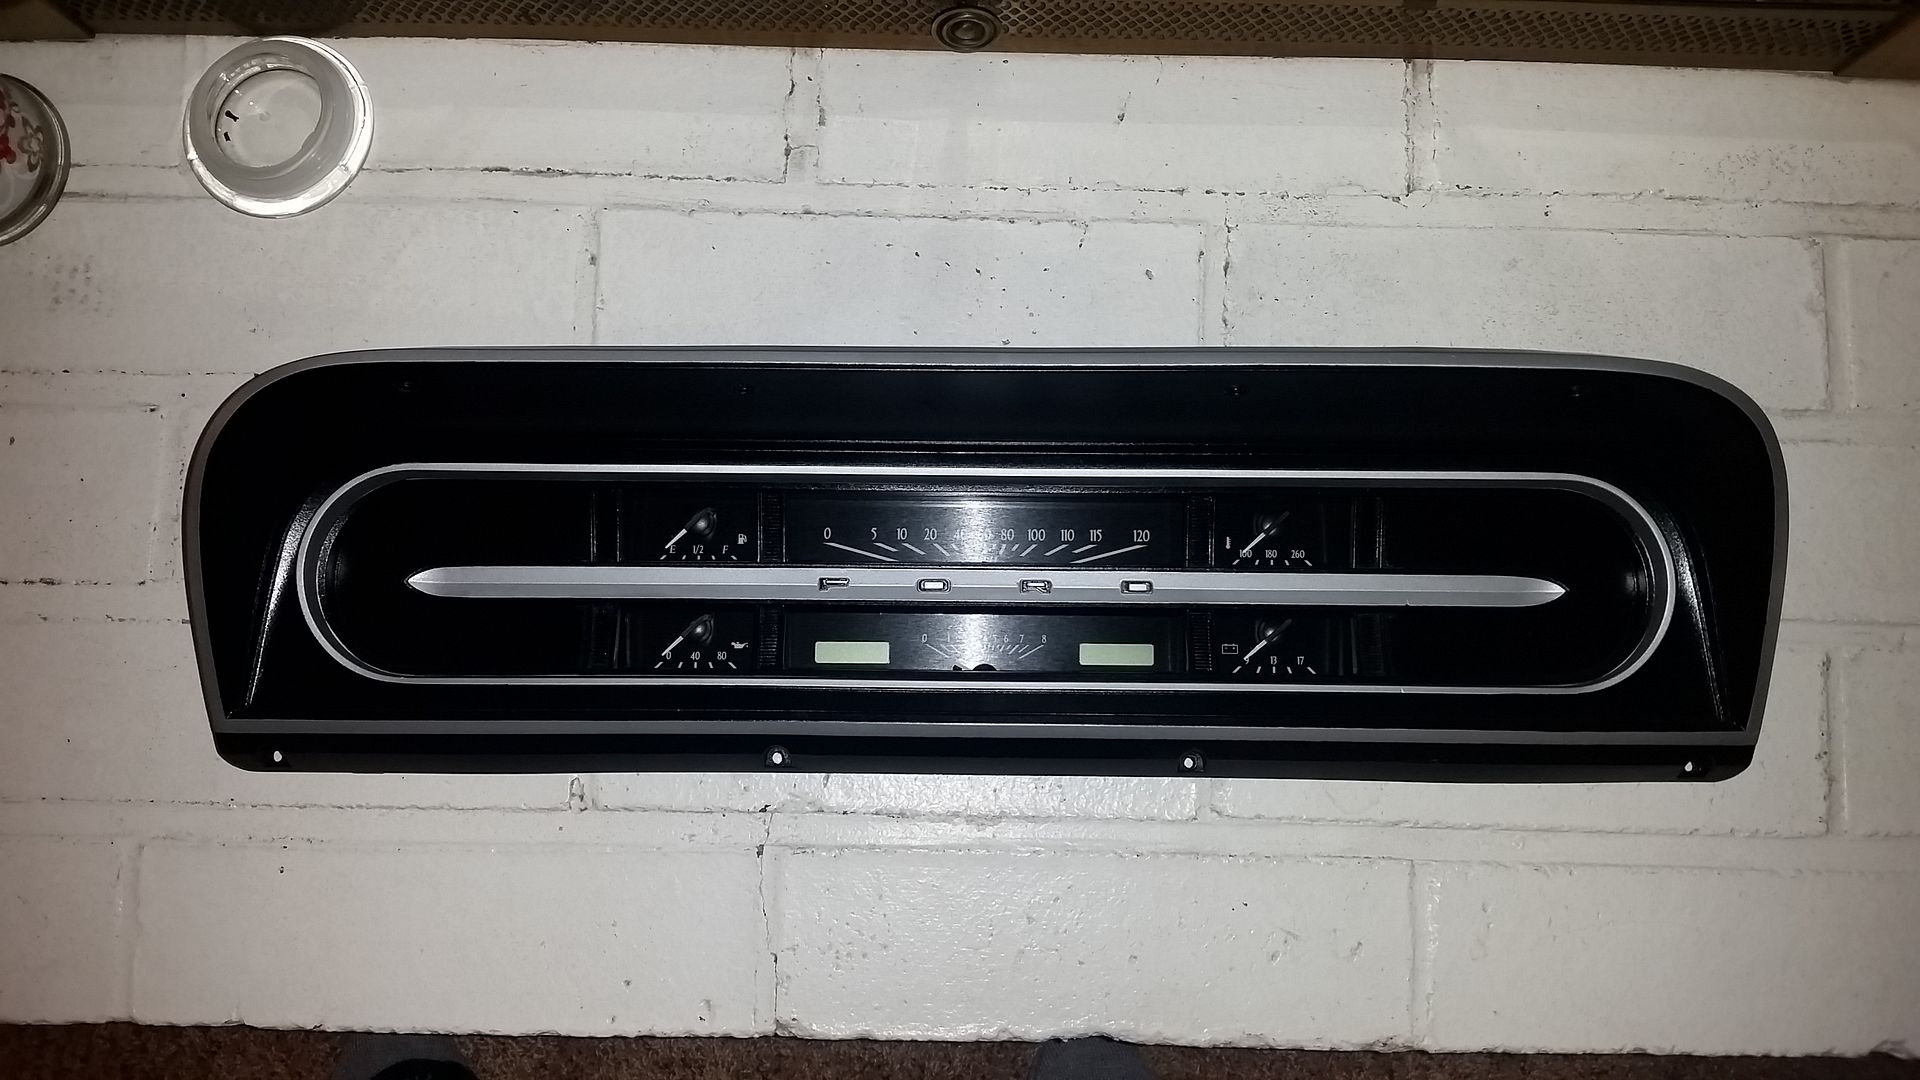
You can see how it turned out and these are the new Dakota Digital VHX Gauges. I think they look awesome and really hope everything works as well as advertised.

Image

Image

Sean
crazyhorse
100% FORDified!
100% FORDified!
Posts: 1514
Joined: Sun Jan 27, 2008 9:24 pm

Re: Hackster's F100 #2 CV Swap 6 speed manual and Coyote

Post by crazyhorse »

Mr Hackster, thank you for more good pictures. :thup:

I can not wait to see the finished truck.

Have you decided on the color yet?
redmcode
New Member
New Member
Posts: 16
Joined: Sun Dec 15, 2013 9:07 pm

Re: Hackster's F100 #2 CV Swap 6 speed manual and Coyote

Post by redmcode »

Looks great, really interested in your thoughts on the gauge cluster as that is what i want to do to mine. Thanks for the great updates !!
IN2FORD
Preferred User
Preferred User
Posts: 345
Joined: Sun Apr 27, 2014 3:54 pm
Location: Cookeville TN

Re: Hackster's F100 #2 CV Swap 6 speed manual and Coyote

Post by IN2FORD »

I had no idea Dakota Digital had that type of guage setup for the cluster. I had figured on using the F600 dump truck cluster with aftermarket gauges. I have a connection with Autometer but that looks really nice.

Barry
ahawks9er
New Member
New Member
Posts: 8
Joined: Wed Sep 30, 2015 5:20 pm

Re: Hackster's F100 #2 CV Swap 6 speed manual and Coyote

Post by ahawks9er »

Love the way the gauges came out! Crickets or not, folks are still watching... :2cents:
hackster
Preferred User
Preferred User
Posts: 317
Joined: Fri Oct 18, 2013 11:21 am

Re: Hackster's F100 #2 CV Swap 6 speed manual and Coyote

Post by hackster »

redmcode wrote:Looks great, really interested in your thoughts on the gauge cluster as that is what i want to do to mine. Thanks for the great updates !!
I hope to have them fired up in the next few days....Ill let you know.
IN2FORD wrote:I had no idea Dakota Digital had that type of guage setup for the cluster. I had figured on using the F600 dump truck cluster with aftermarket gauges. I have a connection with Autometer but that looks really nice.

Barry
I did not either. The most awesome part about it is that I will not only have a working speedometer, I am using can bus to communicate the info from the coyote engine to the VHX module. They look awesome too by the way, better than I even imagined. The quality of everything so far has been top notch. I have had a couple of questions and called their tech line and gotten answers right away.
ahawks9er wrote:Love the way the gauges came out! Crickets or not, folks are still watching... :2cents:
Haha!!! Never know who is lurking in the shadows =)

Always cool to see you chime in here.

Sean
User avatar
SeapineF37
New Member
New Member
Posts: 185
Joined: Fri Jan 16, 2015 7:04 pm
Location: Florida, Sarasota

Re: Hackster's F100 #2 CV Swap 6 speed manual and Coyote

Post by SeapineF37 »

apologies for being a cricket but i certainly look forward to your almost daily updates and all the photos so :clap:

love so many things about your build that i mostly stare and reread and then sit and think about incorporating some of the inspiration in my own project. and end up not posting comments. i do have to say that the engine bay on your last truck was one of my all time favorites and i think the custom fenders you did on this guy has that one topped. sooo good dude :thup:

the buffed out worn look on the body work is stellar. for "not being a body guy" the body work is great.

any chance you still have the template for the fenders? only rust on my truck is the passenger fender battery area so now you have me hooked on making my own clean replacement fenders. what gauge did you go with?

also did you end up running the wiring to the front inside the frame rail? looks like thats where it goes from the firewall. and what are you using for loom and the hd heat shrinks? want to make sure i use something that will stand up to the water and dirt if i run my wiring down in the wheelwell area like you did.

sorry for all the questions, but you asked for it :D

cheers! thanks for all the info and photos and keep up the great work
1972 F350 seapine green cab/chassis drw
only one who has learned much can fully appreciate his own ignorance. louis l'amour
michael9218
New Member
New Member
Posts: 35
Joined: Tue Sep 29, 2015 8:07 pm
Location: Woodstock, Ga

Re: Hackster's F100 #2 CV Swap 6 speed manual and Coyote

Post by michael9218 »

That's the best looking stock'ish gauge cluster I've seen. Amazing what a little elbow grease and ingenuity will produce.

I also thought Dakota only had the digital readout gauges. My only issue with the sweep style speedo is that they're really hard to read. I never liked them back in the day. I learned to drive in my Dad's '72 Ford van. Same gauges and steering wheel. I think I'd prefer an easy to read 270 degree sweep round gauge. Preferably one that only reads up to 120 or so.
hackster
Preferred User
Preferred User
Posts: 317
Joined: Fri Oct 18, 2013 11:21 am

Re: Hackster's F100 #2 CV Swap 6 speed manual and Coyote

Post by hackster »

SeapineF37 wrote:apologies for being a cricket but i certainly look forward to your almost daily updates and all the photos so :clap:

love so many things about your build that i mostly stare and reread and then sit and think about incorporating some of the inspiration in my own project. and end up not posting comments. i do have to say that the engine bay on your last truck was one of my all time favorites and i think the custom fenders you did on this guy has that one topped. sooo good dude :thup:

the buffed out worn look on the body work is stellar. for "not being a body guy" the body work is great.

any chance you still have the template for the fenders? only rust on my truck is the passenger fender battery area so now you have me hooked on making my own clean replacement fenders. what gauge did you go with?

also did you end up running the wiring to the front inside the frame rail? looks like thats where it goes from the firewall. and what are you using for loom and the hd heat shrinks? want to make sure i use something that will stand up to the water and dirt if i run my wiring down in the wheelwell area like you did.

sorry for all the questions, but you asked for it :D

cheers! thanks for all the info and photos and keep up the great work
Haha!!! Love it. I agree on the inner fenders, these just look so clean and tidy. I actuallly might have a template for the inner fenders, let me look out there today and see if I can round them up. They are 18 ga cold rolled.

Wiring to the front is all under the inner fenders and it is Painless Power Braid stuff, I have been really happy with it and it looks 1000 times better than the corrugated split loom stuff.

Ill have to grab a sleeve of the heat shring and snap a photo of it. Its awesome stuff.

Thanks for the props, I feel like I am getting somewhere.
michael9218 wrote:That's the best looking stock'ish gauge cluster I've seen. Amazing what a little elbow grease and ingenuity will produce.

I also thought Dakota only had the digital readout gauges. My only issue with the sweep style speedo is that they're really hard to read. I never liked them back in the day. I learned to drive in my Dad's '72 Ford van. Same gauges and steering wheel. I think I'd prefer an easy to read 270 degree sweep round gauge. Preferably one that only reads up to 120 or so.
Thanks Michael, I have to agree. It turned out better than I imagined but it was a lot of work. I was a little hesitant about the Dakota DIGITAL guages but they look so good in there, like they should have been this way from the start over 50 years ago =)

This cold really beat me down this week so not a lot of progress on the turd.

I had some good chats with friends and a couple experts on the driveline situation and was able to finally come up with something that I think should work just fine.

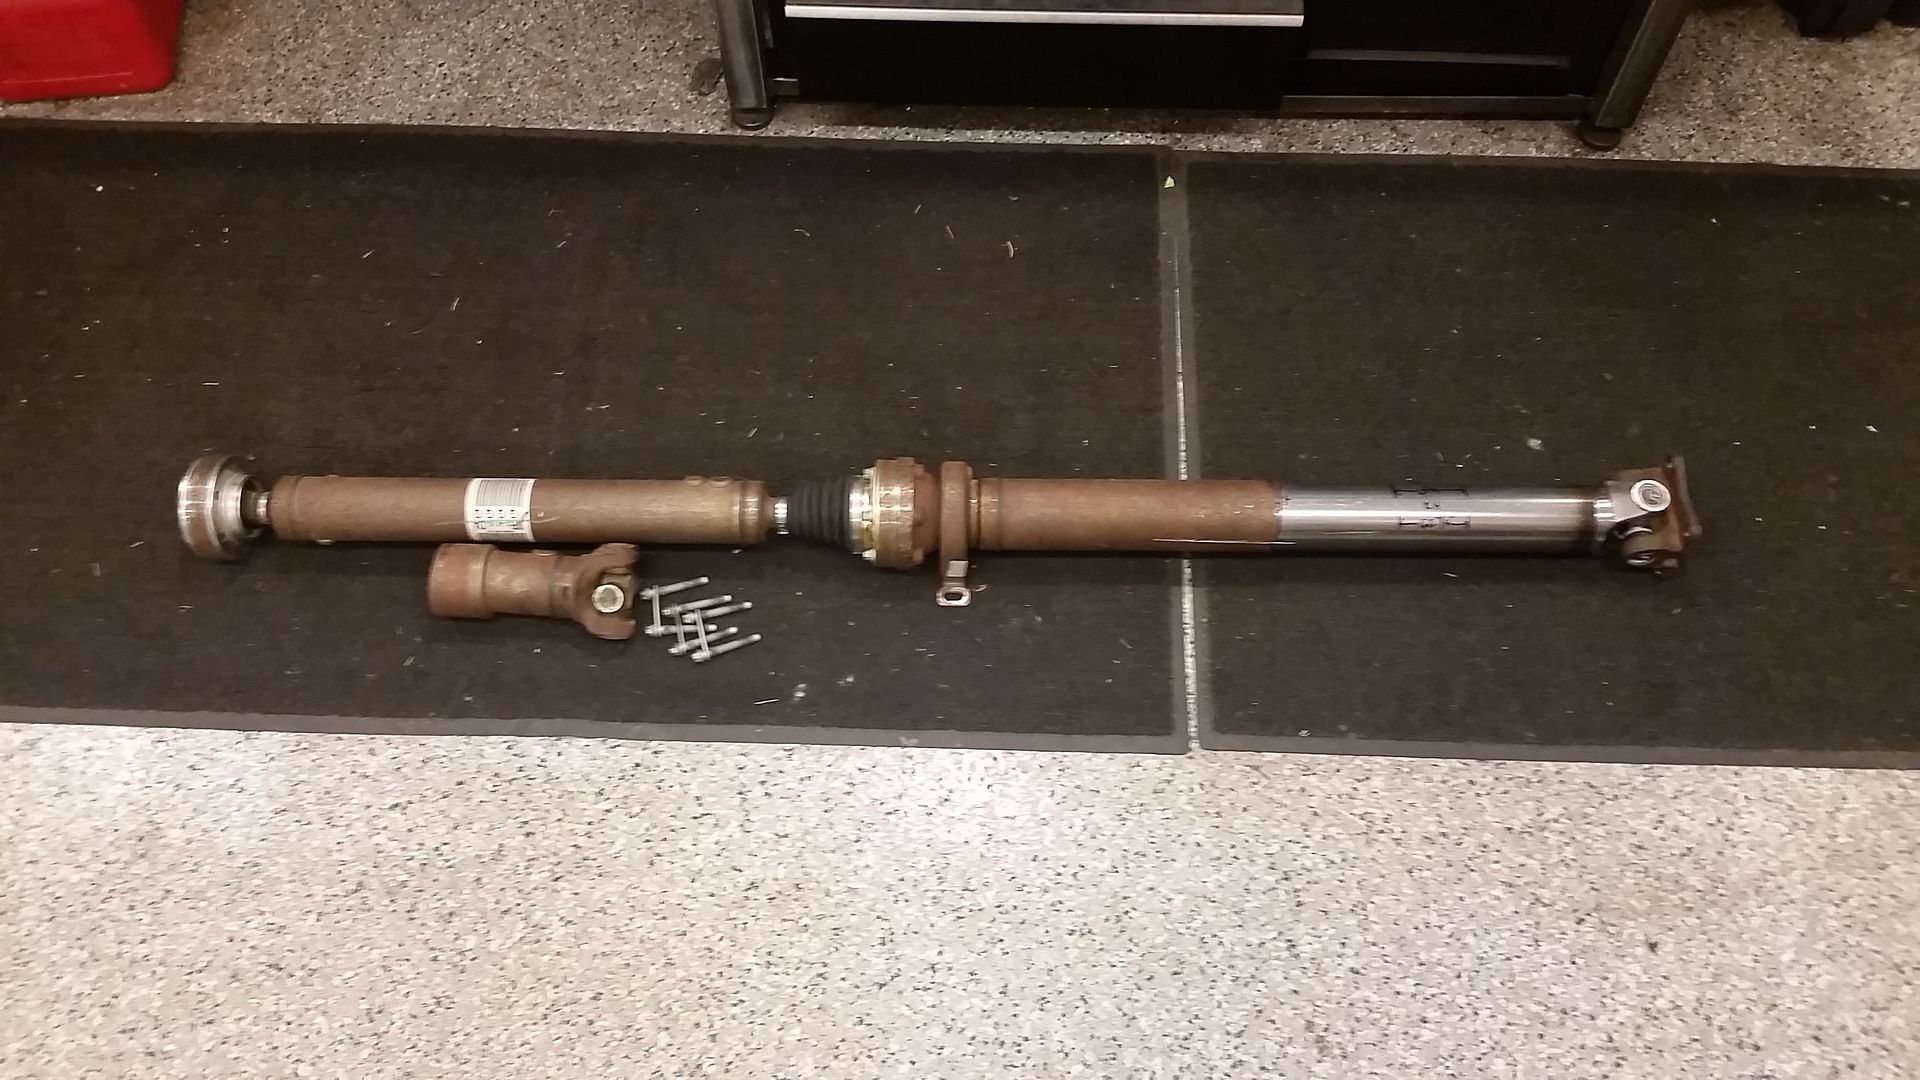
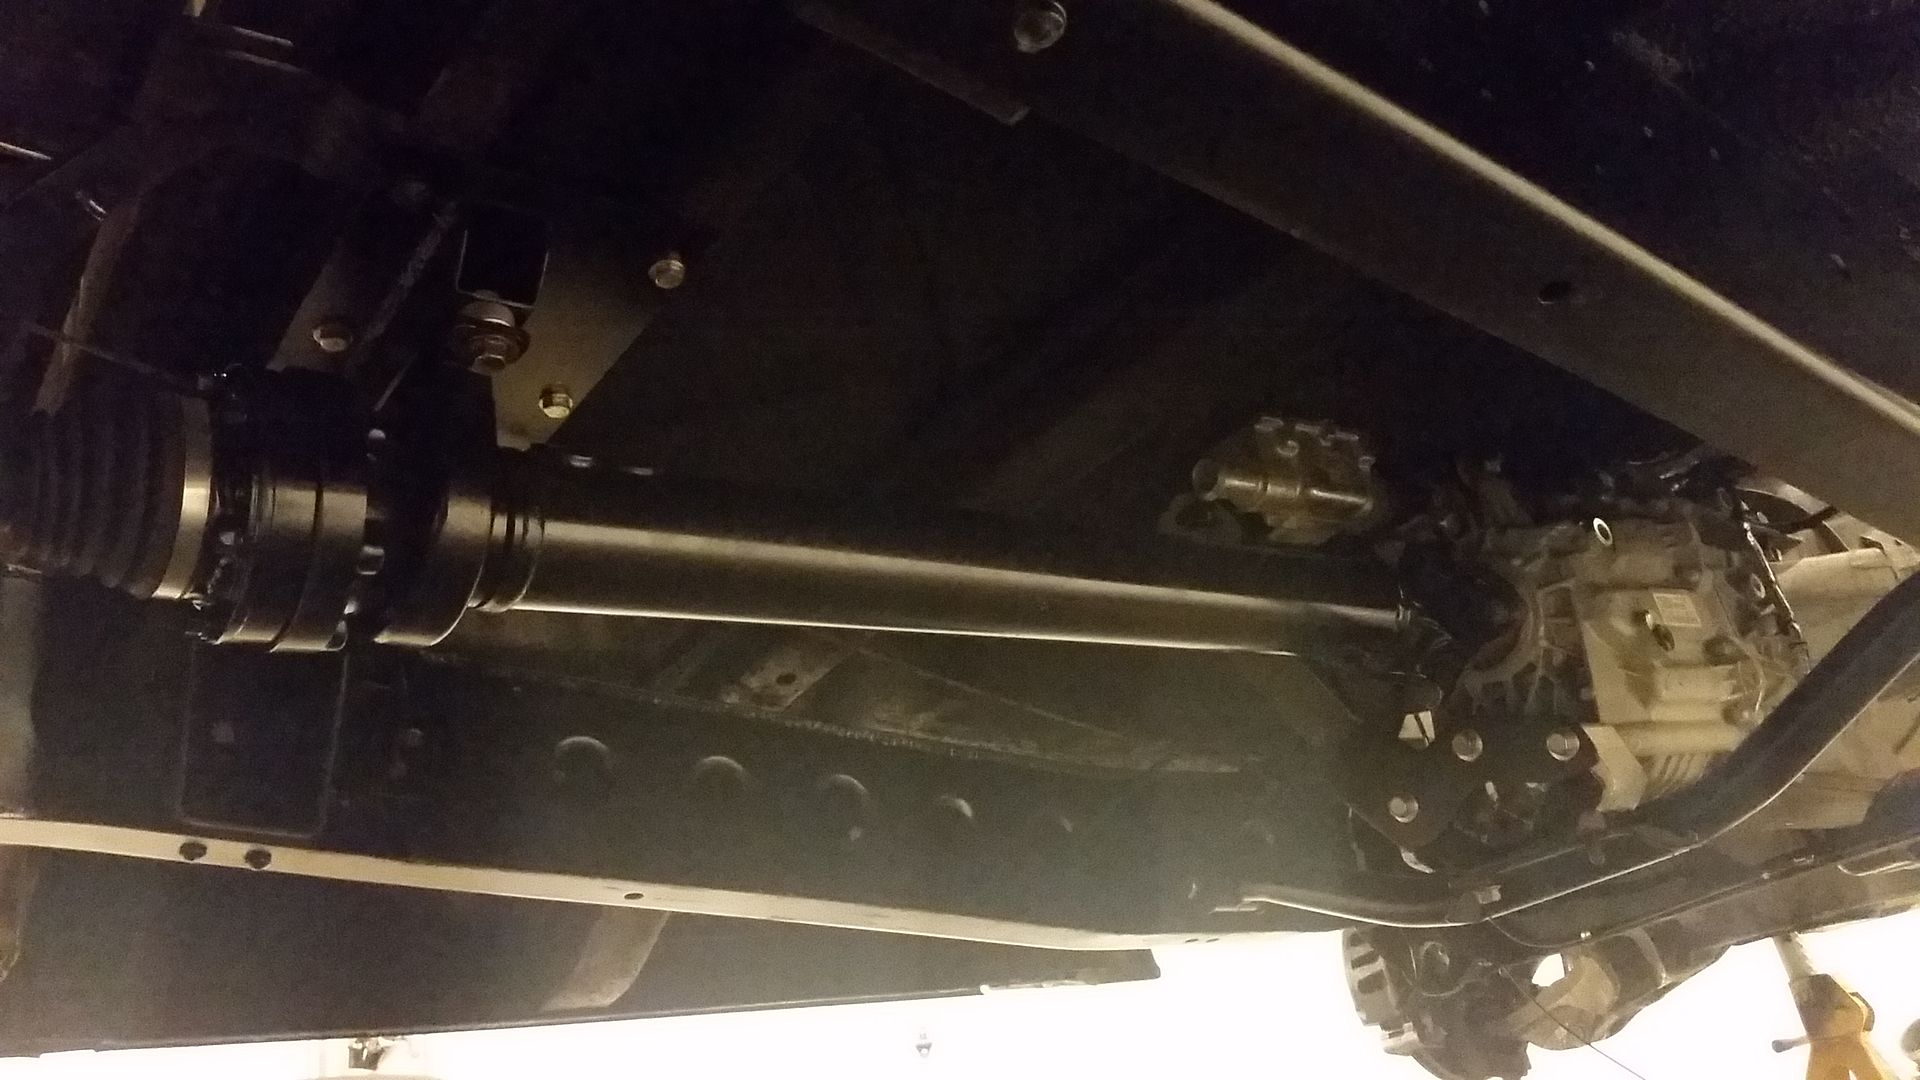
The very front of the stock mustang driveline has a swage to it and it was bent right there so I went back just behind that and cut off the stock front yoke that is friction welded on there. I knew that I was going to be needing to machine the flange at the other end near the carrier bearing. Stock tube was just over 3" tubing so I grabbed a piece of 3" Driveline tube and a 3" 1350 weld yoke and non greasable 1350X spicer u joint. and Wanting to make sure that I got the driveline just right I mocked this up.

This is the mocked up version of my driveline hacked together in my shop for fitup.

Image

You can see in this photo the chunk that I had to cut off the driveline. You can also see the bolts and stuff needed to bolt up this to the truck.

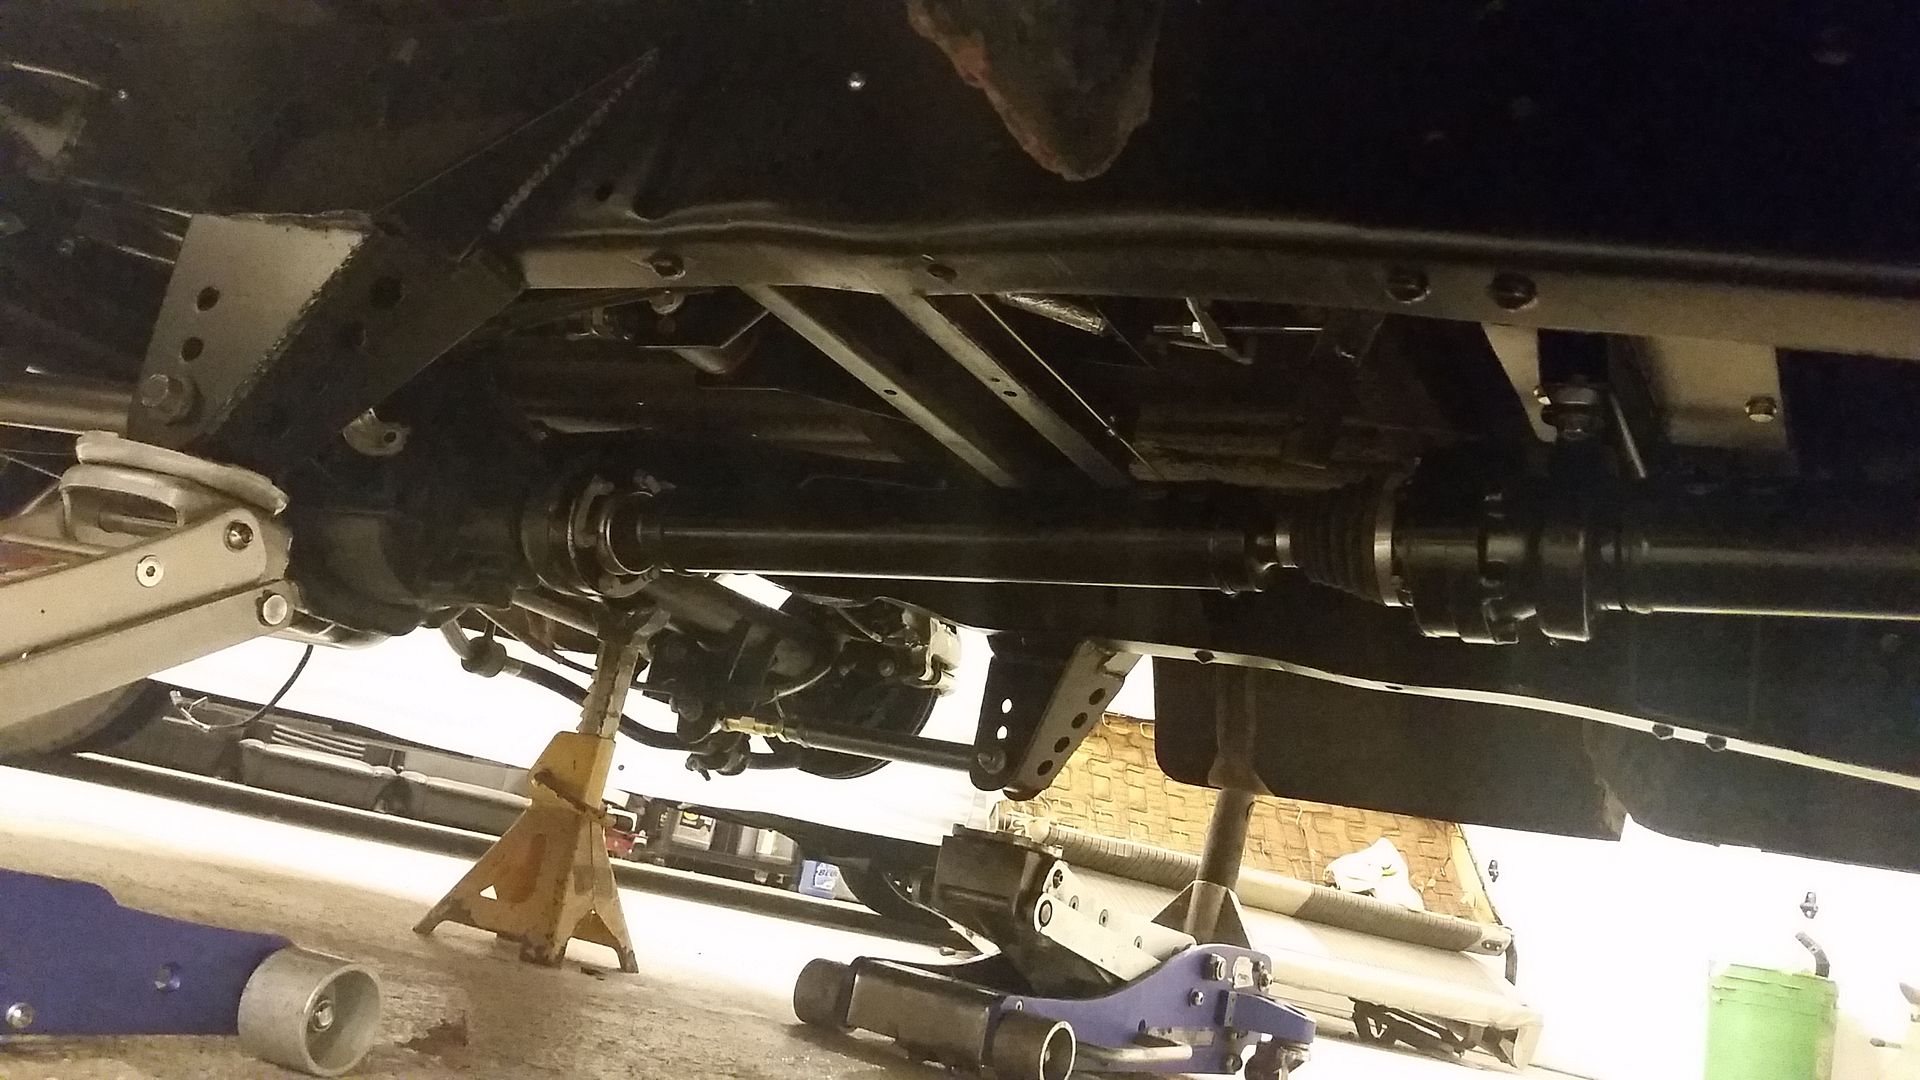
My buddy Dustin managed to take my stuff and build me a very factory like driveline that should be perfect. It fits extremely well.

Image

Image

Image

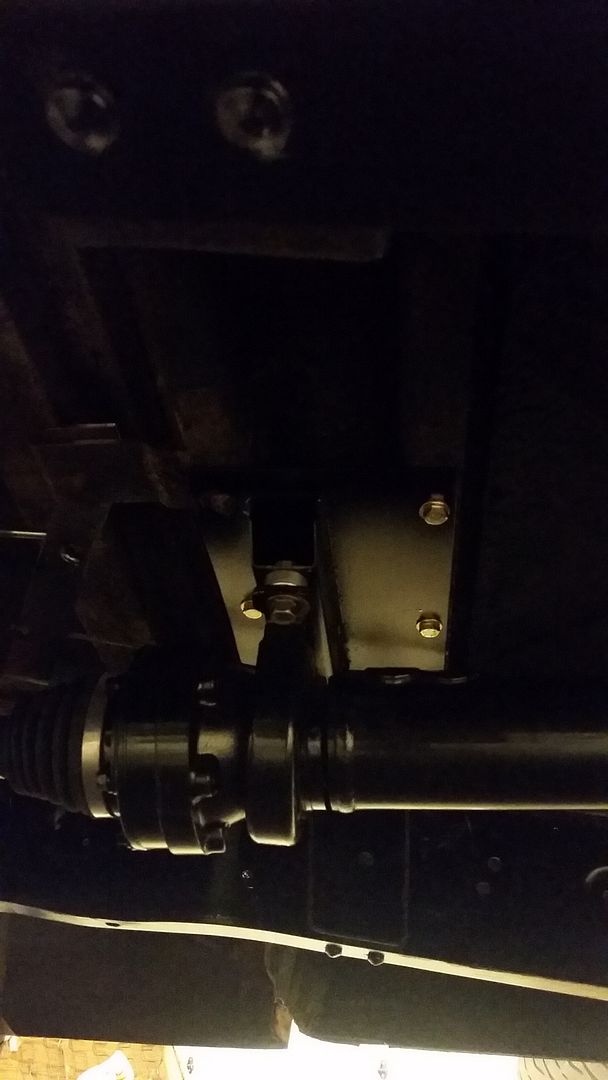
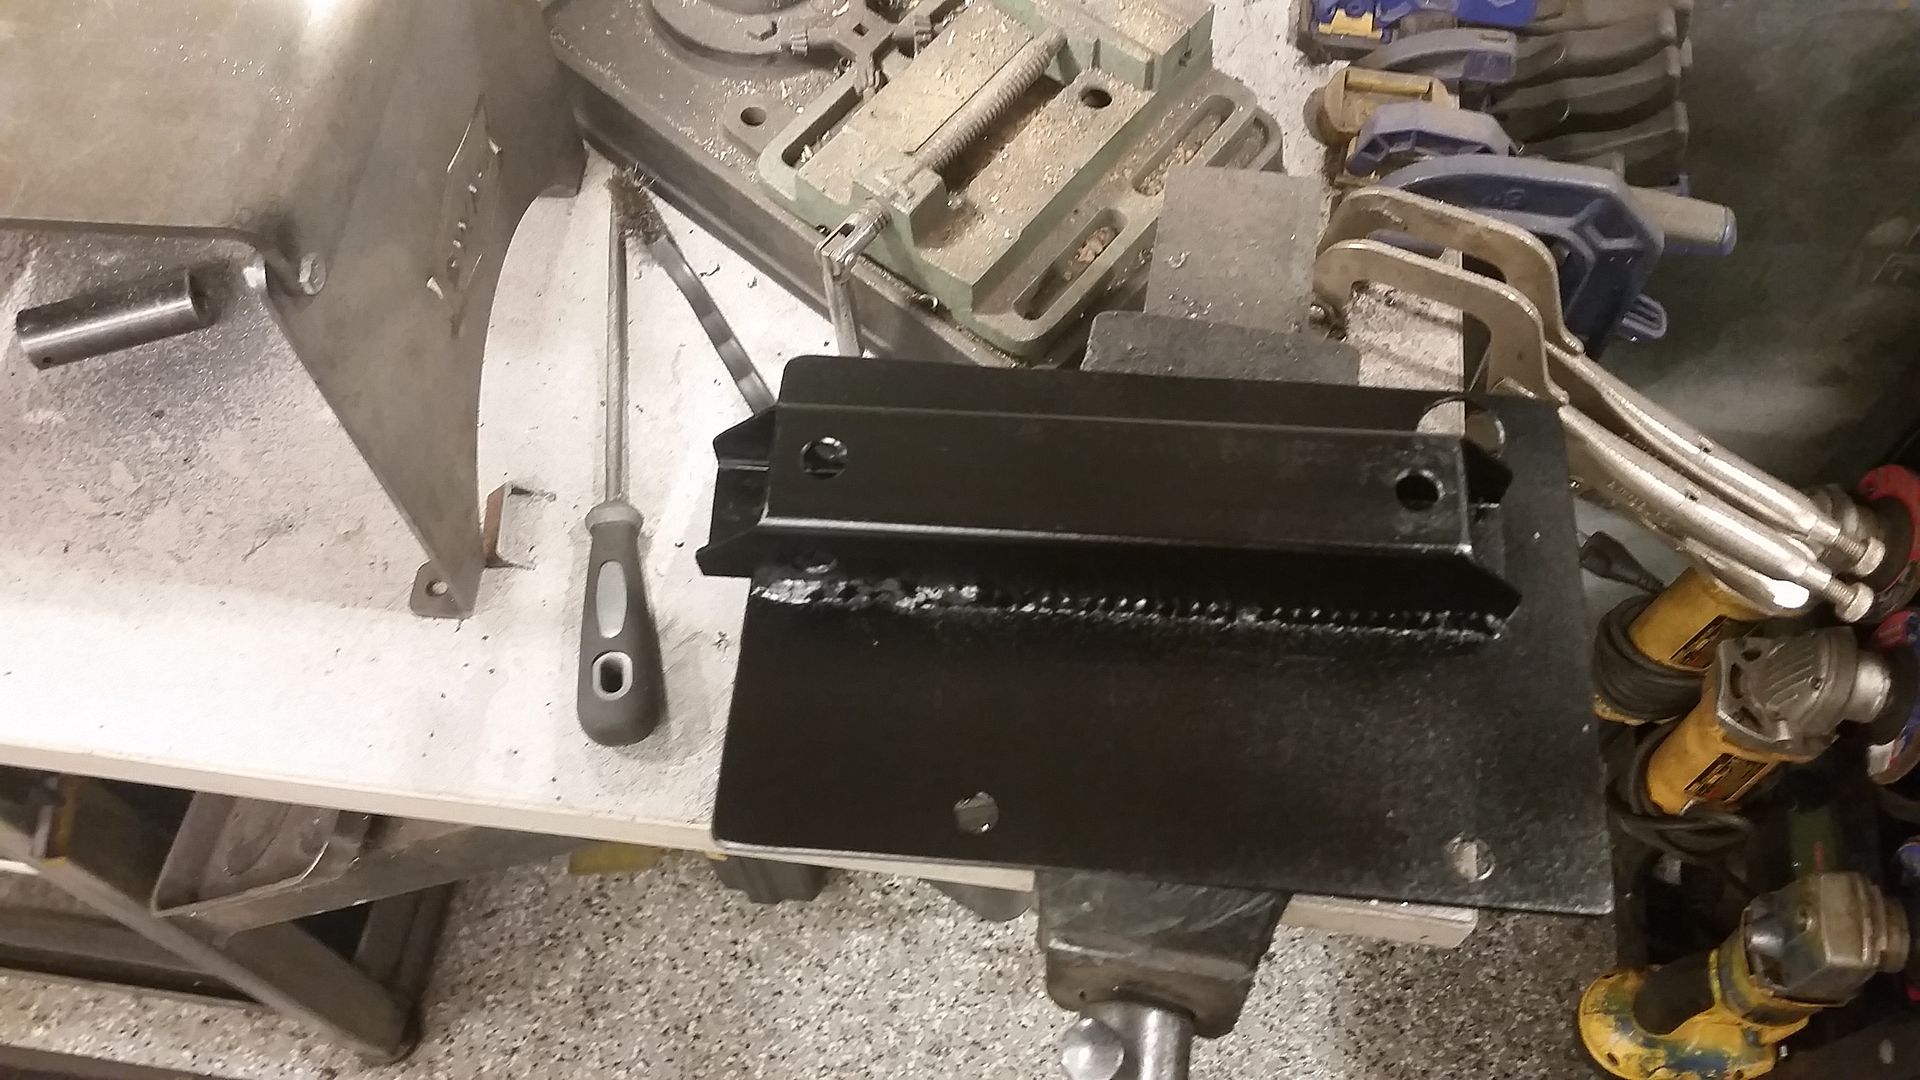
Carrier Bearing mount

Image

And then this happened....

Image

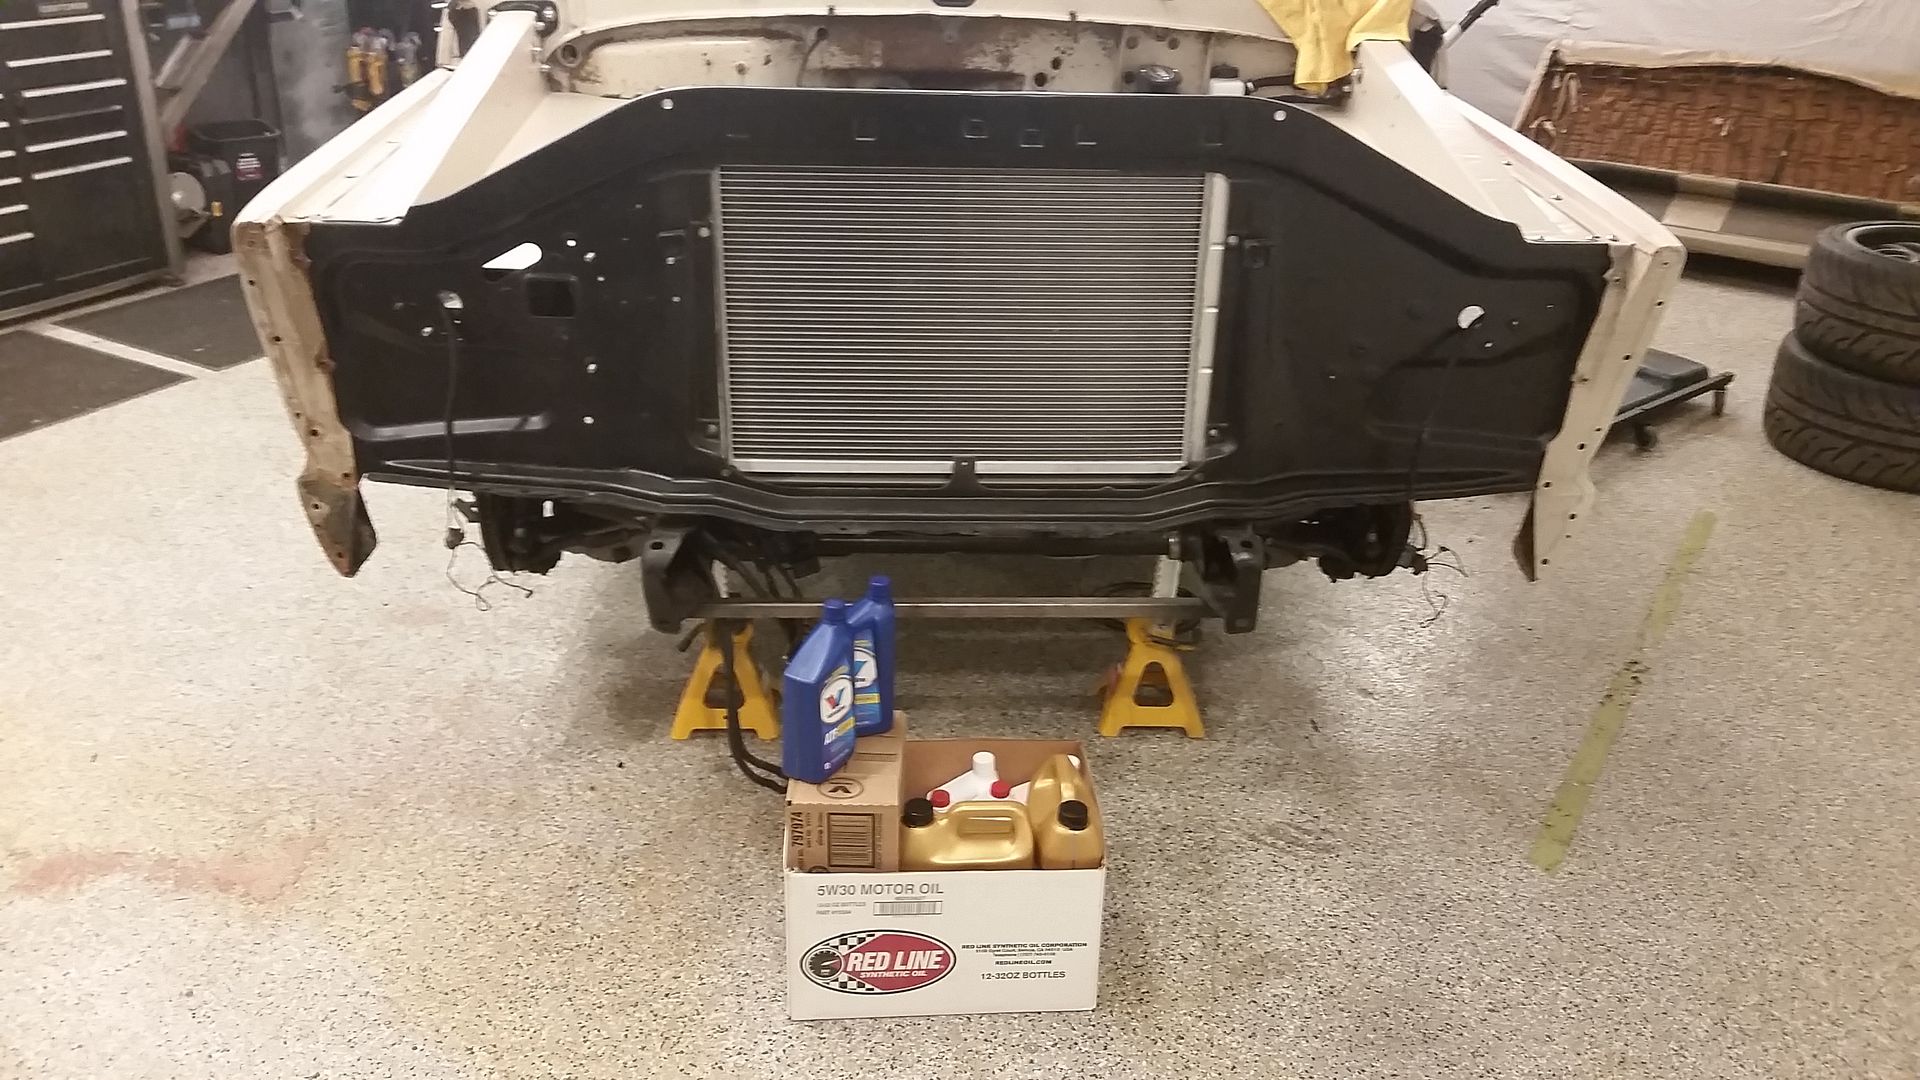
Fluids. This is where things really get real. I managed to get the power steering fluid in the system and got it kind of bled out, opened up some fitting to make sure I was getting fluid around the system.

Got 7.5....yes 7.5 quarts of oil in the engine.

Then started bleeding the brakes. I did not have the best luck but I did manage to get the system all sealed up I think... and got all the air out after several hours of bleeding.

I am not sure about the pedal feel though, its really soft at the top and then firms right up but there is some pedal travel, quite a bit. I need to get it on the ground and see how it stops, if it sucks, back to the drawing board.

Hope to clean up my mess this morning and see what blows up when I hook up power.

Sean
Post Reply